5
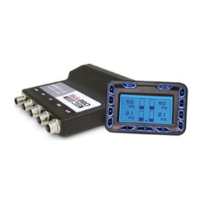
Routing the Airline and Fittings
• Make all airline cuts with a razor or
tubing cutter
(part # - cut1000)
.
It must be clean and straight or it
will not seal.
• All ttings are DOT approved push-
to-connect style. They are very
simple to use and are reusable.
Firmly push the airline into the
tting to attach. To release the
airline push the collar on the tting
back towards the tting and pull the airline out.
• Use thread sealant on all ttings.
• Do not over tighten the ttings. This could result in breaking the tting or
damaging the air spring.
• All of our airlines are DOT approved so they are very strong. But keep them away
from any sharp edges. Also when passing through a hole in the frame use a
grommet.
• Keep away from intense heat including muers and exhaust manifolds.
• Use zip ties or other fasteners to secure the airline.
use thread
sealant to
avoid leaks
Use Tubing Cutter
(part # CUT1000)
for straight ends.
Height Sensor Harnesses Pressure Harness
Black wire
A clean chassis ground
Yellow wire
Ignition
(12 volts only when the key is on)
Red wire
Constant 12 volt
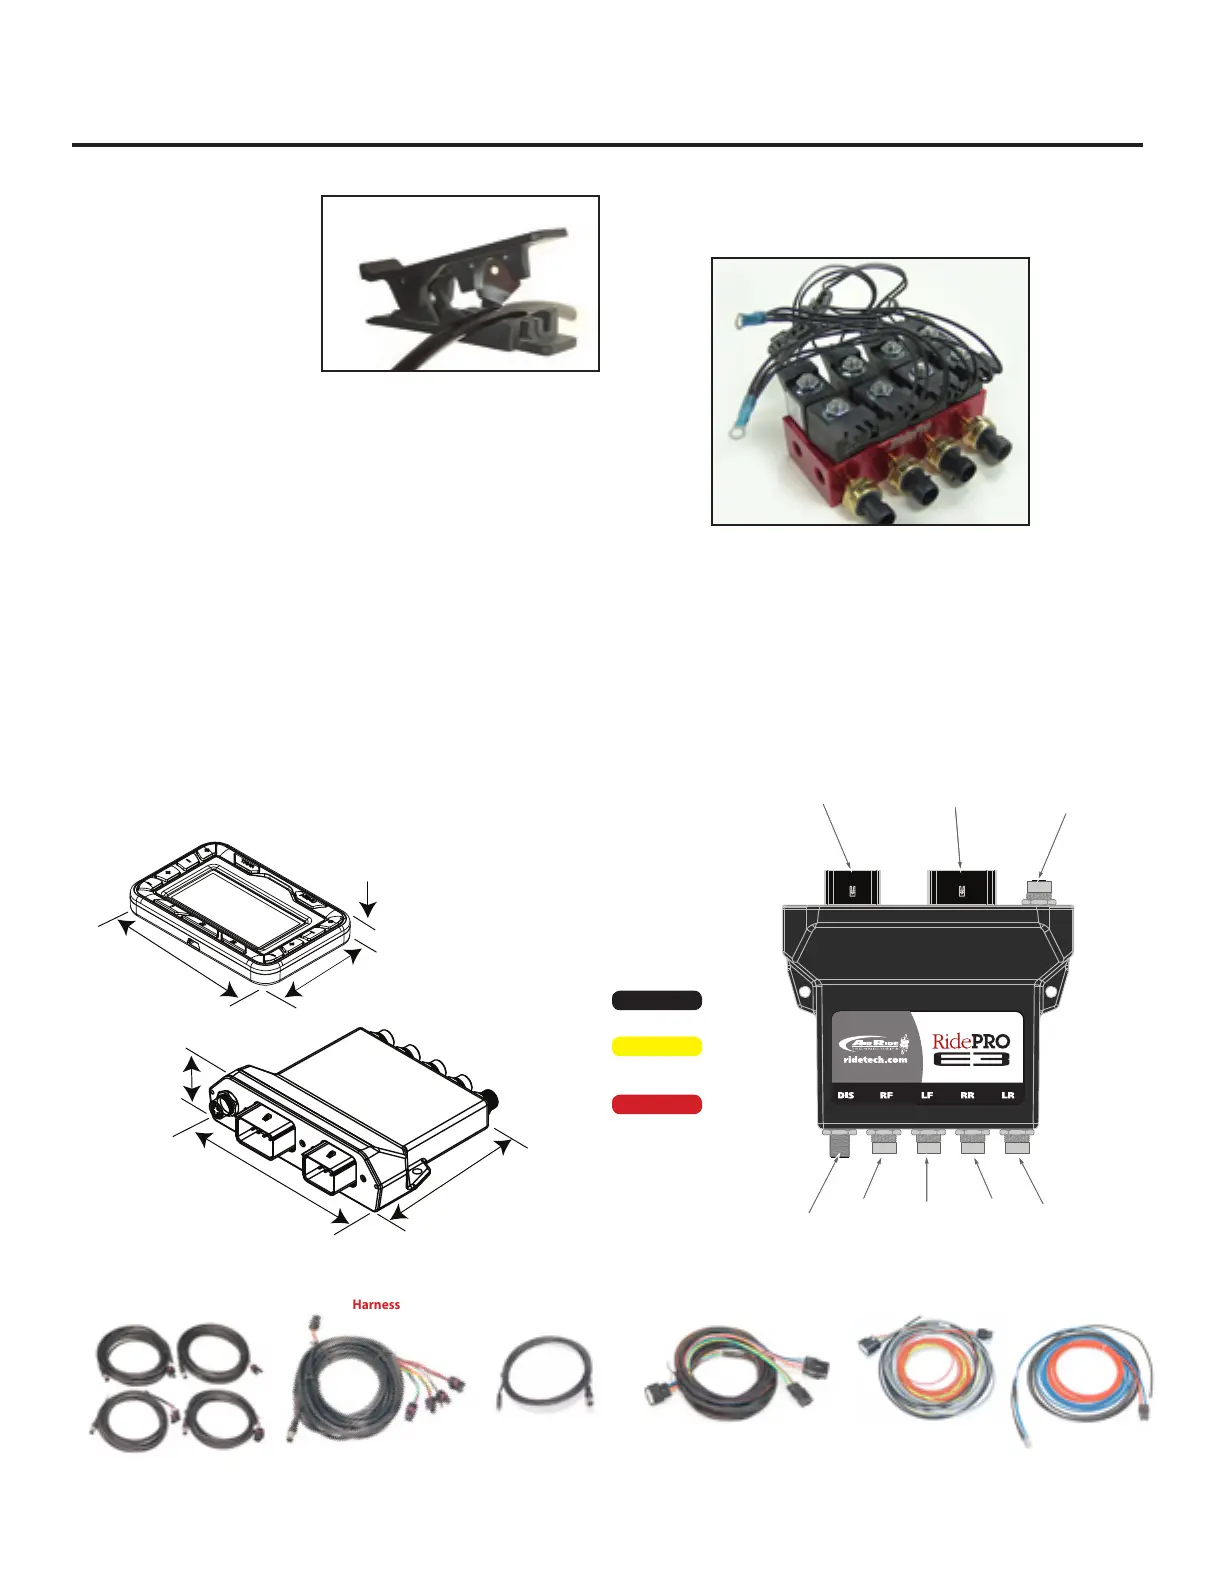
Main Power Harness
Valve Connector
Power/Relay
Connector
Air Pressure
Harness Connector
Right Front
Level Sensor
Connector
Left Front
Level Sensor
Connector
Right Rear
Level Sensor
Connector
Display
Connector
Left Rear
Level Sensor
Connector
Display / Controller Harness Valve Block Harness
Main Power /Compressor Harness
Mounting the Air Pressure & Level Sensors
• These sensors are voltage based and do not need to be grounded.
• Use thread sealant when installing pressure sensors in valve block.
Mounting the ECU (Electronic Control Unit) & Control Panel
• The ECU is water proof and may be mounted in the engine bay or under the vehicle.
• The control panel should be accessible from the drivers seat and may be mounted or left unmounted.
• The control panel cable uses mini USB connectors. Extensions can usually be found locally or
purchased from RideTech.
0.460
2.477
3.816
6.461
1.723
5.050