7
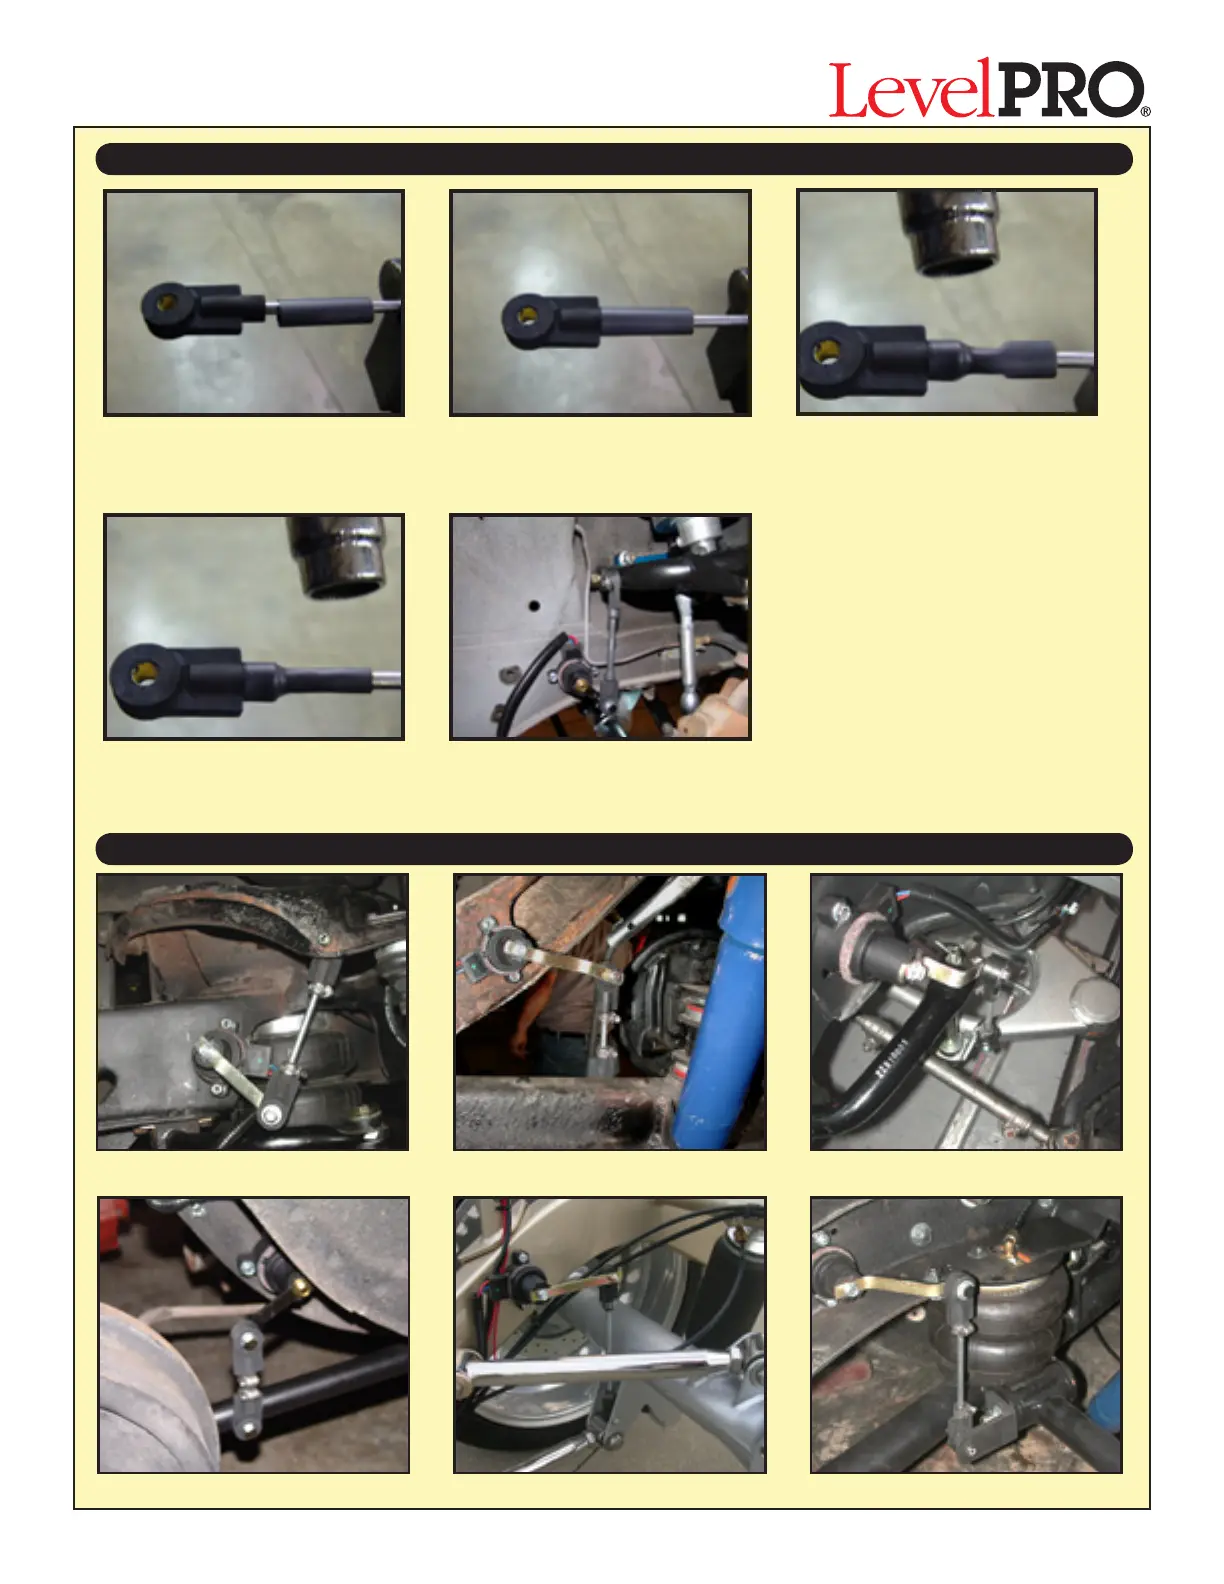
1- Once the linkage rod has been cut
to the proper length assemble the
linkage rod with heat shrink tubing
and the rubber end.
2- Slide the heat shrink tubing over the
rubber end as far as it will go.
3- Heat the shrink tubing with a heat gun (hair
dryer or small torch will work).
Begin by heating the rubber end rst. The
heat shrink is lined with adhesive and will
stick to the rubber when heat is applied.
4- Continue shrinking the tube to the rod until
secured. Be sure not to overheat the tubing
causing it to pull from the rubber end.
5
-
Once both sides of the linkage have been
nished secure the linkage to the sensor
and suspension.
69 Camaro Front 58-64 Impala Front
Triangulated 4-Link Rear
Rear Trailing Arm
65-70 Mustang Rear C-10 Truck Rear
Ride Height Sensors
Assembly of the LevelPRO Sensor Link Rods
Sensor Mounting Examples