8 - English
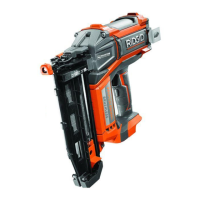
FEATURES
PRODUCT SPECIFICATIONS
Fastener Type ................................16 ga straight finish nail
Fastener Range ...................................... 3/4 in. to 2-1/2 in.
Magazine Capacity ............................................... 105 nails
WARNING:
Do not attempt to modify this product or create
accessories or attachments not recommended
for use with this product. Any such alteration
or modification is misuse and could result in a
hazardous condition leading to possible serious
personal injury.
WARNING:
Do not use this product if it is not completely
assembled or if any parts appear to be missing or
damaged. Use of a product that is not properly and
completely assembled or with damaged or missing
parts could result in serious personal injury.
ASSEMBLY
OPERATION
If any parts are damaged or missing, please call 1-866-539-1710 for assistance.
WARNING:
Do not allow familiarity with products to make you
careless. Remember that a careless fraction of a
second is sufficient to inflict severe injury.
WARNING:
Always remove battery pack from the tool when
you are assembling parts, making adjustments,
cleaning, or when not in use. Removing battery
pack will prevent accidental starting that could
cause serious personal injury.
WARNING:
Always wear eye protection with side shields
marked to comply with ANSI Z87.1. Failure to do
so could result in objects being thrown into your
eyes, resulting in possible serious injury.
APPLICATIONS
You may use this tool for the purposes listed below:
Finish and Trim (Interior and Exterior)
Door & Window Casing
Door Jambs
Baseboard
Crown Molding
Cabinetry
Cap and Shoe Molding
Molding
Staircases
Door and Window Trim
Chair Rail
Brickmold
Hardwood Flooring
Paneling
Furniture
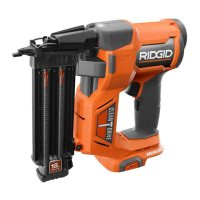
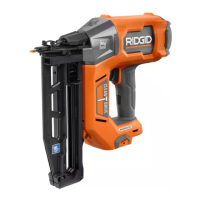
ATTACHING THE BELT CLIP
See Figure 1, page 13.
The belt clip can be installed on the left or right side of the
nailer, depending on operator preference.
Alignbeltclipandscrewwithrightorleftsidescrewhole.
UsingaPhillipsheadscrewdriver(notincluded),tighten
securely.
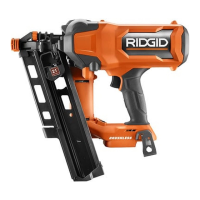
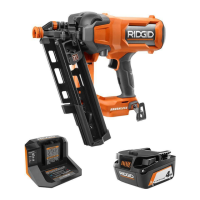
INSTALLING/REMOVING BATTERY PACK
See Figure 2, page 13.
To install, place the battery pack in the tool. Align raised
rib on battery pack with the groove inside the tool.
Make sure the latches on both sides of the battery pack
snap into place and the battery pack is secured in the
tool before beginning operation.
NOTE: Squeeze LED light grip switch to activate nailer.
To remove, locate latches on both sides of the battery
pack and depress to release the battery pack from the
tool.
For complete charging instructions, refer to the Operator’s
Manual for the battery packs and chargers for your models.
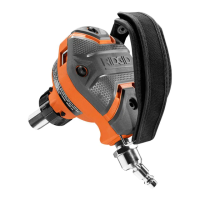
NO-MAR PAD
See Figure 3, page 13.
The no-mar pad attached to the nose of the tool helps
prevent marring and denting when working with softer
woods.