EasyManuals Logo

ring Floodlight Cam Wired Plus User Manual

ring Floodlight Cam Wired Plus
21 pages
To Next Page IconTo Next Page
To Previous Page IconTo Previous Page
Page #3 background imageLoading...
Page #3 background image
4
5
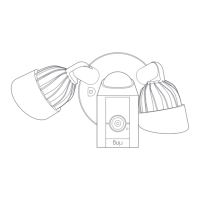
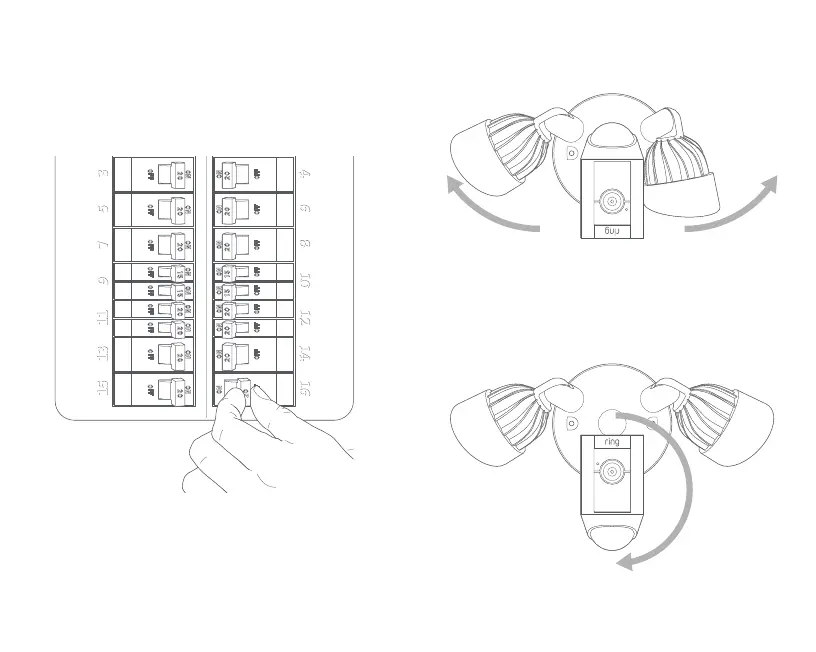
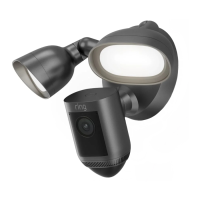
Prep your Floodlight Cam for installation.
First, rotate the lights out of the way, like this…
If you’re mounting on an eave or overhang, your
camera is already in position.
If you’re mounting to a wall, rotate the camera
into position like this...
Shut o power at the breaker!
You’ll be working with electrical wires during the install
process. If you don’t know where your breaker is or
how to turn o power to your floodlight circuit, we
recommend you hire a licensed electrician.

Questions and Answers:

Question and Answer IconNeed help?

Do you have a question about the ring Floodlight Cam Wired Plus and is the answer not in the manual?

ring Floodlight Cam Wired Plus Specifications

General IconGeneral
TypeIP security camera
Luminous flux2000 lm
Remote viewingYes
Color temperature3000 K
Placement supportedOutdoor
Connectivity technologyWired
Form factor-
Mounting typeWall
Product colorBlack
Ethernet LANNo
Wi-Fi standards802.11b, 802.11g, Wi-Fi 4 (802.11n)
AC input voltage100/240 V
Power source typeAC
Operating temperature (T-T)-20 - 50 °C
Number of lenses1
Total megapixels- MP
Maximum resolution1920 x 1080 pixels
Supported video modes1080p
Audio system2-way
Weight and Dimensions IconWeight and Dimensions
Depth179 mm
Width246 mm
Height299 mm

Related product manuals