Control-R™ Recirculation Accessory Installation Instructions
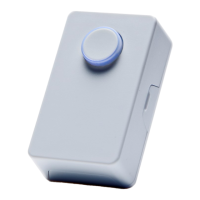
The Control-R™ Push Buon works with the Control-R™
Module to operate the Rinnai Tankless Water Heater
recirculaon system. The Push Buon mounts near the
point of use (such as a kitchen faucet or bathroom sink)
and acvates the recirculaon system with the push of a
buon. The recirculaon system will deacvate aer ve
minutes from iniaon or when the water has reached the
set temperature. The Push Buon is compable only with
Rinnai Tankless Water Heaters featuring Rinnai Circ-
Logic™.
NOTE: If the recirculang pump has recently been acve
and the recirculaon loop is sll warm, there may be a
delay in pump acvaon. To minimize any delay in pump
acvaon, set the Rinnai Tankless Water Heater to
Comfort Mode. Refer to the “Recirculaon Mode” secon
in the Tankless Water Heater Installaon and Operaon
Manual for more informaon on Comfort Mode.
Installaon Requirements
• Prior to installaon, determine the best locaon for
the Push Buon. Rinnai recommends installing the
Push Buon near a water xture that will be used
frequently, such as a kitchen faucet or bathroom sink.
• The Push Buon works in conjuncon with the
Control-R™ Module. The Control-R™ Module must be
installed and funconing properly before installing the
Push Buon.
LED
Connect buon
Push Buon LED
Remove adhesive strip
THIS DEVICE COMPLIES WITH PART 15 OF THE FCC RULES.
OPERATION IS SUBJECT TO THE FOLLOWING TWO CONDITIONS:
(1) THIS DEVICE MAY NOT CAUSE HARMFUL INTERFERENCE
(2) THIS DEVICE MUST ACCEPT ANY INTERFERENCE RECEIVED,
INCLUDING INTERFERENCE THAT MAY CAUSE UNDESIRED
OPERATION
Operate the Push Buon
Press the Push Buon to acvate the Rinnai Tankless Water Heater
recirculaon system. The recirculaon system will deacvate aer
ve minutes from iniaon or when the water has reached the set
temperature.
NOTE: If the recirculang pump has recently been acve and the
recirculaon loop is sll warm, there may be a delay in pump
acvaon. For further informaon, refer to the “Recirculaon
Mode” secon in the Tankless Water Heater Installaon and
Operaon Manual.
Install the Push Buon
1
Remove the push buon cover by pressing both sides
of the boom plate and liing the cover.
2
Pair the push buon with the Control-R™ Module
(called pairing mode) by following the steps below.
a
IMPORTANT:
• You have 5 minutes to pair the push button
with the module before pairing mode times
out. If pairing mode times out, you must
repeat the steps below.
On the module, press and hold down the Connect
buon unl the LED light turns GREEN. Then,
release the buon.
b
Press and hold down the push
buon unl the buon ashes three
mes. Then, release the buon.
c
The module LED ashes GREEN and then turns
to the previous mode (BLUE = connected to
Internet; RED = not connected to Internet).
d
The push buon is now paired with the module. Replace
the cover on the push buon device.
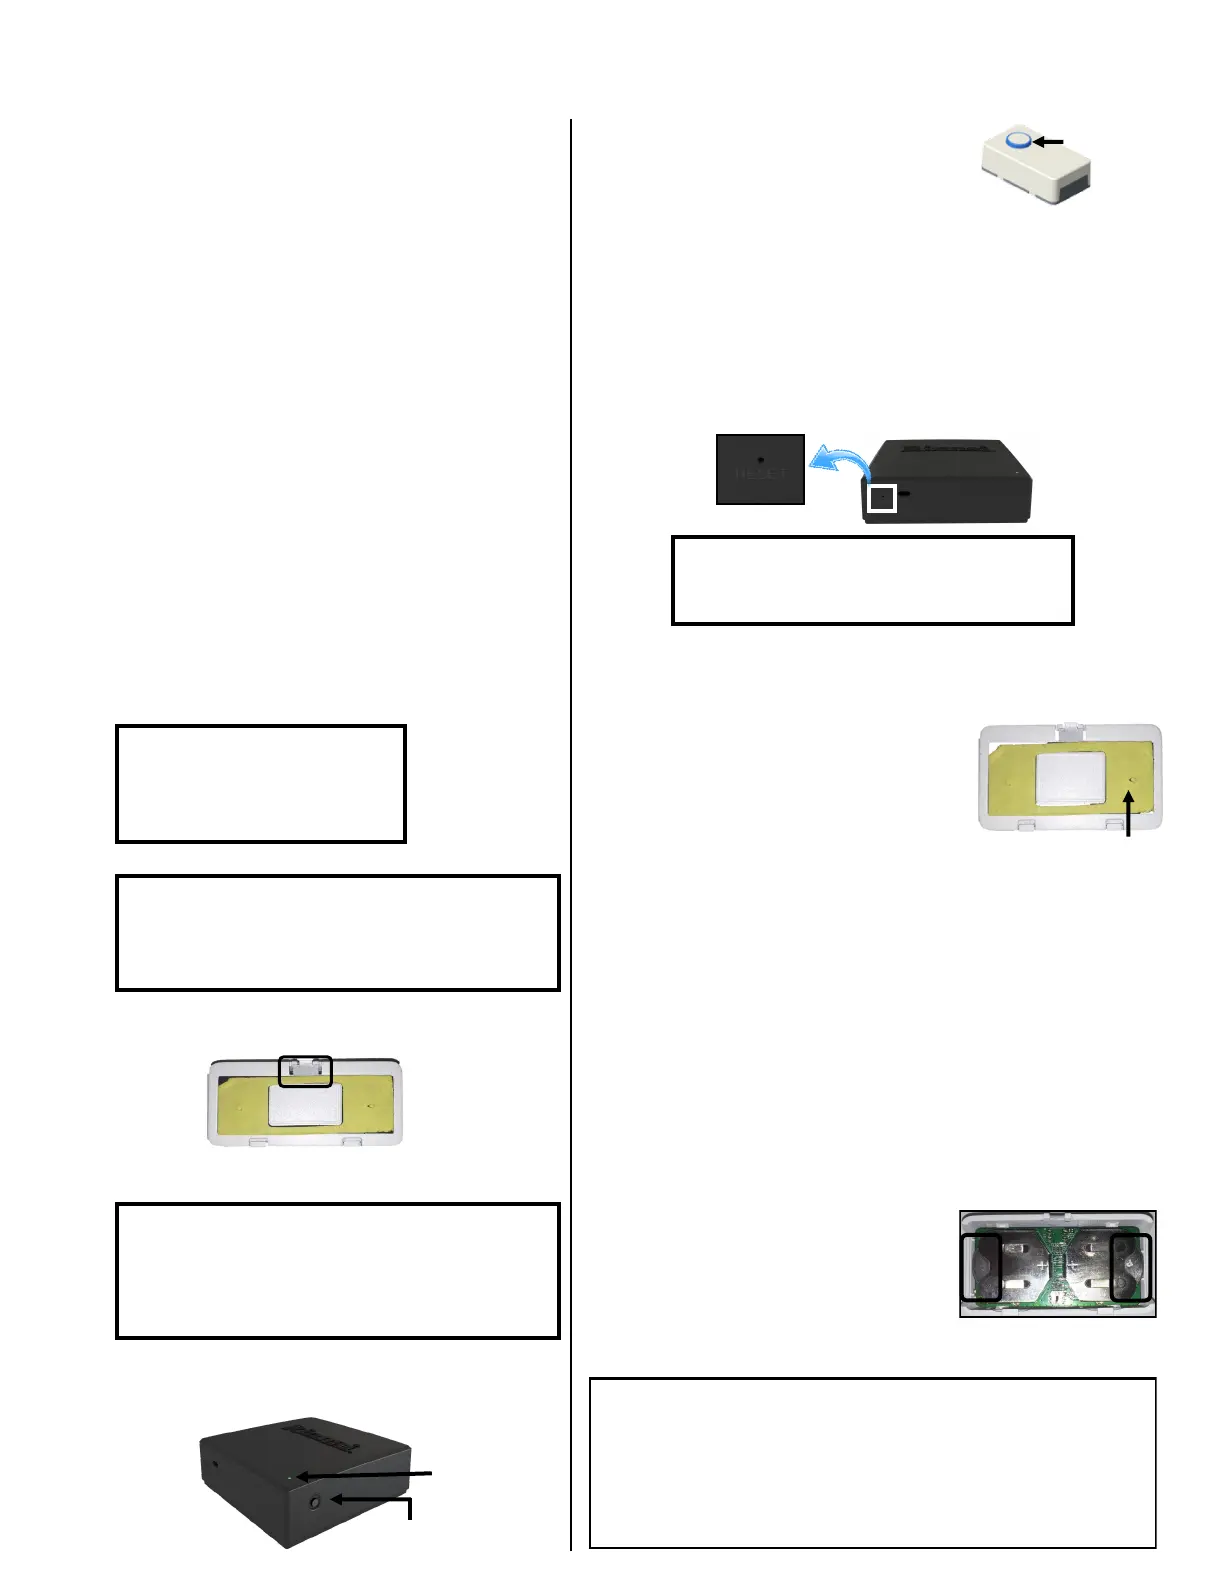
e
Once all devices have been paired, use a pin or small tool
to press the RESET buon on the module to reset and wait
for it to boot up again.
IMPORTANT: Wait one minute aer module
LED turns RED before trying to iniate
recirculaon with the push buon.
3
Determine a locaon for the Push Buon. Rinnai recommends
installing the Push Buon near a water xture that will be used
frequently, such as a kitchen faucet or bathroom sink.
4
Remove the adhesive strip from the
back cover and rmly press the body
of the Push Buon device against the
locaon surface to allow the adhesive
to take hold.
Restore Factory Sengs
To restore the Push Buon sengs to a
fresh state, remove the two Push Buon
baeries (see right). Wait a few seconds
and then reinsert the baeries while
pressing down on the Push Buon.
Connue to press down on the Push
Buon for an addional three seconds
aer the baeries have been inserted.
You Will Need:
• Control-R™ module
• Push buon
• Small tool/pin
IMPORTANT:
• Make sure the module LED has been RED for
at least 1 minute prior to beginning push
button pairing process .
 Loading...