Conversion Manual for Condensing Tankless Water Heaters 6
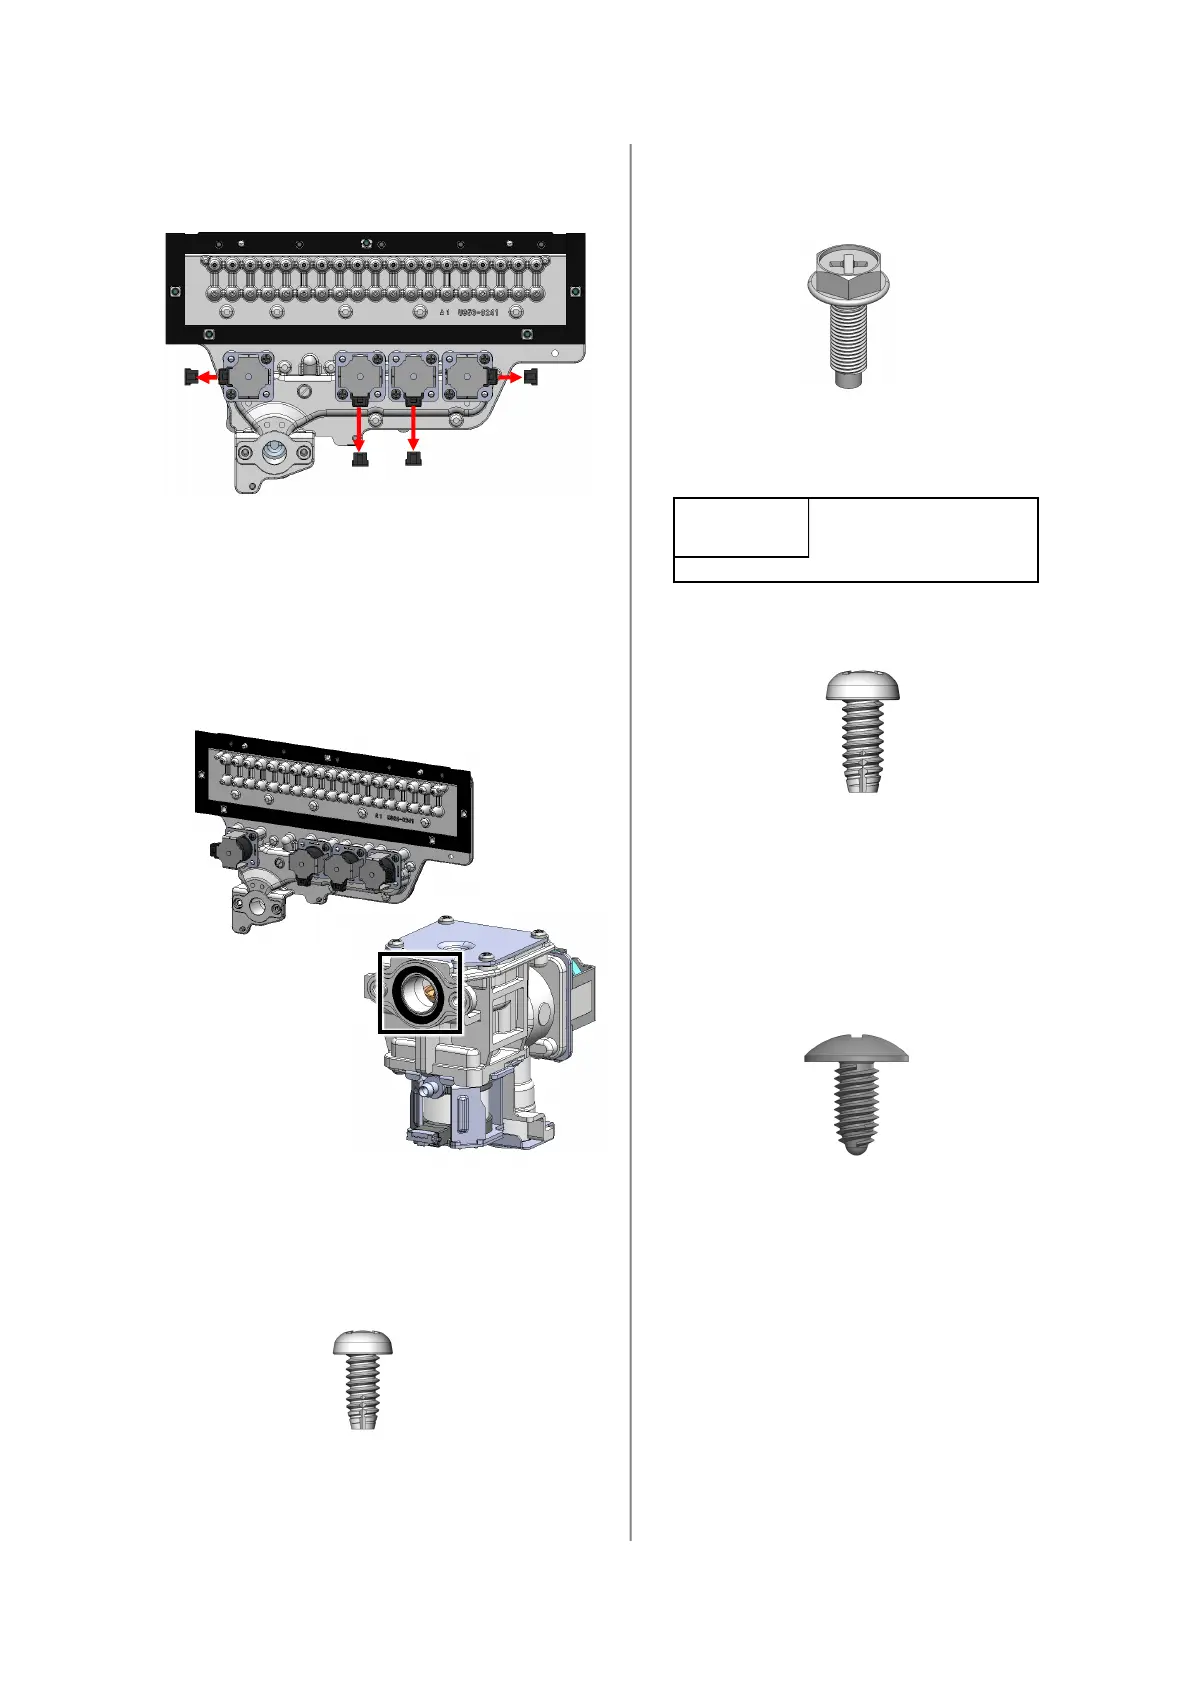
Be careful not to tear or
pinch wires between
manifold and valve.
NOTICE
Figure 7
Yellow/Black Orange/Black
Blue/Black
Red/Black
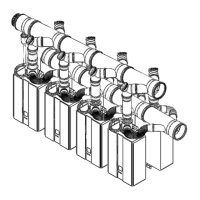
11. Disconnect the solenoid wires from all four gas
solenoids (Figure 7).
12. Connect wires to new gas manifold.
13. Inspect the new gas manifold gaskets for
damage and confirm gasket is installed at
gas control valve (Figure 8).
14. Position new gas manifold to the burner case
on the heat exchanger assembly.
15. Secure the gas manifold to the burner case
with five screws (Figure 9).
Figure 8
16. Secure the gas manifold to the gas
control valve with two hex head
screws (Figure 10).
Figure 9
17. Secure ignitor to gas manifold (Figure
11).
Figure 10
18. Reconnect the flame rod and ignitor
wire (Figure 2).
19. Reassemble controller with one screw
(Figure 12).
Figure 11
Figure 12
 Loading...