Condensing Water Heater Service Manual 21 100000354
KA Series Component Replacement Instructions
RC80HPi, RC80HPe,
RC98HPi, RC98HPe
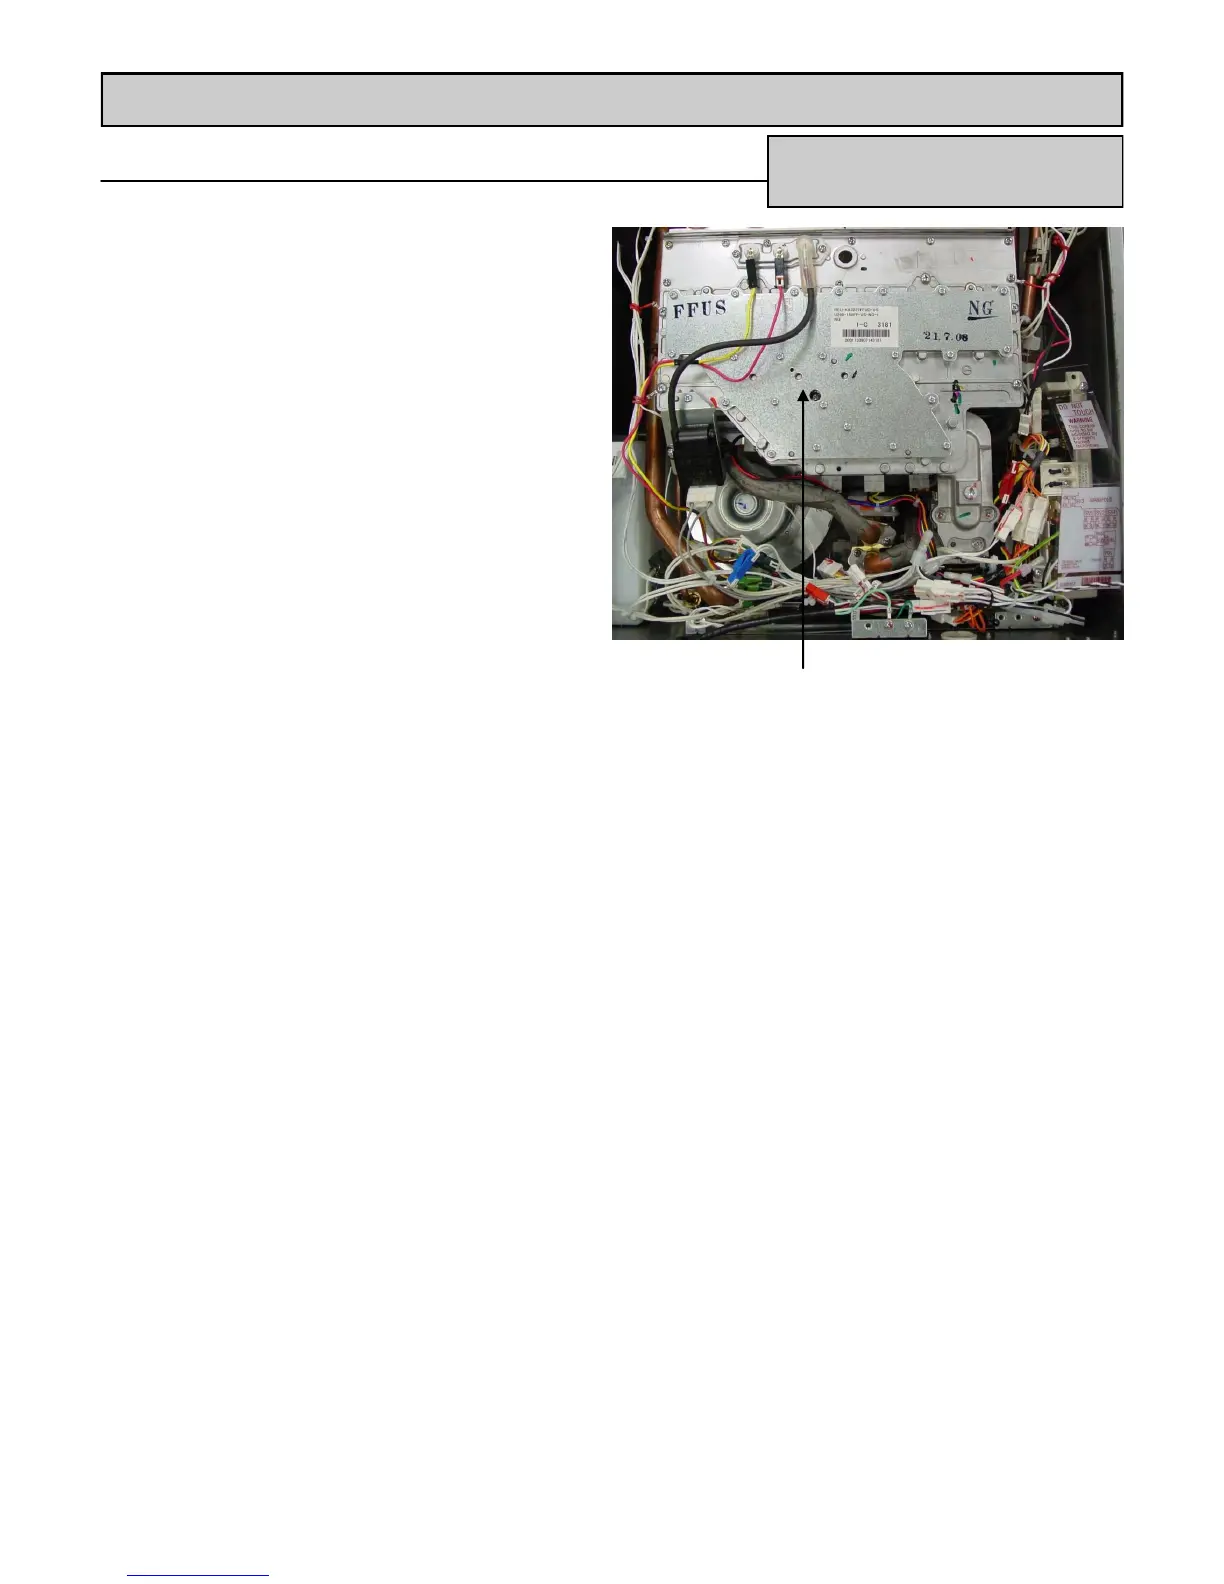
Gas Control Assembly
1. Turn off gas supply.
2. Turn off water supply.
3. Turn off 120v power supply.
4. Remove four screws securing the front panel.
Remove front panel.
Remove controller assembly (indoor model only)
5. Remove temperature controller. Remove two
screws for temperature controller bracket. Remove
bracket.
Remove gas manifold and gas valve
6. Disconnect high tension cord from electrode.
Remove one screw for igniter bracket. Remove
bracket from manifold.
7. Disconnect flame rod wires. (yellow and red)
8. Remove seven pan head screws from manifold (six
screws outer edge, one screw in middle) and three
machine screws, at bottom of manifold, to gas
valve.
9. Disconnect the four solenoid wire harnesses at
bottom of manifold. Remove manifold plate.
10. Remove the three screws attaching the gas
connection to the bottom side of water heater.
11. Pull the gas connection down to disconnect it from
the gas control assembly.
12. Pull out the gas control assembly. Remove the two
solenoid wire harnesses.
Install gas valve and gas manifold
13. Install the gas control assembly and connect the
wire harness to the two solenoids.
14. Install the gas connection with three screws.
15. Replace the circular gasket (included in kit) in the
gas valve. Ensure that the ribbed side faces
outward.
16. Remove packing from manifold. Install new packing
from kit to the gas manifold.
17. Connect the four solenoid wire harnesses at the
bottom of the manifold. Install igniter bracket with
one screw to gas manifold. Connect high tension
cord to electrode.
Manifold
18. Start the three screws that attach the gas manifold
to the gas valve. Install and tighten the seven
screws that hold the gas manifold to the
combustion chamber. Tighten the three screws
that hold the gas manifold to the gas valve.
Install temperature controller assembly (indoor
model only)
19. Install temperature controller bracket with two
screws. Install temperature controller.
Testing and close up
20. Calibrate low and high fire manifold pressure
settings. See pages 49-50.
21. Install the front panel using four screws.
 Loading...