Publication: AMEN00064 2019‑03‑07 7
Rite‑Hite
®
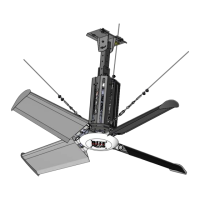
Installation/Service/Owner’s Manual Revolution
®
HVLS Fan • Rogue
®
HVLS Fan
Step 2 – Mounting Continued
Ceiling Truss Kit (OPTIONAL)
WARNING / AVERTISSEMENT
Always mount the fan to 2 joists. 1 joist will not
provide the rigidity and support necessary for the
fan during operation, and may cause the fan to fall
and cause injury.
Toujours monter le ventilateur sur deux solives.
Une seule solive n’apportera pas la rigidité et le
soutien nécessaire au ventilateur en marche ; cela
pourrait entrainer la chute du ventilateur et causer
des blessures.
CEILING TRUSS MOUNTING
(OPTIONAL)
LAMINATED BEAM KIT
(OPTIONAL)
B
B
A
C
D
A. Angles/Support
(3in x 3in x 1/4in [75mm x 75mm x 7mm] recommended)
B. Building Joists or Trusses
C. Extension tube
D. Brackets
1. Mount the angles to the building trusses/joists:
• So fan can be hung using standard I‑Beam mounting
bracket Figure 2 (page 6) with a gap between the
angles for the 3in x 3in [75mm x 75mm] drop tube.
• Securely so the angles cannot move.
2. Use a level to ensure the extension tube is hanging
vertical.
NOTE:
• I‑beam ceiling brackets are not provided when a
Ceiling Truss Kit is ordered.
• Several mounting positions have been cut into the
angles for exibility in positioning the fan.
Figure 3
INSTALLATION
 Loading...