-S5-
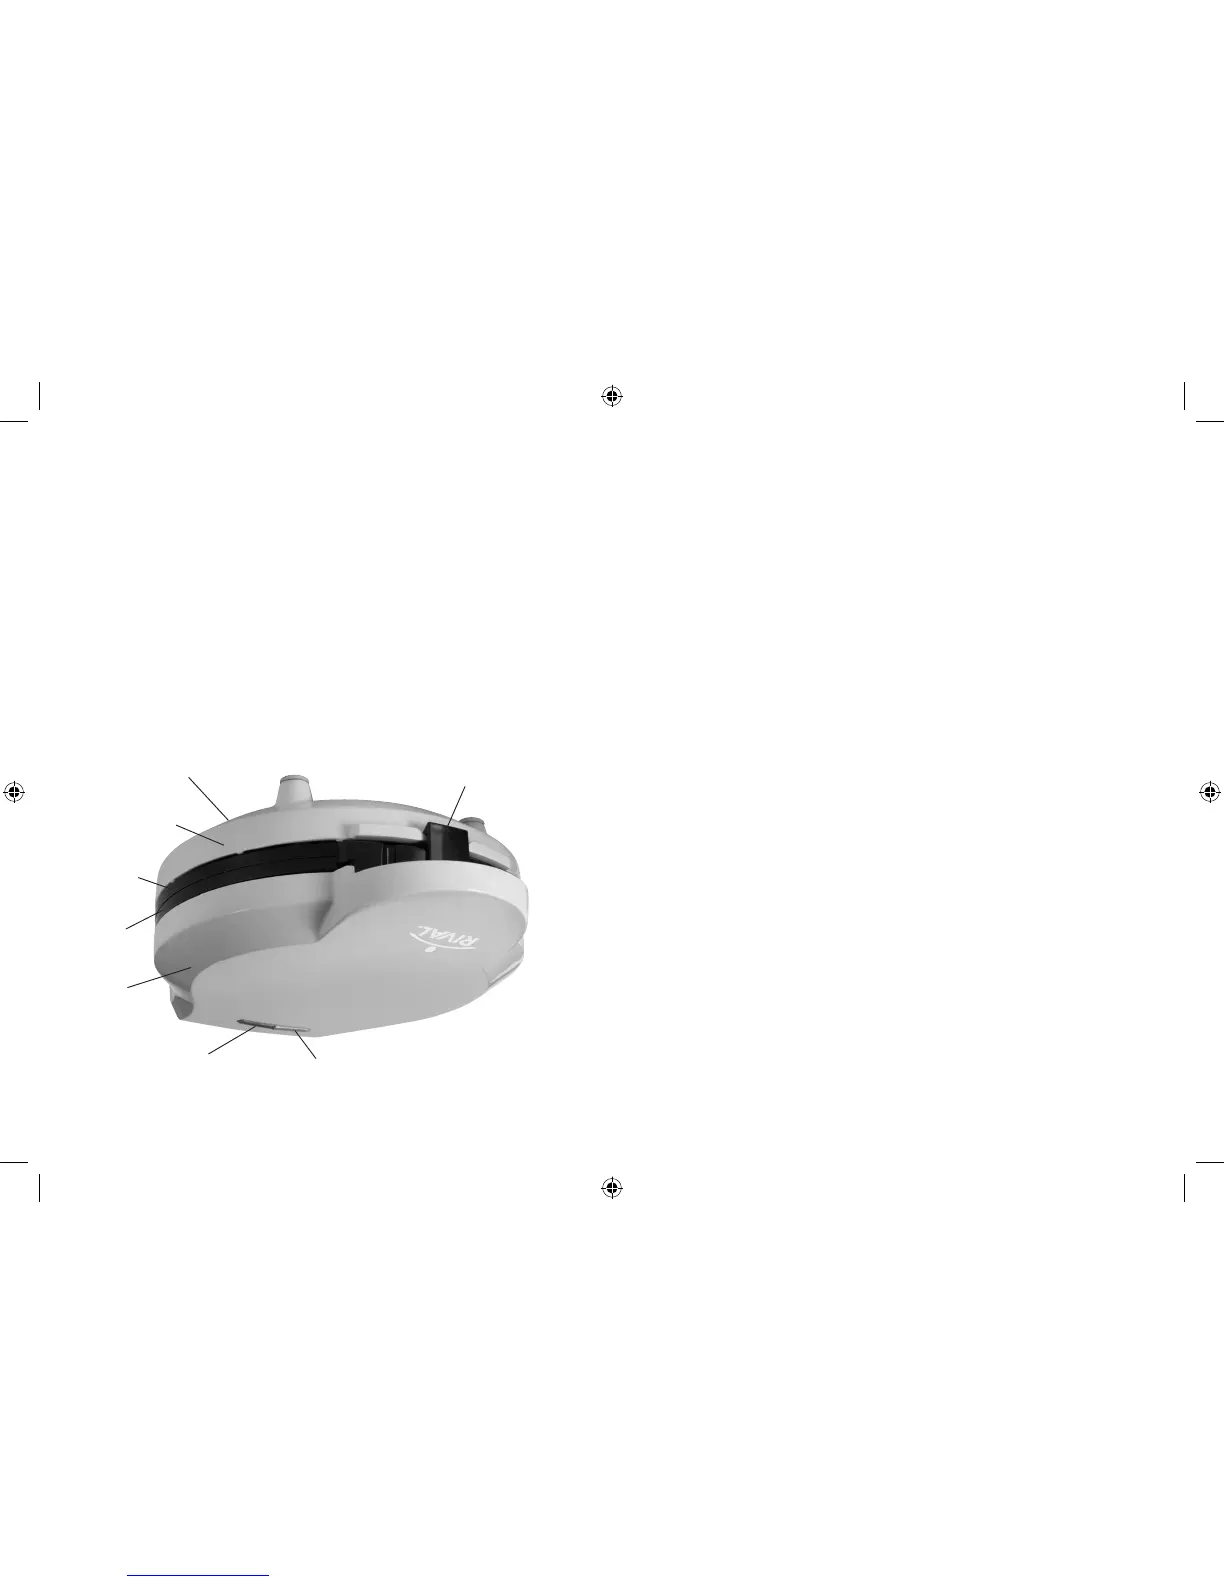
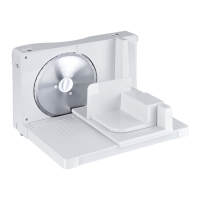
APRENDIENDO ACERCA DE SU MÁQUINA
PARA HACER MINI DONUTS
A. Luz indicadora de corriente
B. Luz indicadora de listo
para hornear
C. Cubierta superior
D. Plancha superior
E. Plancha inferior
F. Cubierta inferior
G. Cubierta del terminal
H. Pestillo de la tapa
A
D
G
H
C
B
E
F
ANTES DEL USO INICIAL
Remueva todo el empaque.
Limpie la plancha para horneado con una tela suave húmeda y luego deje
secar.
Engrase las planchas para horneado ligeramente con un poco de aceite
de cocina.
Tenga cuidado de que el agua no caiga en el aparato.
Desenrede el cordón eléctrico por completo.
NEVER IMMERSE COOKING SURFACES IN WATER.
HOW TO
1. Insert the plug into a 120 volt power outlet. The Power Light indicator
will turn on.
2. Allow your Mini Donut Maker to pre-heat until the ‘BAKE READY’ light
comes on. This indicates that the cooking plates have reached the
correct temperature for cooking.
3. When your Mini Donut Maker is heated for the first time it may emit
slight smoke or odor, this is normal with heating appliances. This does
not affect the safety of your appliance.
4. For best results, lightly spray the cooking plates with a cooking oil
spray before using. This will assist in the removal of the donuts after
cooking.
5. Divide mixture into pan holes as per recipes using a spoon, fabric
piping bag or pitcher.
NOTE: Do not use disposable plastic piping bags as these may melt if
they come into contact with hot plates. Surfaces are HOT.
6. Spread lightly to fill entire shape. Try not to overfill; batter will expand
when cooked.
7. Gently close the lid, ensuring the latch locks into place. Do not slam
the lid down as it may cause the mixture to run off the cooking plates.
8. Allow to cook for approximately 5-6 minutes or until golden.
9. To remove donuts, always use a plastic or wooden spatula. Never use
a sharp object or metal, as this will damage the non-stick surface of
the cooking plates.
10. Surfaces are HOT.
-E5-
FPRVDMM921_12ESM1 P.indd 8-9 11/23/11 8:42 AM