- 17 -
It is essential to keep the eggs in the egg trays with the point downwards, covered with a dark breathable
fabric.
4. Eggs are good for incubation from 2nd to 6th/7th day from laying. Incubating eggs older than 8 days
considerably reduces the hatching rate, which will be close to zero in case of eggs kept for more than 15
days.
5. Eggs chosen for incubation should never be collected during the breeders’ moulting: often during these
days eggs could be unfertilized.
6. Eggs chosen for incubation should never be collected when the animals suffer stress from high or low
temperatures.
7. Choose eggs with normal shape (they should not be oblong, spherical, corrugated or misshapen in any
way).
8. The egg shell must not be cracked, thin, broken, soft, tapered or blue spotted (old eggs).
9. Allow the cold eggs (from storage temperature) to warm to room temperature gradually before putting
them into the incubator. A sudden heating from +14°C to +38°C would cause moisture on the egg shell
leading to decreased hatching rates.
10. Avoid incubating eggs from different species. Do not add eggs after having started incubation.
4. PREPARATION AND START-UP OF THE INCUBATOR
Put the incubator in a room where the temperature is between +20°C and +25°C. It should be comfortable,
clean and well aired but devoid of air draughts. Make sure that the machine is not exposed to direct sun light
or placed next to heat sources such as radiators, stoves, etc. We suggest you keep it at home.
Do not use or store the incubator in a room where there are chemicals, poisonous, toxic or flammable
substances, even in small concentrations, as they will negatively affect the development of embryos.
Do not use the incubator where there is the risk of contact with water or other liquids.
4A - CONTROLS
The incubator has no controls: inserting the plugs activates respectively the electric resistor and the motors.
4B - USE
Operation of the unit is simple:
a) Place the incubator on a flat table, in a horizontal position, stable and secure. The table must be at least
500 mm high. The base of the incubator must rest directly on the table in order to prevent any obstruction
of the ventilation holes.
b) Remove the lid and place it beside the machine keeping the grill downwards.
c) Remove the floor for hatching from the base of the incubator, as it is necessary only for hatching (last 3
days). DO NOT LEAVE IT INSIDE THE MACHINE DURING INCUBATION! (photo A).
NB: store the floor for hatching on a flat surface so that it will not deform (photo B).
d) Make sure that the egg tray is in the correct position (on its supports) and that the cradle rows tilt freely in
the two directions (photo C and D).
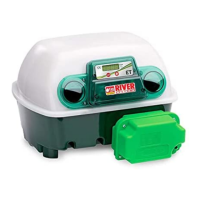
e) Fill the basin on the left with lukewarm preferably demineralized water. Pour the water into the corresponding
opening in the base of the incubator (photo E). Do this slowly, taking care not to allow the water to overflow
from the basin: too much liquid would increase the humidity rate lowering the hatching percentage. The
second basin (on the right) will be used only for the hatching phase. You can top up the basin(s) even when
the incubator is working.
f) Replace the lid. Make sure that the edge of the lower box locates perfectly with the slot in the lid (photo
F).
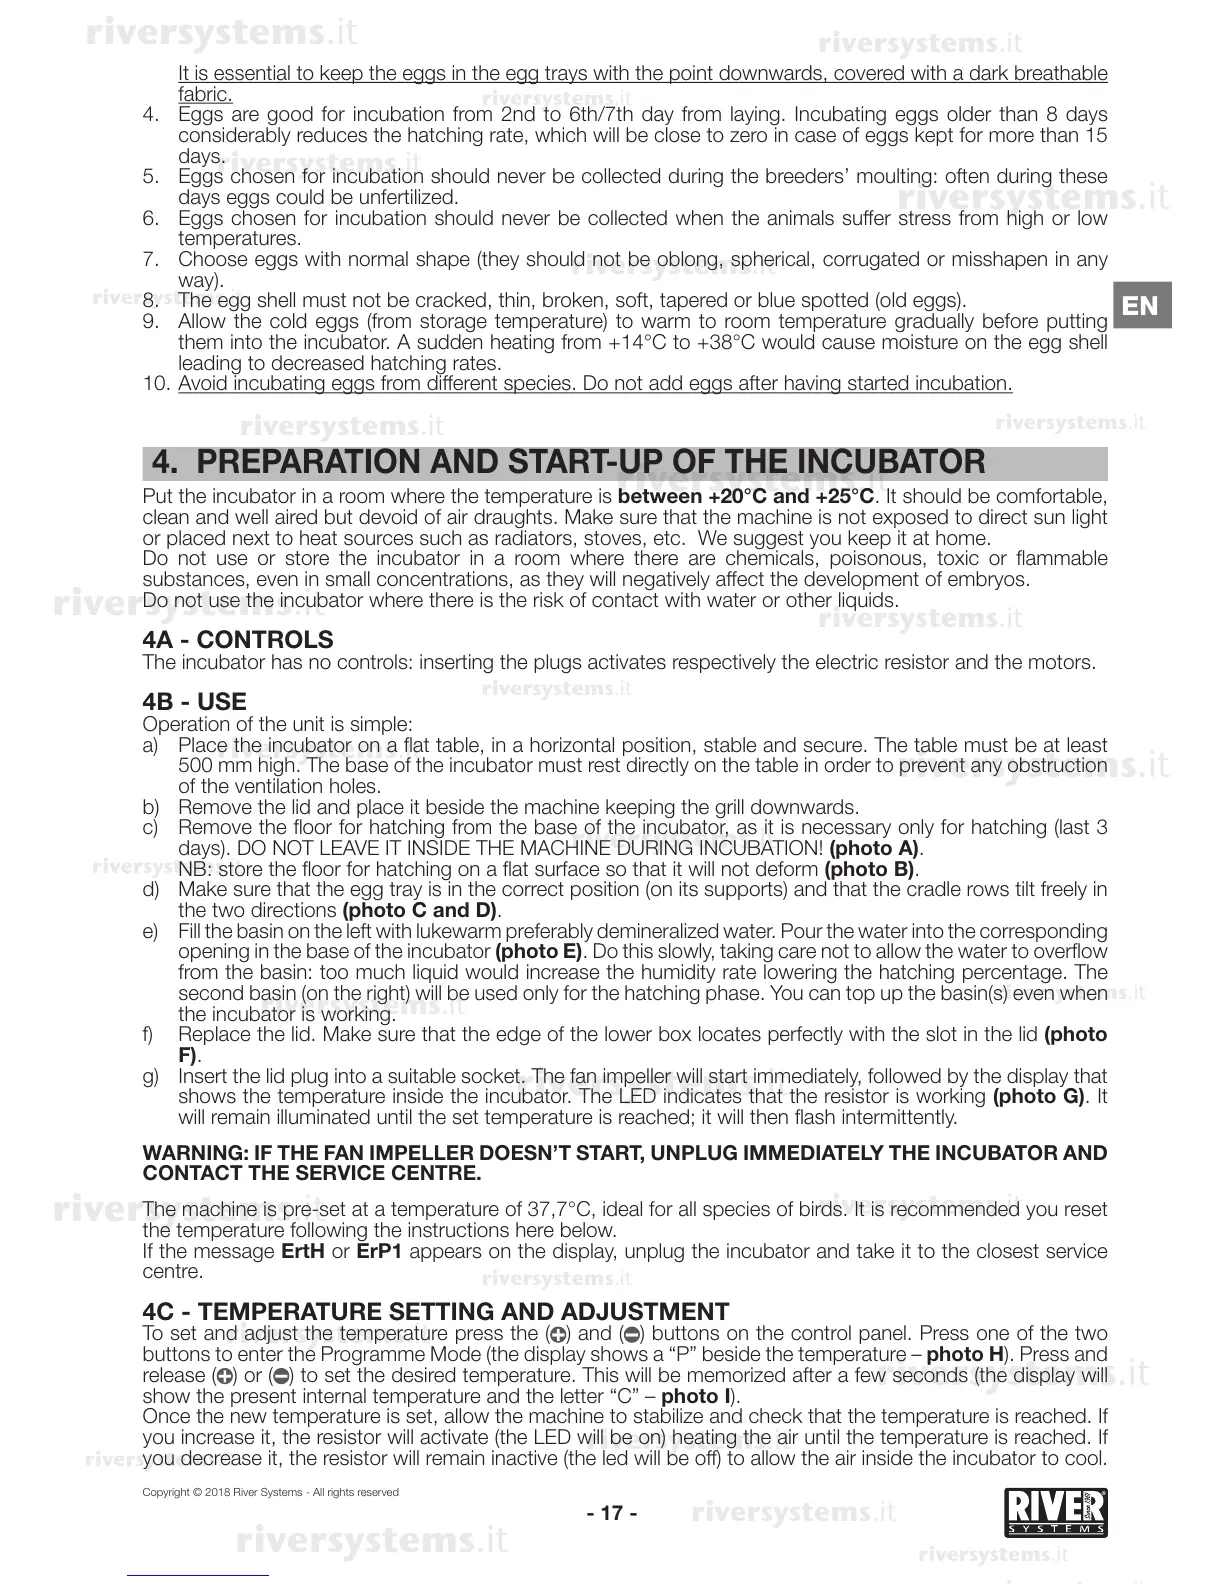
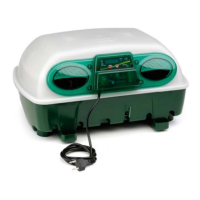
g) Insert the lid plug into a suitable socket. The fan impeller will start immediately, followed by the display that
shows the temperature inside the incubator. The LED indicates that the resistor is working (photo G). It
will remain illuminated until the set temperature is reached; it will then flash intermittently.
WARNING: IF THE FAN IMPELLER DOESN’T START, UNPLUG IMMEDIATELY THE INCUBATOR AND
CONTACT THE SERVICE CENTRE.
The machine is pre-set at a temperature of 37,7°C, ideal for all species of birds. It is recommended you reset
the temperature following the instructions here below.
If the message ErtH or ErP1 appears on the display, unplug the incubator and take it to the closest service
centre.
4C - TEMPERATURE SETTING AND ADJUSTMENT
To set and adjust the temperature press the ( ) and ( ) buttons on the control panel. Press one of the two
buttons to enter the Programme Mode (the display shows a “P” beside the temperature – photo H). Press and
release ( ) or ( ) to set the desired temperature. This will be memorized after a few seconds (the display will
show the present internal temperature and the letter “C” – photo I).
Once the new temperature is set, allow the machine to stabilize and check that the temperature is reached. If
you increase it, the resistor will activate (the LED will be on) heating the air until the temperature is reached. If
you decrease it, the resistor will remain inactive (the led will be off) to allow the air inside the incubator to cool.
Copyright © 2018 River Systems - All rights reserved
EN