Do you have a question about the Roav DASHCAM C1 and is the answer not in the manual?
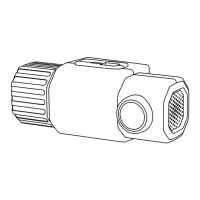
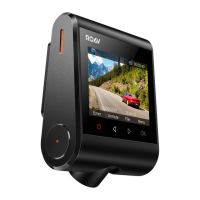
Insert a microSD/TF card with gold contacts facing the screen, push until it clicks.
Push the top edge of the microSD/TF card inward until it clicks, then pull it out.
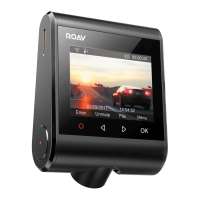
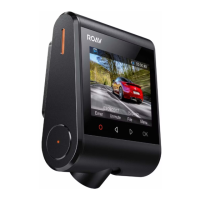
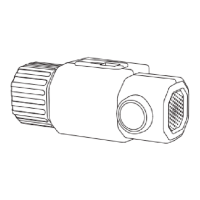
Attach the DashCam onto the mount.
Select a location (A or B) on the windshield rear of the rear-view mirror.
Remove 3M adhesive sticker and affix the mount firmly onto the windshield.
Connect the car charger and DashCam using the charging cable.
Plug the car charger into your vehicle's cigarette lighter socket.
Search "Roav" in App Store or Google Play.
Connect smartphone via Wi-Fi to save and playback recordings.
| Brand | Roav |
|---|---|
| Model | DASHCAM C1 |
| Category | Dash Cameras |
| Language | English |