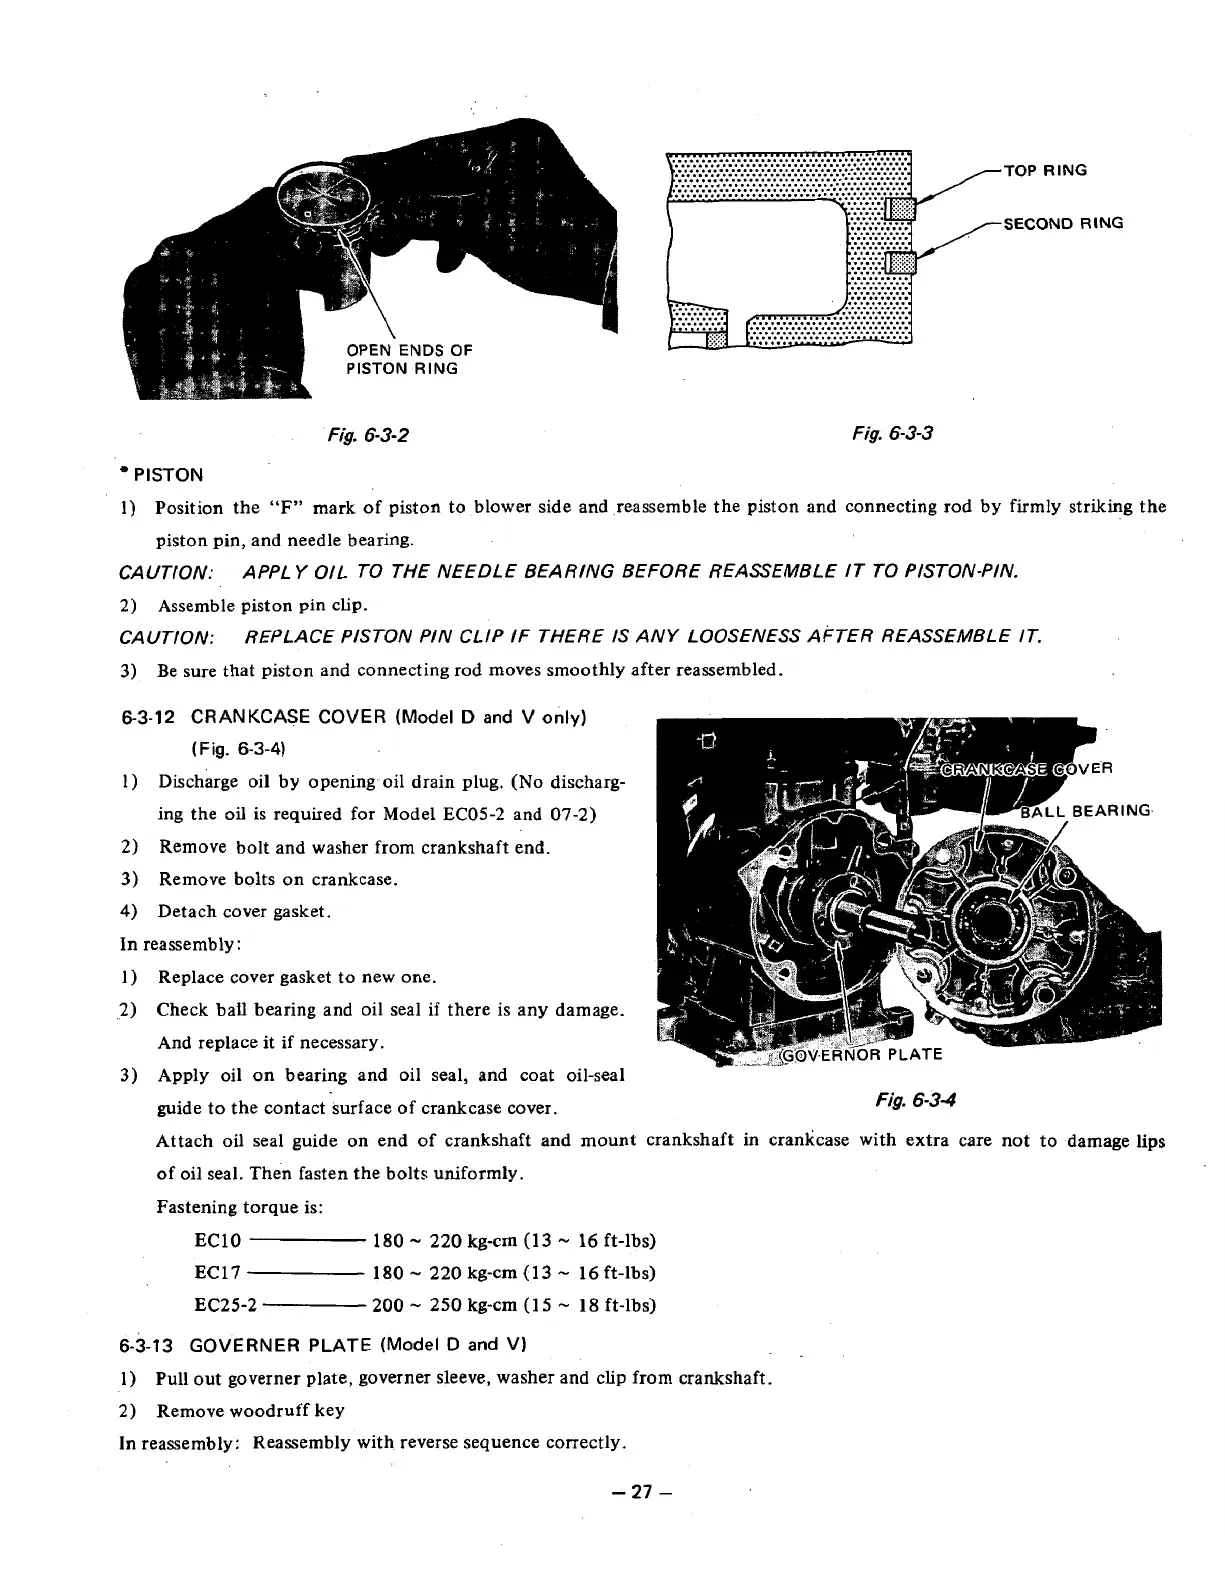
TOP
RING
SECOND
RING
..........
ISTON
RING
Fig.
6-3-2
Fig.
6-3-3
PISTON
1) Position the
“F”
mark
of
piston to blower side and reassemble the piston and connecting rod by firmly striking the
piston pin, and needle bearing.
CAUTION: APPLY
OIL
TO THE NEEDLE BEARING BEFORE REASSEMBLE IT
TO
PISTON-PIN.
2)
Assemble piston pin clip.
CAUTION: REPLACE PISTON PIN CLIP
IF
THERE
IS
ANY LOOSENESS AFTER REASSEMBLE IT.
3)
Be sure that piston and connecting rod moves smoothly after reassembled.
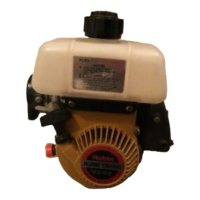
6-3-12
CRANKCASE COVER (Model
D
and
V
only)
(
Fig.
6-3-4)
1) Discharge oil by opening oil drain plug.
(No
discharg-
ing the
oil
is required for Model
EC05-2
and
07-2)
2)
Remove bolt and washer
from
crankshaft end.
3)
Remove bolts on crankcase.
4)
Detach cover gasket.
In reassembly:
1) Replace cover gasket to new one.
2)
Check bail bearing and
oil
seal
if
there is any damage.
And replace it if necessary.
3)
Apply oil on bearing and oil seal, and coat oil-seal
guide to the contact surface
of
crankcase cover.
Fig.
6-34
Attach
oil
seal guide on end
of
crankshaft and mount crankshaft in crankcase with extra care not to damage
lips
of
oil seal. Then fasten the bolts uniformly.
Fastening torque
is:
EClO
180
-
220
kg-cm
(13
-
16
ft-lbs)
EC17
180
-
220
kg-cm
(13
-
16
ft-lbs)
EC25-2
200
-
250
kg-cm
(1
5
-
18
ft-lbs)
6-3-13
GOVERNER PLATE
(Model
D
and
V)
1) Pull out governer plate, governer sleeve, washer and clip from crankshaft.
D
2)
Remove woodruff key
In reassembly: Reassembly with reverse sequence correctly.
-
27
-