Do you have a question about the ROBINHOOD RHCV9G VETRO WALL and is the answer not in the manual?
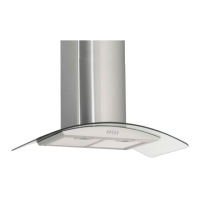
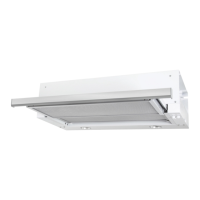
Details the telescopic chimney's range for installation between 650-750mm above the cooking surface.
Emphasizes reading instructions, switching off power, using filters, and protecting stainless steel finish.
Explains the timer switch function for clearing cooking odours automatically after 15 minutes.
Details requirements for ducted installation including 150mm ducting and a 170mm hole.
Instructions for recirculation setup, requiring no ducting and the use of charcoal filters.
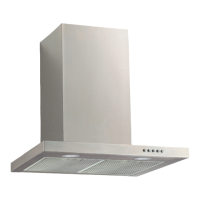
Details mounting the chimney bracket, attaching the hood, and connecting power and ducting.
Covers assembling the top and bottom chimneys and fitting the filters into place.
Instructions for periodic cleaning of grease filters using hot soapy water or a dishwasher.
Guidance on replacing disposable charcoal filters every 2-4 months based on usage.
Step-by-step guide for safely replacing the 12V/10W halogen bulb, including cover removal and bulb handling.
Warns against unsupervised children, advises on ventilation for fuel-burning appliances, and fire risks.
Covers minimum distances, exhaust air regulations, and cord replacement by qualified personnel.
| Category | Ventilation Hood |
|---|---|
| Model | RHCV9G VETRO WALL |
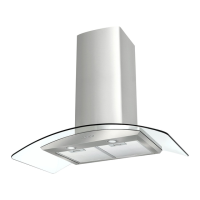
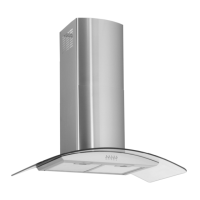
| Type | Wall-mounted |
| Width | 90cm |
| Number of Motors | 1 |
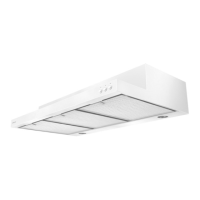
| Control Type | Push button |
| Lighting | LED |
| Material | Stainless Steel |
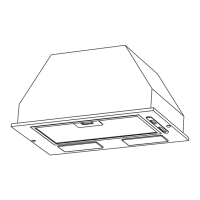
| Filter Type | Aluminum mesh |