Do you have a question about the RockShox FS-REBA-RL-A6 and is the answer not in the manual?
Steps for preparing suspension components before commencing service.
General guidelines for cleaning, seal replacement, and lubrication during service.
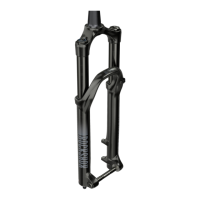
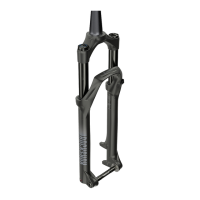
Guidance on identifying fork models using serial and model codes.
Essential specialized and general tools for fork maintenance.
Recommended oils, greases, and cleaners for suspension.
Key safety precautions to follow during suspension servicing.
Ensuring the wiper seal is flush with the lower leg top surface.
How to adjust fork travel by replacing the air spring shaft assembly.
Adding or removing tokens to fine-tune the fork's bottom-out resistance.
Critical safety warning regarding air pressure release and eye protection.
Specific guidance on approved greases for Bluto and Reba forks.
Inserting the assembled air spring into the upper tube.
Pulling the complete air spring assembly out of the upper tube.
Replacing o-rings on the floating seal head with new ones and grease.
Securing the seal head assembly using retaining ring pliers.
Replacing the o-ring on the air piston with grease.
Assembling the floating seal head, washers, and guide onto the air shaft.
Replacing the outer and inner seal head o-rings with new ones.
Reinstalling adjustment knobs and tightening bolts for RCT3 and RL models.
Replacing the o-ring on the compression damper piston and installing a glide ring.
Detaching the rebound damper and its associated seal head.
Securing the rebound seal head with a retaining ring using pliers.
Reassembling the cable stop collar, spool, and tightening the set screw for RL Remote.
Attaching the seal head back onto the damper shaft.
Inserting and rotating the compression damper into the upper tube.
Inserting the rebound damper piston into the upper tube at an angle.
Securing the rebound seal head with a retaining ring using pliers.
Inflating the air spring to the recommended pressure using a shock pump.
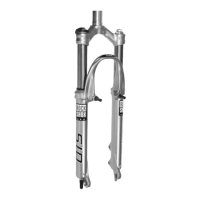
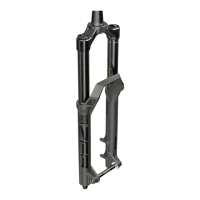
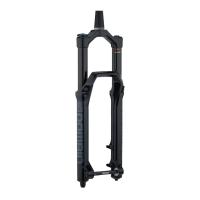
| Brake Compatibility | Disc |
|---|---|
| Travel | 100mm |
| Steerer Tube Diameter | 1 1/8" |
| Damper Type | Motion Control |
| Spring Type | Air |
| Spring | Air |
| Adjustments | Rebound, Lockout |