More information about the sound decoder can be found here
GB GB
14 3
Maintenance of the modelStarting locomotive operation
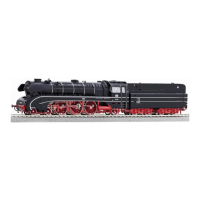
Unwrap model: Take out the model cautiously
ith foil (g. ).
Operating instructions: Before use is advisab-
le to let the loco go around about 30 minutes for-
ards an 0 minutes backards ithout load, to
obtain an optomal circuit and best tractive power.
The smallest radius this model should run is R2 of
the ROCO track system (R2 = 358 mm).
Your locomotive will run smoothly on clean tracks
only. For this purpose we recommend using item
no. 46400, Roco track cleaning van, or item
no. 10002, Roco track cleaning rubber, for
removing heavy dirt.
Fittings: Operation is possible with different
couplings (g. 2). e recommend using the oco
close coupling.
n the enclosed accessory bag you ill nd small
kits to be tted on your locomotive. lease mount
them cautiously.
Attention! se glue only if indicated (g. 2).
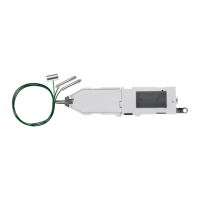
Running in digital mode:
Remove the jumper from the interface.
Finally put the plug of the chip into the interface
as shon in g. .
A.C. operation: see g.
To enoy your model for a long time, it is neces-
ary to service it regulary (i.e. after it has been in
ope-ration for approximately 30 hours).
1. Cleaning of wheel contacts: Wheel cont-
acts easily get dirty on tracks which are not en-
tirely clean. Use a small brush to remove dirt
from spots marked in g. . rior to cleaning the
contacts dismantle the bogie (g. ).
2. Lubrication: Apply tiny oil drops to spots
marked in g. . rior to lubrication dismantle lo-
comotive (g. 4). e recommend using item no.
10906, Roco oiler. For lubrication the gearparts
(e.g. cogheels, orm) e hould recommended
our Roco special grease (item no. 10905).
Attention: Please do not oil these parts when
using our grease.
3. Change of traction tyre: Remove the gear
cover (g. ). Take out wheel set and remove
traction tyre using a pin or a ne scredriver
(g. ). hen pressing on the ne traction tyre
please avoid twisting it.
4. Motor Changing: irst remove loco body (g.
4) and then change the motor (g. 0).
Assembly: During assembly please take care of
correct position of contacts.
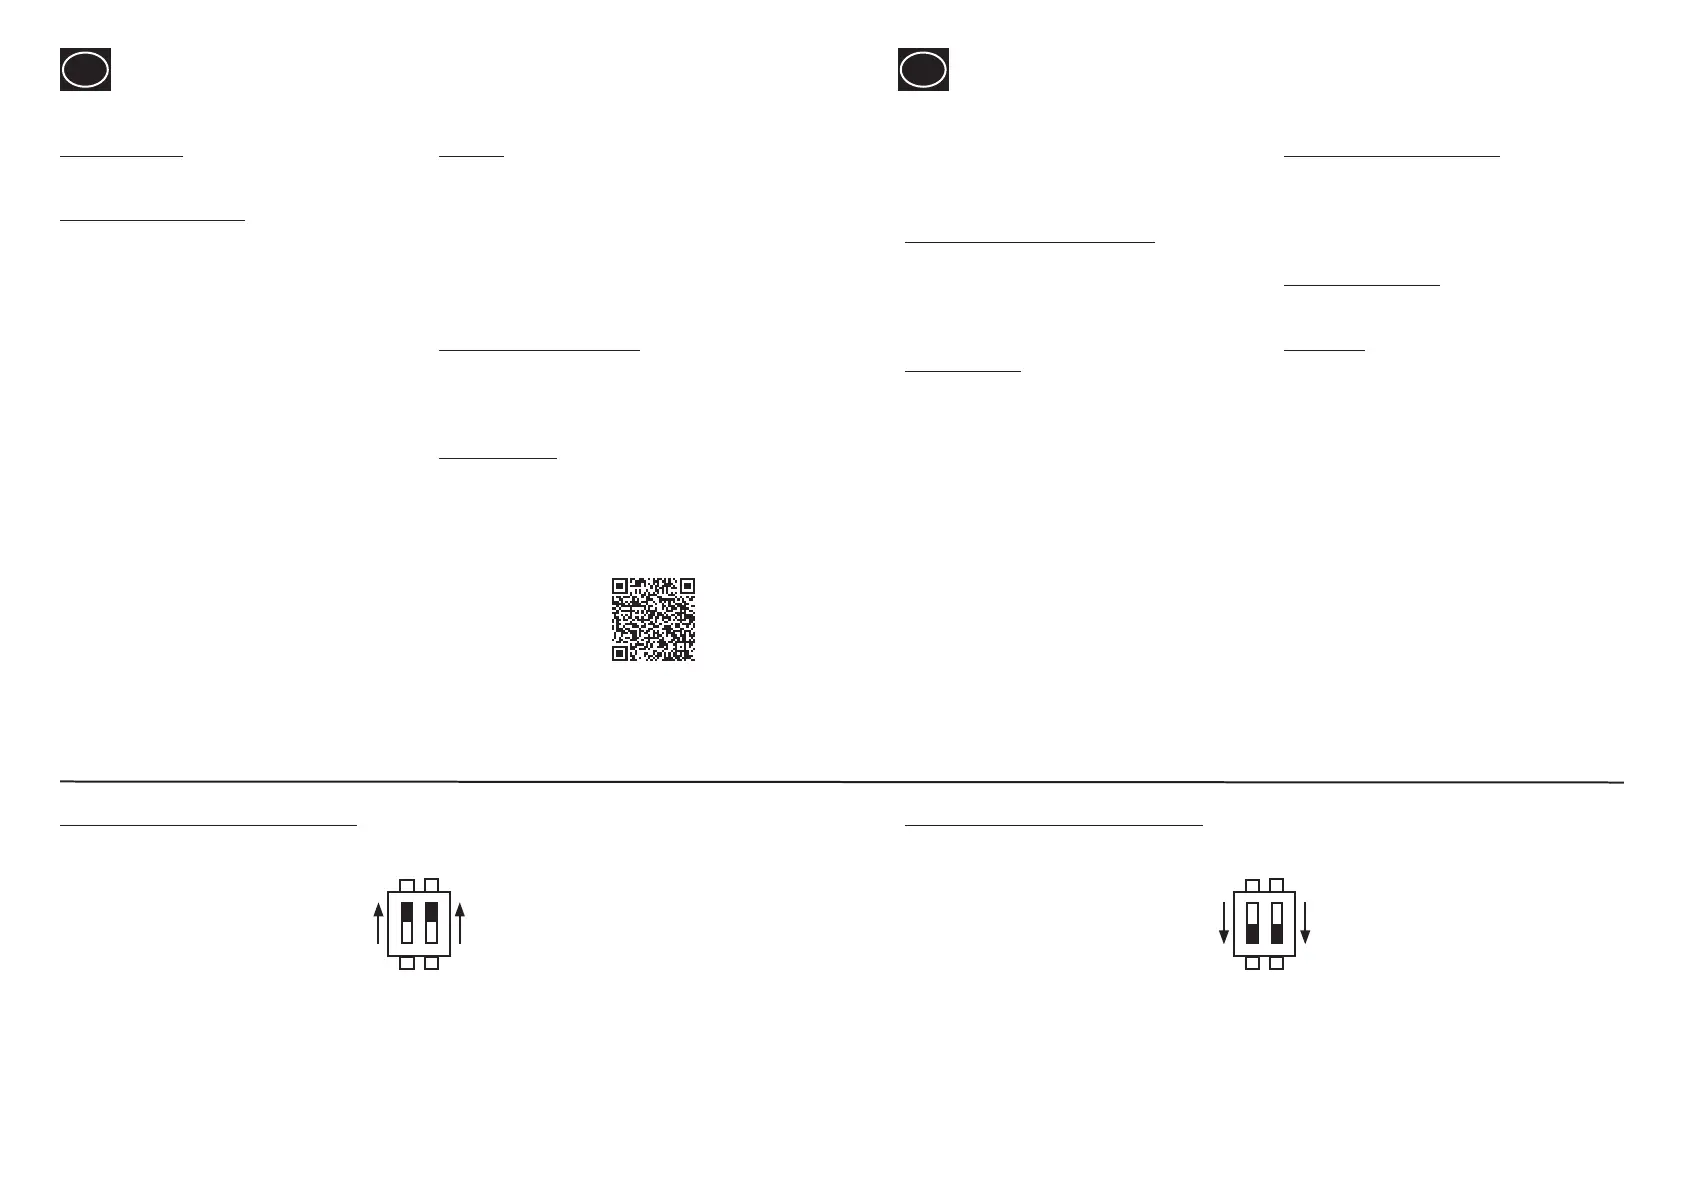
Position "ON"
Works setting: The headlight is illuminated in the analog and digital operations, depending on the direc-
tion of travel.
Position „OFF“
In the analog operation, the headlight is deactivated.
ON
1 2
Drivers Cab 1 ON Drivers Cab 2 ON
ON
1 2
Drivers Cab 1 OFF Drivers Cab 2 OFF
Dip-Switch for analog model 73216 Dip-Switch for analog model 73216
 Loading...