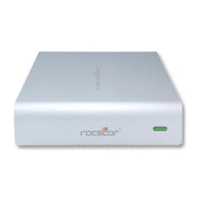
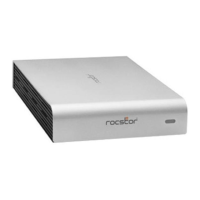
ROCSTOR | ROCBIT FXKT quick installation guide
Page \ 3
NOTE: For security reasons REMOVE (and store in safe place) the Key-token once access to the data is granted. As long as the Rocbit
device is ON, the data is accessible. At this stage, the Rocbit device acts as any other standard external drive in the market. Once the drive
is powered OFF you are required to insert the key-token and repeat the procedures for authentication again.
You may also refer to the Rocstor website to view or download a full version of the Rocbit FXKT manual. www.ROCSTOR.com
Connecting the Drive
1. Turn ON your computer and wait until it fully boots up to load all programs
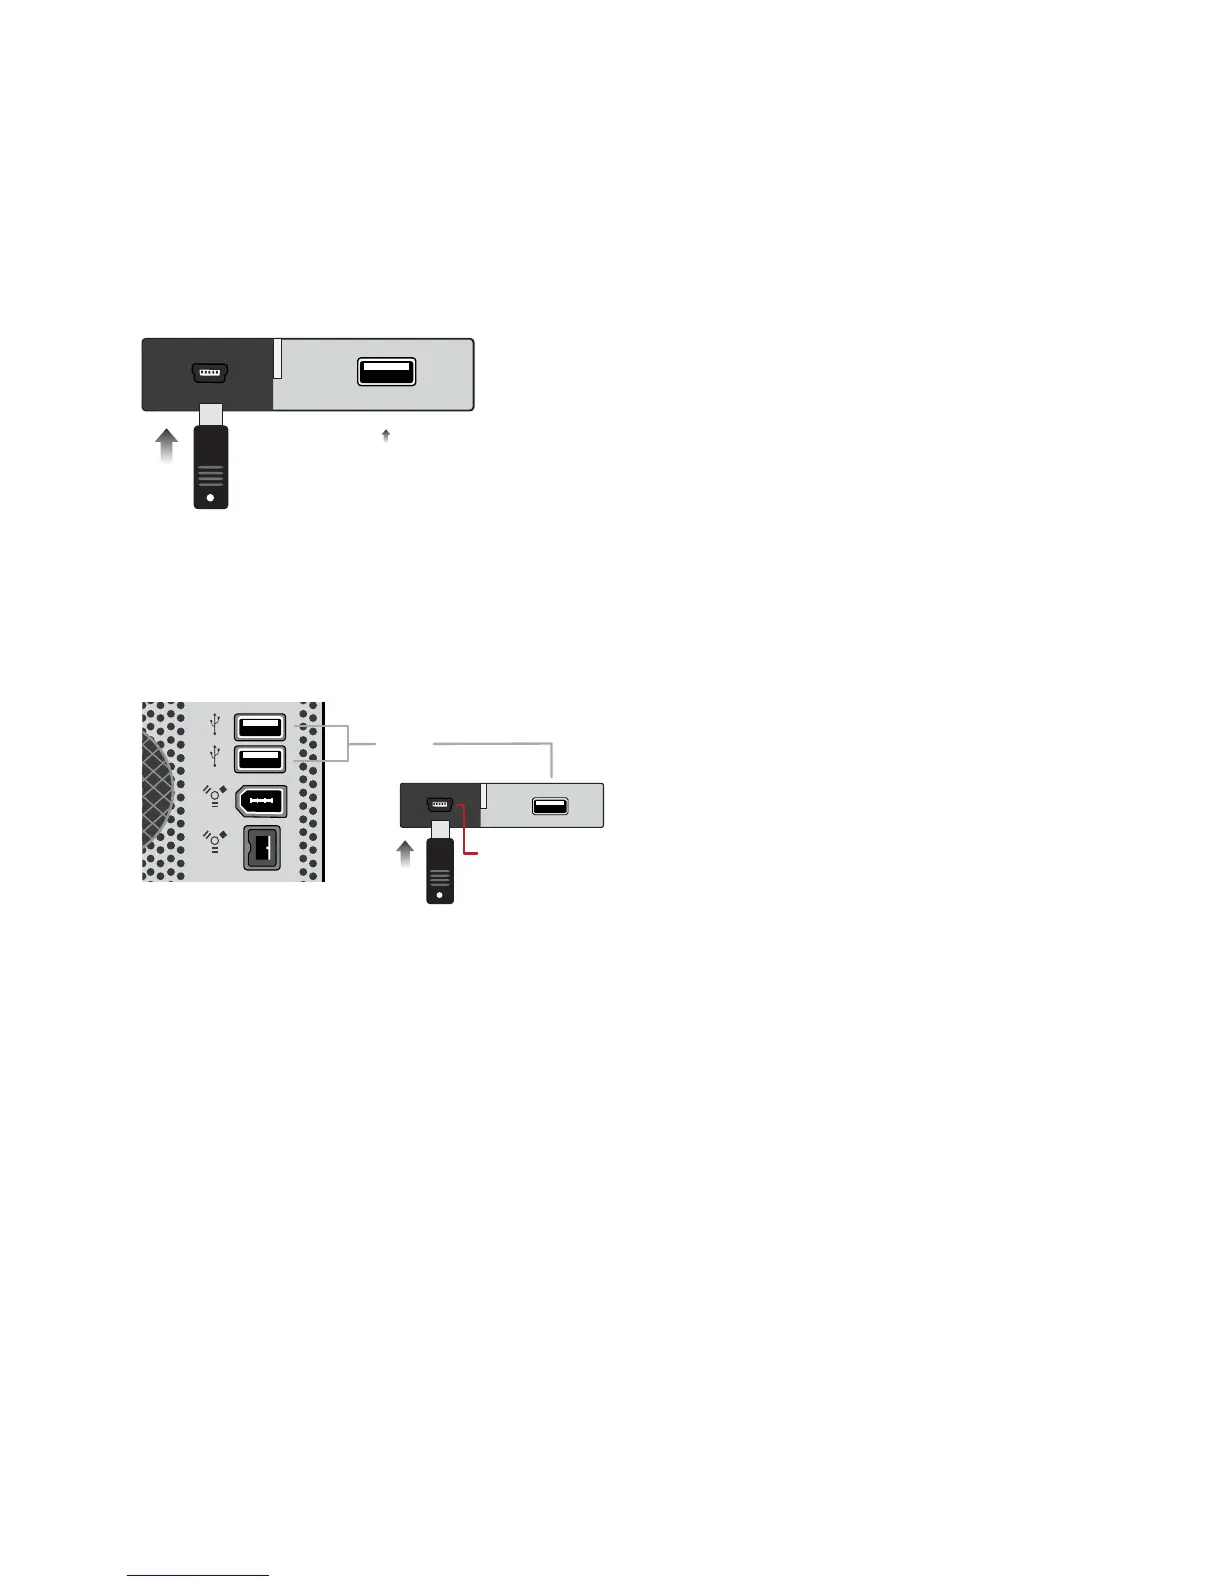
2. Insert the digital key (key-token) in the back of the Rocbit device for authentication First.
3. Using the two ends of the USB “Y” cable, connect them to the USB ports of your computer (or via Power Hub that
is connected to your computer) and the other end to the USB port in the Rocbit FXKT.
After a few seconds, the light will turn blue and a Rocstor HD icon will show on “My Computer” folder under the
Windows OS.
3. The Hard drive is preformatted for Plug-and-Play operation. After a few seconds, a Rocstor HD icon will show on
“My Computer” folder under the Windows OS. Under the Mac OS, the Rocport HD will appear on the “Desktop.”
4. Click (double click) on the Rocstor HD icon to access the drive.
USB 2.0
Key Token Only
USB