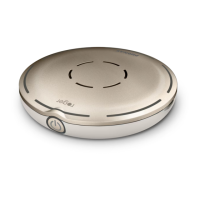
Controls on the back of the Roger Select
What different coloured lights mean
Blue= connecting
Green= connection to receiver of hearing aid/ cochlear processor successful
Red= connection to receiver of hearing aid/cochlear processor not successful
Wearing the Microphone
The Roger Select offers a choice of magnetic clip or lanyard for the wearer
Attach the magnetic clip to the Roger Select microphone. Make sure it clips into the
small slots in the side of the Roger microphone. Test strength of connection by pulling
the Select and the clip apart. Ensure they are secure to prevent the microphone falling
out of clip
Open the magnetic clip
Clip to the speaker’s shirt/jumper
Alternatively, use the lanyard provided. Attach it to the microphone by clicking it into
small slots at the side
The lanyard with microphone attached is worn around the neck of the speaker
The Roger microphone should be placed as close to the speaker’s mouth as is comfortable
(approximately 4 inches away). Adjust length of the lanyard as needed.