Tubbutec OrganDonor
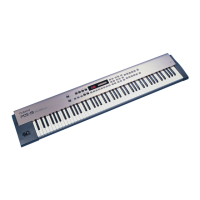
Installation manual for Roland RS-09
Tools you will need:
• Soldering iron
• Wire stripper
• Metal drill 3.5mm (or similar)
• Metal drill for a 15mm hole (stepping drill for example)
• Center punch
• Screw driver
• Stranded wire to extend the power and MIDI connectors
Included in the kit:
• OrganDonor Main Board
• 3x organ Donor Switch Board, 2x 16pin connector, 1x 20pin
connector
• Analog switch connection: 2x16 – 38cm + 40cm 1x20 - 32cm
• Interconnect cables: 1x 6cm, 1x 19cm, 1x 20cm
• Midi connector assembly
• Power connector
• Learn button
• Midi socket drill guide
• 2x M3 bolt, 2xM3 nut for midi socket
Principle of operation
OrganDonor uses analog switches to simulate keyboard presses directly.
Normally this would require to solder two wires for each key. Luckily this
can often be avoided by grouping common signals. OrganDonor features
solder jumpers to connect common signals on the back of each analog
switch board. We already connect these jumpers for you.
In the case of the Roland RS-09 there is 1 common signal.