右左右左
右 左右 左
12
Connect TRIG1 jack to the PD-120 via the stereo cable.
Hit rim of the PD-120, the 7-seg LED will change as
follows:
Connect TRIG2 jack to the PD-120 via the stereo cable.
Hit rim of the PD-120, the 7-seg LED will change as follows:
Press [LAYER] key the display returns to the test menu.
8.Hi-HAT CONTROL check
Connect the Hi-Hat control pedal(FD-7) to SPD-20 HH
CTRL/TRIG4 socket via the monaural cable.
*Set HH CTRL/TRIG4 switch to HH CTRL.
Press [FX ON/OFF] key. The 7-seg LED will change as follows:
After entering the test mode, depress the control pedal.
The 7-seg will first read a value X(fluctuating) and should
read 0 at a maximum pressure.
Press [FX ON/OFF] key the display returns to the test
menu.
9.CROSSTALK check
Press [
▼
] key. The 7-seg LED will change as follows:
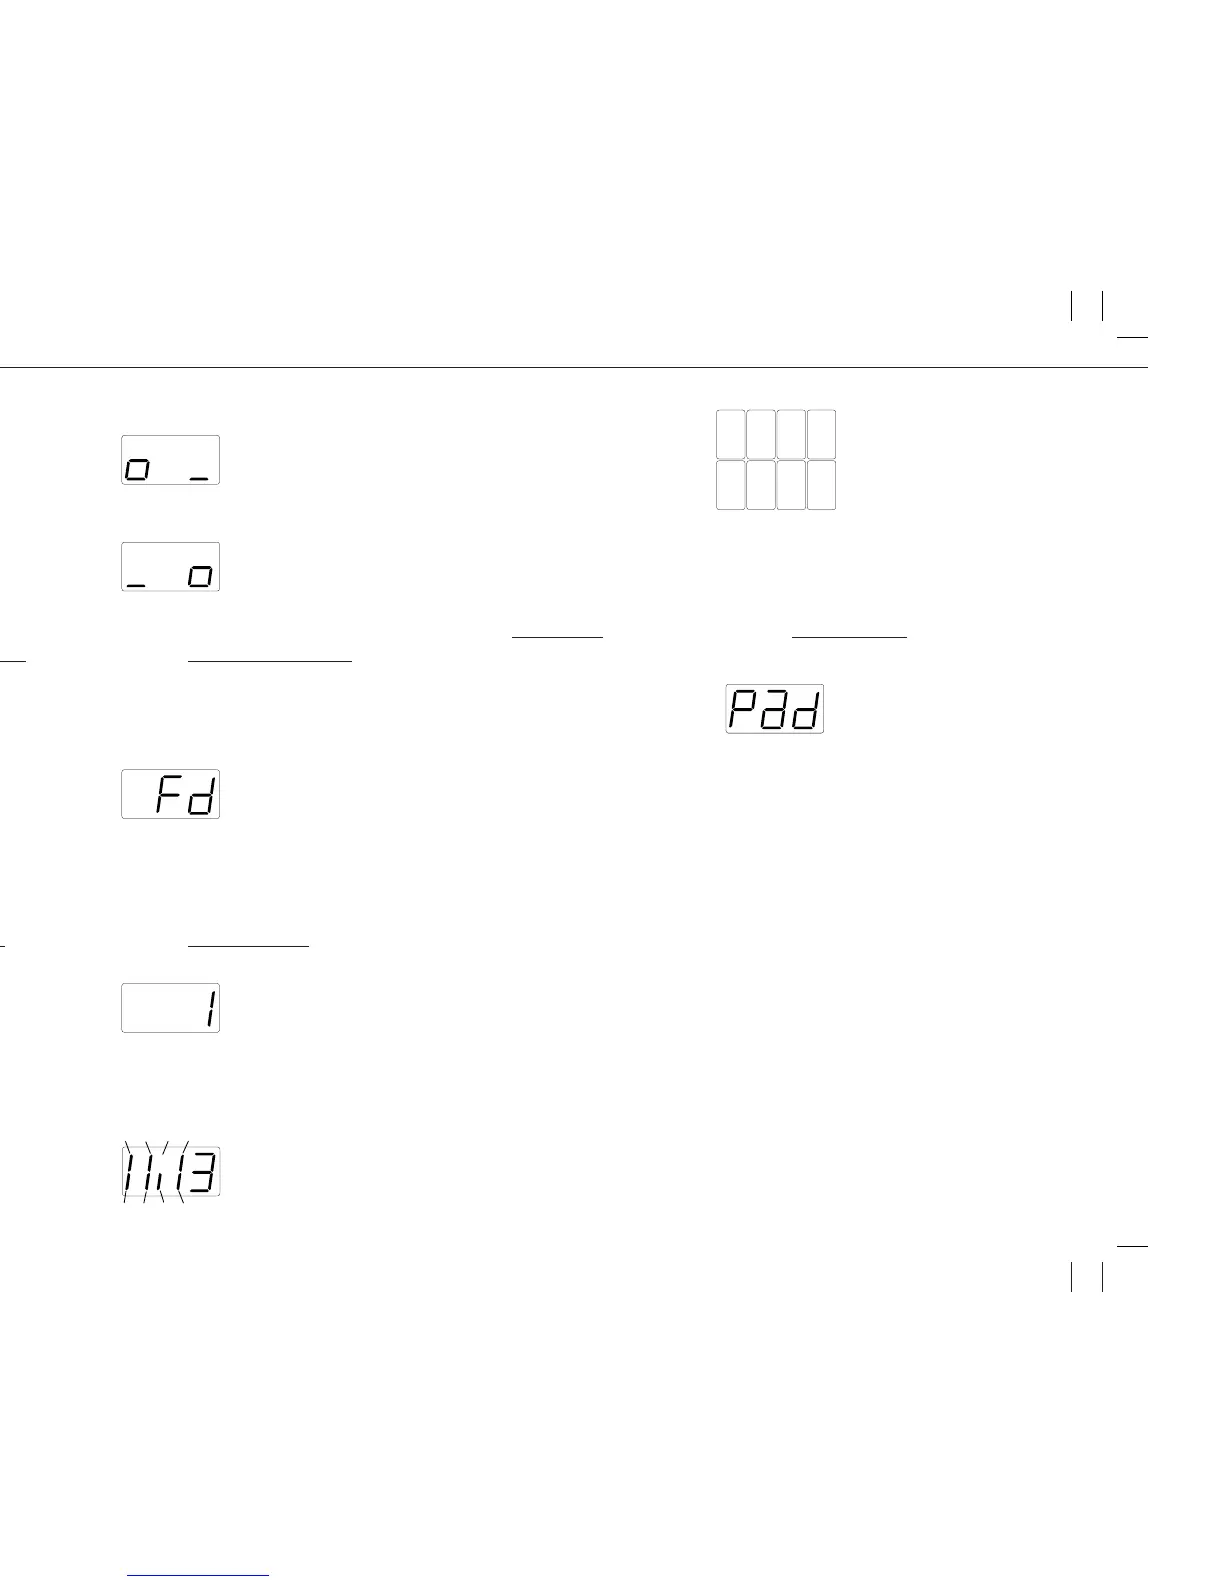
The displayed number represents a pad. The [-
PATCH/VALUE+] keys scroll pads 1 through 8.
Hit the pad being displayed. No output sound means the
circuitry is good.
If the pad causes crosstalk sound, the display will
indicate:
TRIG1ジャックにPD-120をステレオ・ケーブルで結線
し、RIM部分を叩くと下のような表示になります。
次にTRIG2ジャックにPD-120をステレオ・ケーブルで結
線し、RIM部分を叩きます。
正常であることを確認して[LAYER]キーを押し、メニュ
ー表示に戻ります。
8.Hi−Hat CONTROL check
ハイハット・コントロール・ペダル(FD-7)をモノラル・ケ
ーブルでSPD-20のHHCTRL/TRIG4と結線しておきます。
注:この時、スライドスイッチは必ずHHCTRL側にして
おきます。
[FXON/OFF]キーを押すと下のような表示になります。
テストモードに入った状態でペダルを踏むと、7セグメ
ントLEDにはその値が表示されます。ペダルを踏む強
さによって、その値が変化する事を確認して下さい。最
も強く踏み込んだときの値が0になります。
確認したら[FXON/OFF]キーを押して、メニュー表示に
戻ります。
9.CROSSTALK check
[▼]キーを押すと下のような表示が現れます。
表示されている数字はパッドを示していて、
[-PATCH/VALUE+]キーで1から8まで変化します。
この状態で、表示されている数字に対応しているパッド
を叩きます。
正常なら音は出ません。クロストークしている場合は、
音が鳴ると同時に下のような表示が現れます。
(The number of pad being checked on this display.)
Unlit segments indicate non-crosstalk pads and one
being checked.
After completion of the test, press[
▼
] key and the display
return to the test menu.
10.VELOCITY check
Press [-PATCH/VALUE] key. The 7-seg LED will change
as follows:
Press the head of the 8 pads on the SPD-20 and
observe the velocity readings on the LED display. The
highest readings should be 127.
After completion of the test, press[-PATCH/VALUE] key
and the display return to the test menu.
After completion of all tests, press [ALL/ENTER] key and
the 7-seg LED
returns to the operation mode after displaying message
shown in (fig.5).
表示されている数字は、現在チェックしているパッドを示す。
クロストークしているパッドに対応したセグメントが点
灯しています。
チェック中のパッドに対応しているセグメントは点灯し
ません。
確認したら、[▼]キーを押してメニュー表示に戻ります。
10.VELOCITY check
[-PATCH/VALUE]キーを押すと、下のような表示が現れ
ます。
SPD-20の8つのパッドを一つずつ叩いてゆくと、それぞ
れのベロシティーが表示されることを確認して下さい。
最大の値は127になります。
確認したら[-PATCH/VALUE]キーを押してメニュー表示
に戻ります。
最後に[ALL/ENTER]キーを押すと(fig.5)の表示のあと、
通常のモードになります。
Apr, 1998
SPD-20
fig. 17
fig. 18
fig. 19
fig. 20

 Loading...