Shooting
[Return to Manual index 1 [Previous page 1
[N
ext page 1
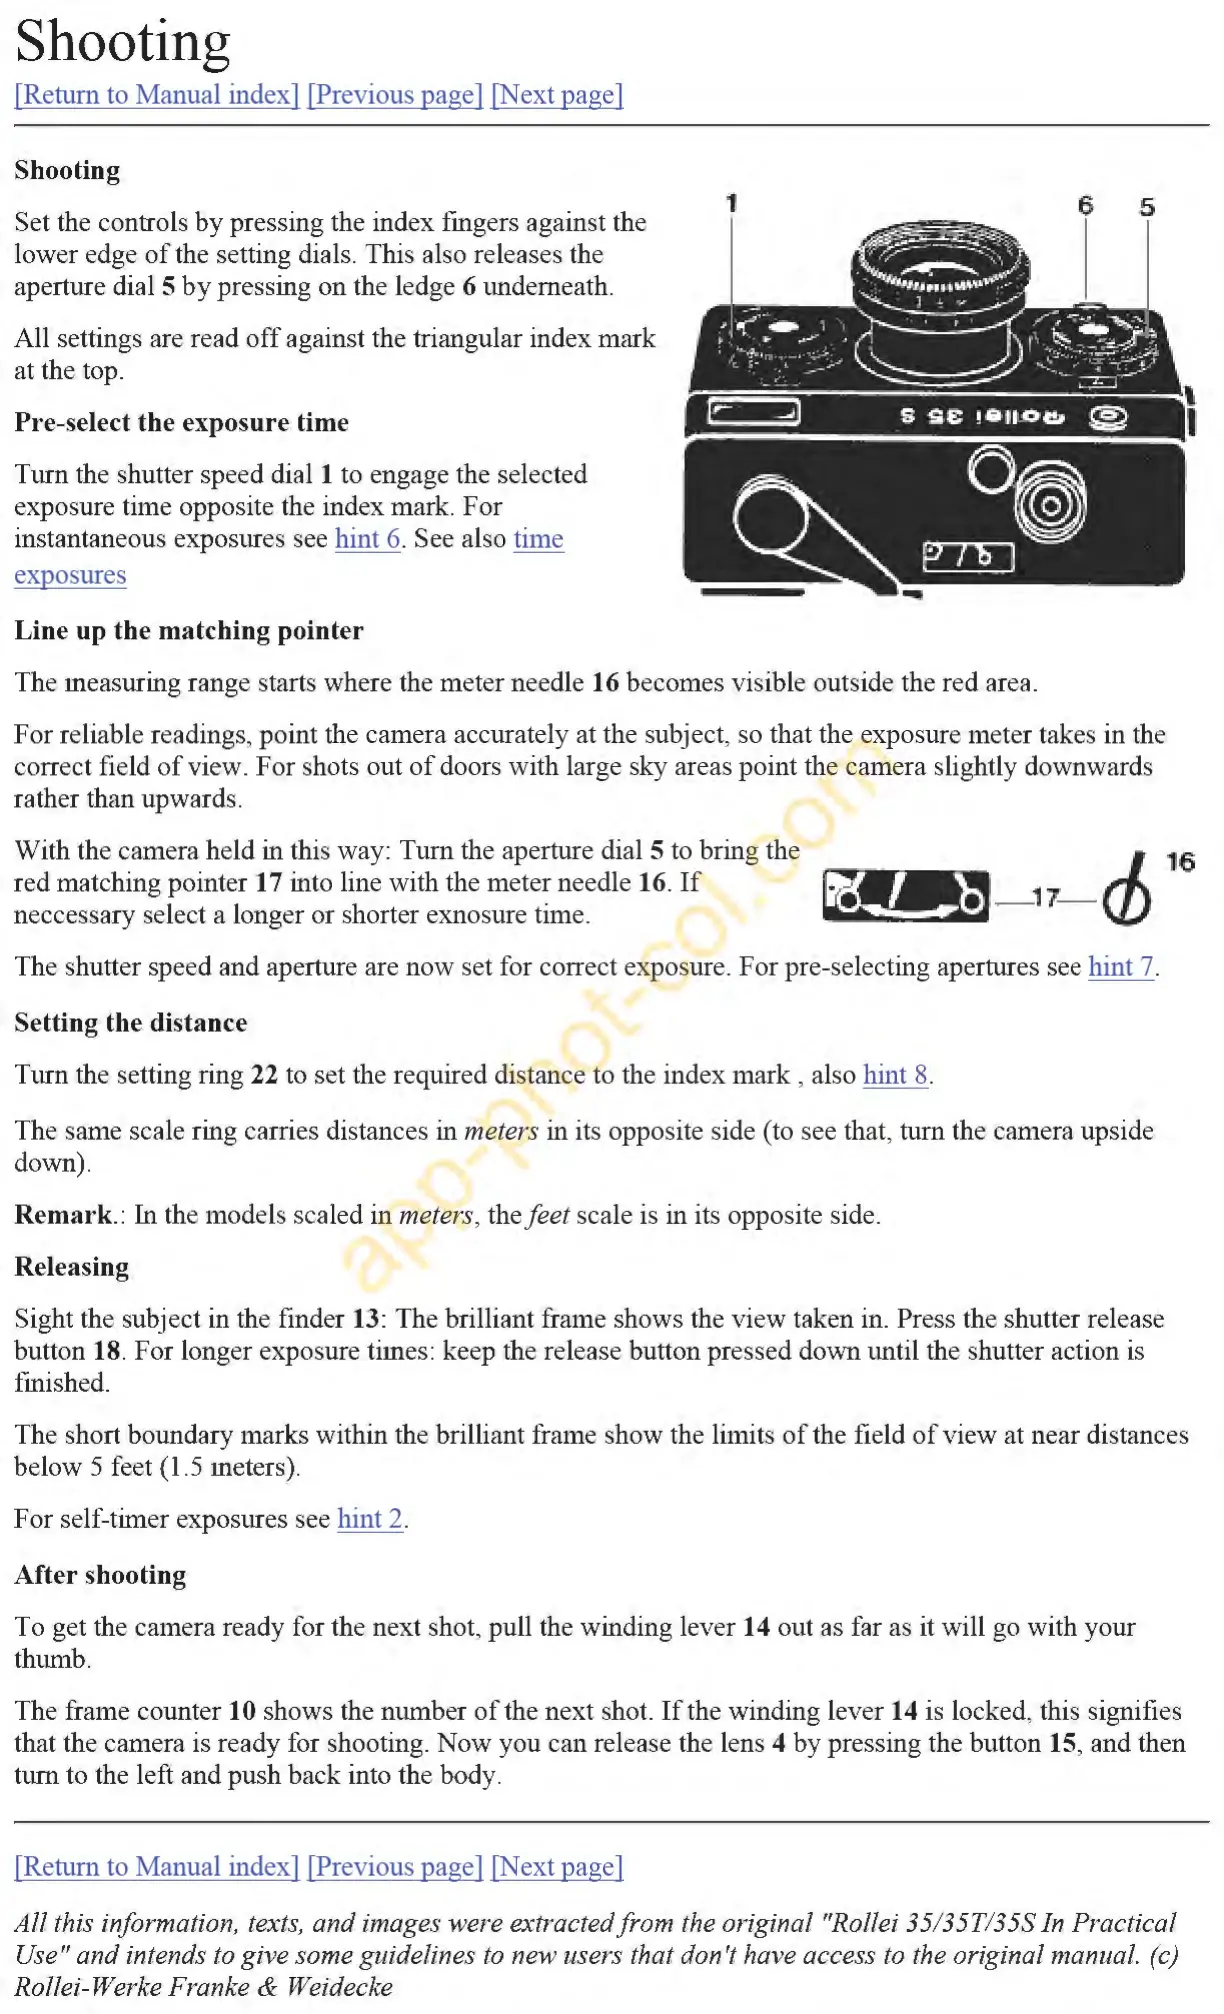
Shooting
Set the controls
by
pressing the index fmgers against the
lower edge
of
the setting dials. This also releases the
aperture dial 5
by
pressing
on
the ledge 6 undemeath.
All settings are read
off
against the triangular index mark
at the top.
Pre-select the exposure time
Turn the shutter speed dial 1 to engage the selected
exposure time opposite the index mark.
For
instantaneous exposures see hint 6. See also time
ex
po
sures
Line
up
the matching
pointer
1
The measuring range starts where the meter needle 16 becomes visible outside the red area.
For reliable readings, point the camera accurately at the subject, so that the exposure meter takes in the
correct field
ofview.
For shots out
of
doors with large sky areas point the camera slightly downwards
rather than upwards.
With the camera held in this way: Turn the aperture dial 5 to bring the
red matching pointer 17 into line with the meter needle 16.
If
neccessary select a longer or shorter exnosure time.
The shutter speed and aperture are now set for correct exposure. For pre-selecting apertures see hint 7.
Setting
the
distance
Turn the setting ring 22 to set the required distance to the index mark , also hint 8.
The same scale ring carries distances in
meters in its opposite side (to see that,
tum
the camera upside
down).
Rem
ar
k.:
In
the models scaled in meters, the
feet
scale is in its opposite side.
Releasing
Sight the subject in the finder 13: The brilliant frame shows the view taken in. Press the shutter release
button
18. For longer exposure times: keep the release button pressed down until the shutter action is
fmished.
The short boundary marks within the brilliant frame show the limits
of
the field
of
view at near distances
below 5 feet (1.5 meters).
For self-timer exposures see hint 2.
After
shooting
To get the camera ready for the next shot, pull the winding lever 14 out as far as it will go with your
thumb.
The frame counter 10 shows the number
of
the next shot.
If
the winding lever 14 is locked, this signifies
that the
camerais
ready for shooting.
Now
you can release the lens 4
by
pressing the button 15, and then
tum
to the left and push back into the body.
[Return to Manual index
1 [Previous page 1
[N
ext page 1
All
this information, texts,
and
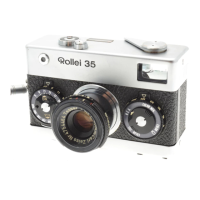
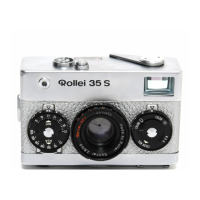
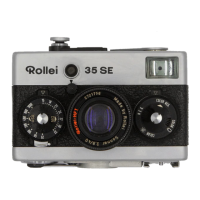
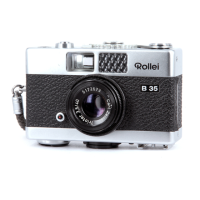
images were extractedfrom the original "Rollei 35/
35T
/
35S
In Practical
Use"
and
intends to give sorne guidelines to new users that don't have access to the original manual.
(c
)
Rollei-Werke Franke
& Weidecke
 Loading...