SMART WiFi modem for LCAC units
9User manual
PART 3. INSTALLATION AND CONFIGURATION
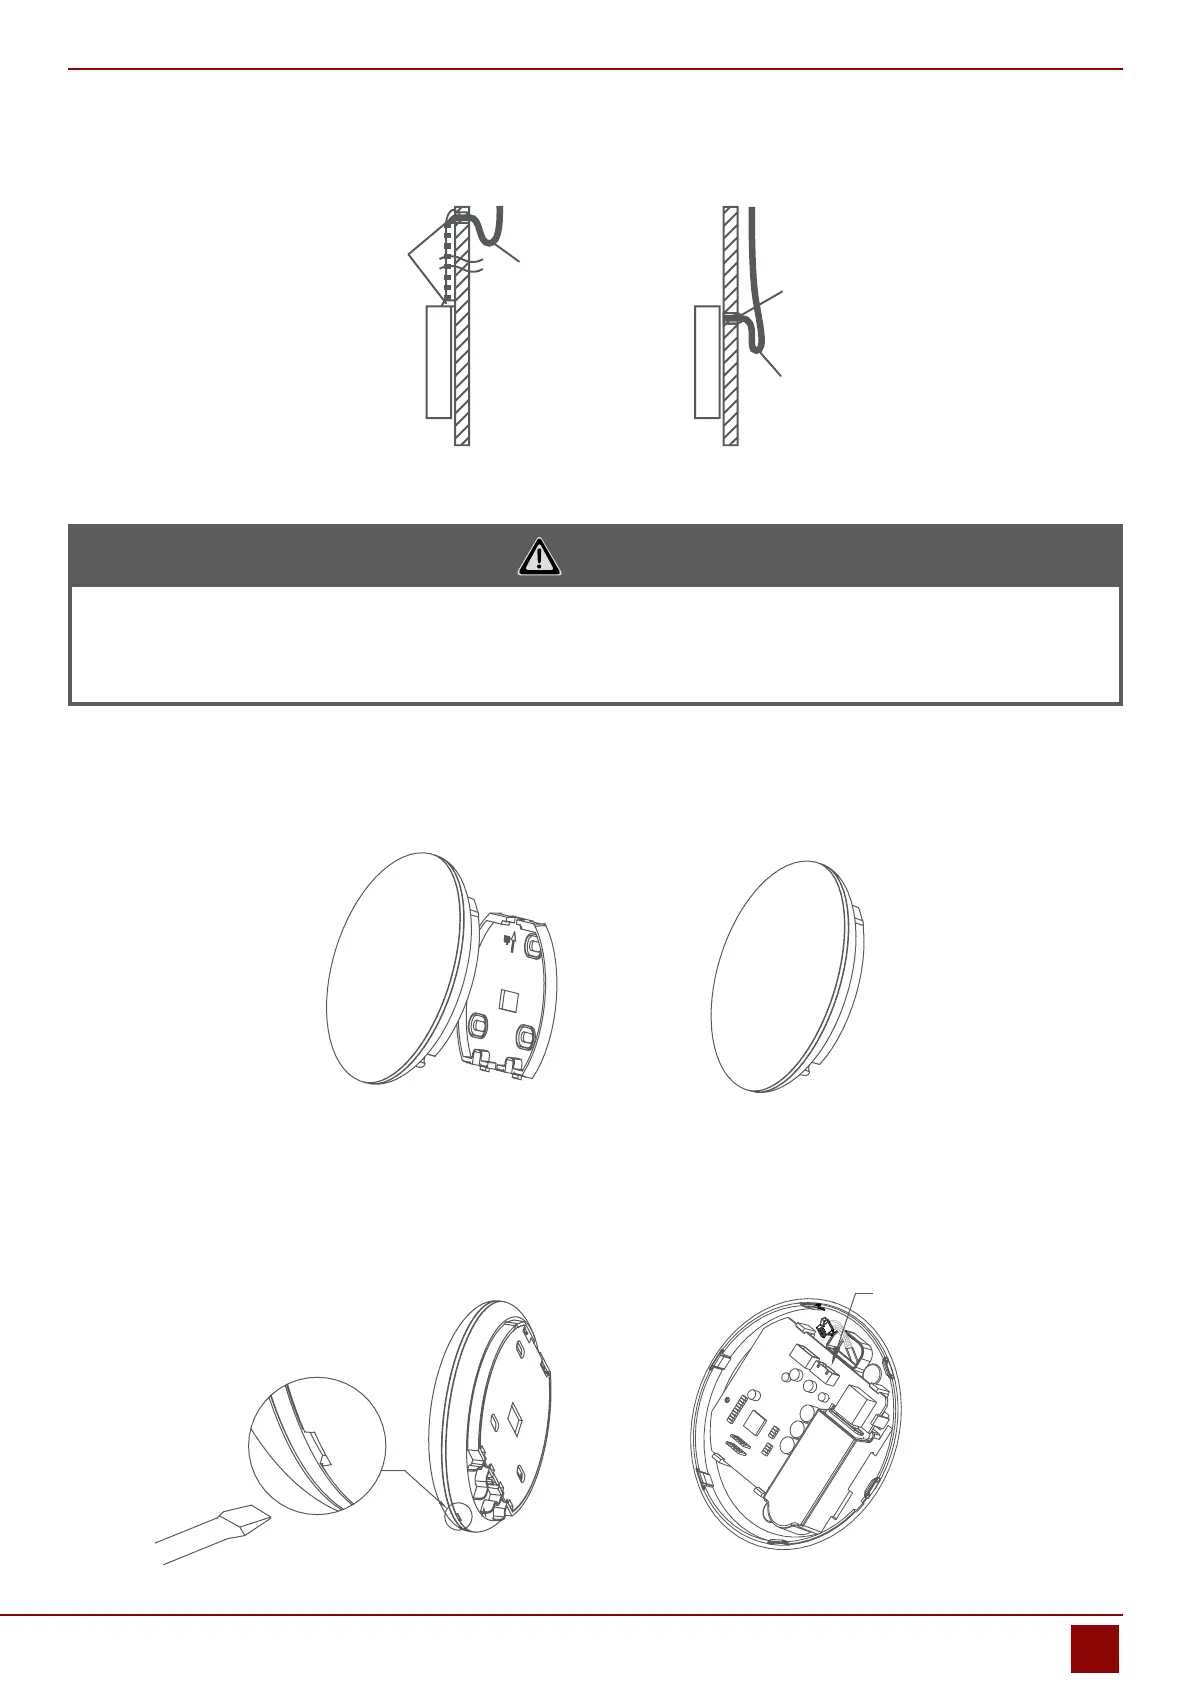
Fig. 2.9
CAUTION
Avoid the water enter into the smart port, use trap and putty to seal the connectors of wires during wiring
installation. (Fig. 2.9) When under installation, reserve certain length of the connecting wire for convenient to
take down the smart port while during maintenance.
2.8. Reattach the upper part of the smart port.
• After adjusting the upper case and then buckle the upper case; avoid clamping the wiring during installation.
(Fig 2.10)
Fig. 2.10
2.9. Connect the smart port to the wire controller (if needed)
1. Remove the top cover from the gap between the top cover and bottom by a tool with at head. (See Fig. 2.11)
2. Use the connective cable to connect the wire controller and CN3 of the smart port. (See Fig. 2.12) (refer to the
Wire controller manual for details)
Fig. 2.11 Fig. 2.12
CN3
 Loading...