20
BA ROTEX HPSU compact 4 - 09/2013
3 x Operation
3.4.8 System settings
In the rotary switch setting "Configuration" we undertake
the basic settings for the Control
RoCon HP and the system con-
figurations for the installation environment of the ROTEX HPSU
compacts, the direct heating circuit, the hot water generation and
any optionally connected components.
Depending on access authority (user or expert), various different
parameters are available. Certain parameters are only acces-
sible to the heating expert.
Language, Date, Time, Setting summer / winter time
An internal pre-programmed calendar ensures auto-
matic time reset at the annually recurring
summer/w
inter time changes. If required, the automatic
time changeover can be switched off.
● Place the rotary switch in the "Configuration" position.
An overview is displayed.
● Select the "Setup" level with the rotary switch.
An overview is displayed.
● Us
e the rotary switch to select and confirm the parameters
[Language], [Date], [Time] or [Summertime].
● Select and change the value to be changed within the
individual display using the rotary switch.
● C
onfirm the changes with a brief push of the rotary switch.
Change has been accepted. Jump back to previous
display.
More detailed explanations and possible setting values for this rotary switch setting
can be seen in section 3.6 and in chapter 6.2.
Changing the display settings
● Place the rotary switch in the "Configuration" position.
An overview is displayed.
● Select the "
Setup" level with the rotary switch.
An overview is displayed.
● Us
e the rotary switch to select the parameters
[LCD Contrast], [LCD Brightness], [LCD Illum Time] or
[RGB Setup].
● C
onfirm the changes with a brief push of the rotary switch.
● Se
lect and change the value to be changed within the
individual display using the rotary switch.
● C
onfirm the changes with a brief push of the rotary switch.
Change has been accepted. Jump back to previous
display.
More detailed explanations and possible setting values for this rotary switch setting
can be seen in chapter 6.2.1.
3.4.9 Terminal function
In the rotary switch setting "Remote Param" , if terminal
mode is activated, other controllers in the RoCon system can also
be parameterised via the controller integrated in the CAN bus.
After activation of the "Bus - Scan" a list of the equipment that
was recognised is shown for selection in the display (external
equipment and local equipment).
After selection and acknowledgement of an external item of
equipment, this is shown on the local Control. The local control
element acts as the remote control for the external equipment. In
this case all the control functions are provided and saved 1:1 as
on the external equipment.
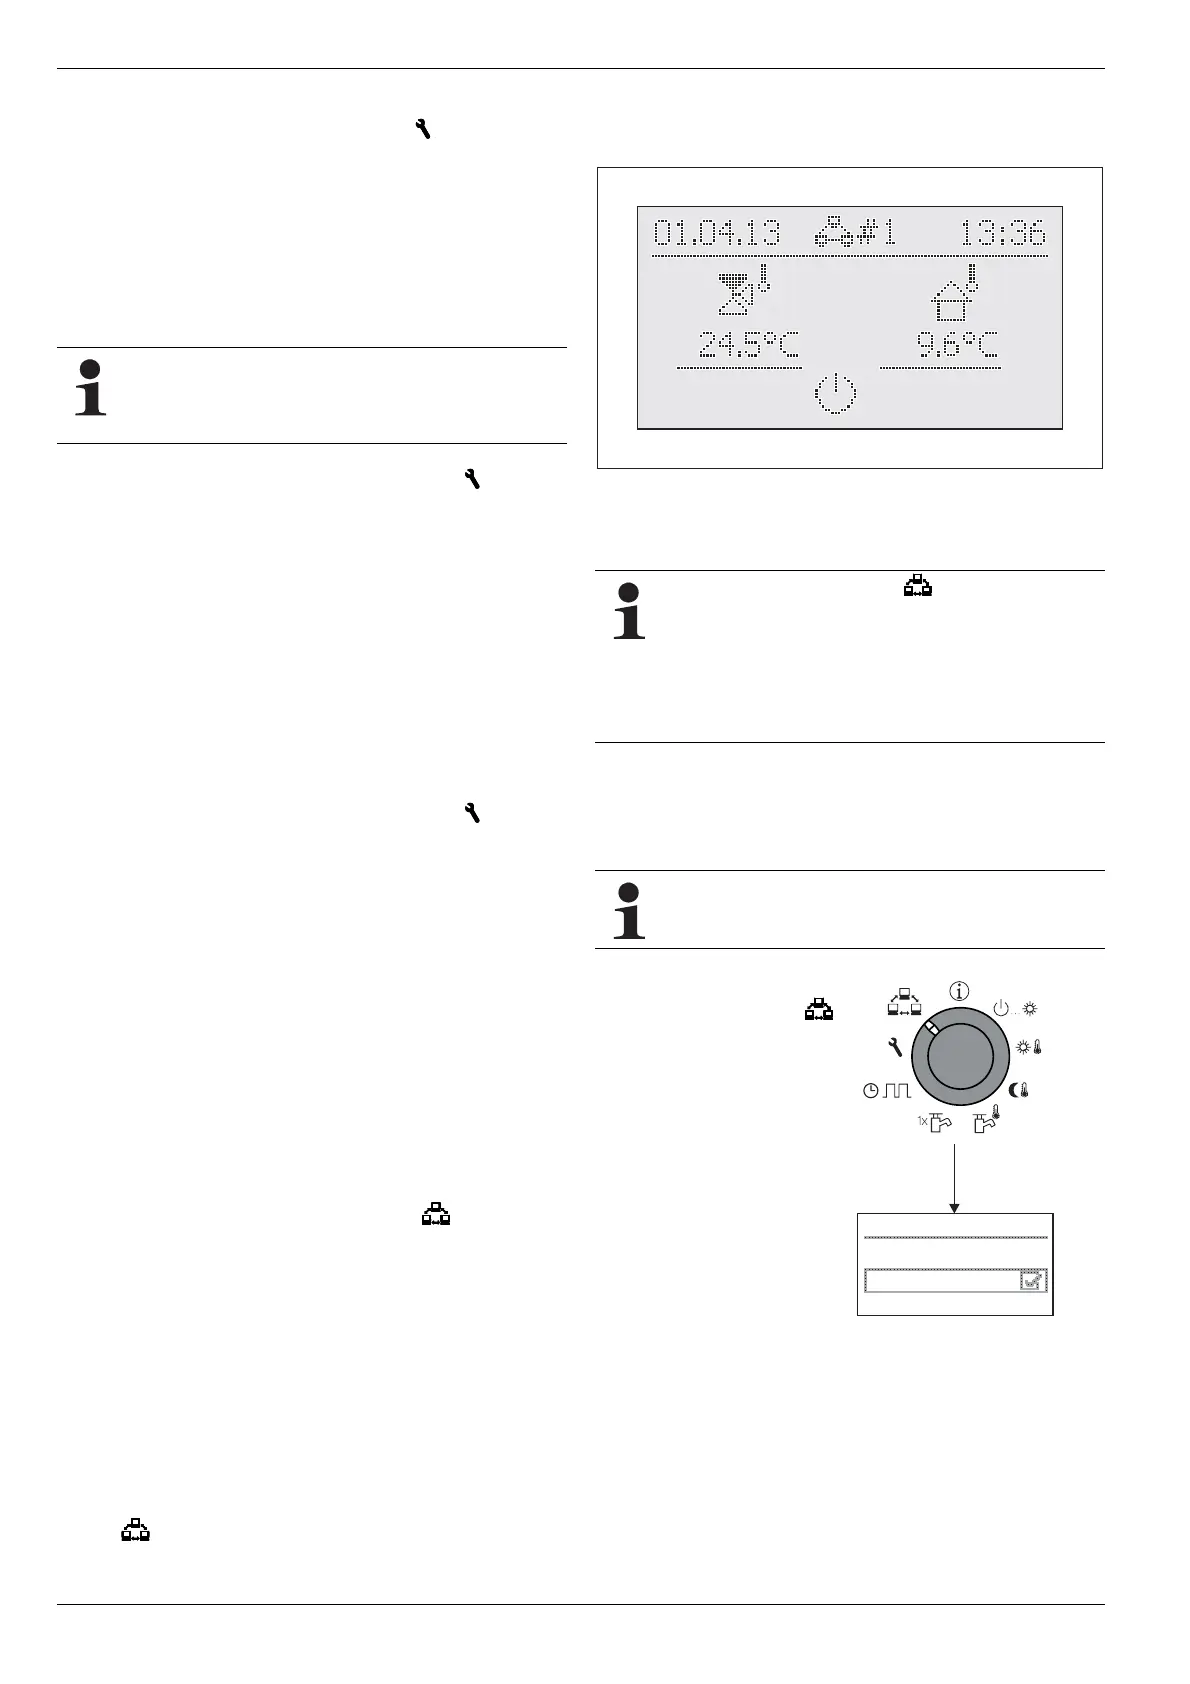
During this terminal function the header of the display carries ad-
ditional information on the remotely controlled equipment; the
symbol
#X indicates the bus ID setting for the remotely con-
trolled equipment.
The displayed values and symbols are always loaded from the
se
lected equipment (such as the mixer circuit infeed temperature
of the mixer module RoCon M1).
Fig. 3-9 Display example for a remotely controlled mixer module
For operation of the local equipment, this must be activated again
in the selection list (parameter [No selection]).
If at the rotary switch setting the message "n. A."
is displayed, the control unit has yet to be assigned a
val
id terminal address.
If the message "n. A." is still displayed it may be nec-
essary to update the device software before the ter-
minal function can be used. Contact the ROTEX
Service Team for this.
Activating / deactivating normal operation
Requirement: A valid terminal address is assigned to the control
element RoCon B1 of the HPSU compact or the room station
RoCon U1.
The terminal address can be set only after the Techni-
cian password has been input. Contact your specialist
heating technician for this.
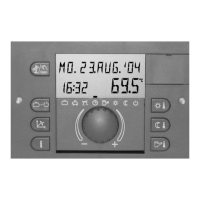
● Place the rotary
switch in
the "Remote Param"
position.
The level "Remote
Param" is displayed.
● Sele
ct the parameter
[Bus - Scan] with the rotary
switch.
● Con
firm the changes with
a brief push of the rotary
switch.
The context menu is
displayed.
Remote Param
Bus - Scan
No selection
Fig. 3-10 Display of the level
"Remote Param" at
commissioning or tem-
porary disconnection
from the mains
● Use the rotary switch to select the parameter [New scan?]
and confirm with "Yes".
Bus - Scan is performed.
An over of all the equipment found is displayed.
● Use th
e rotary switch to select the equipment for which the
terminal function is to be performed.