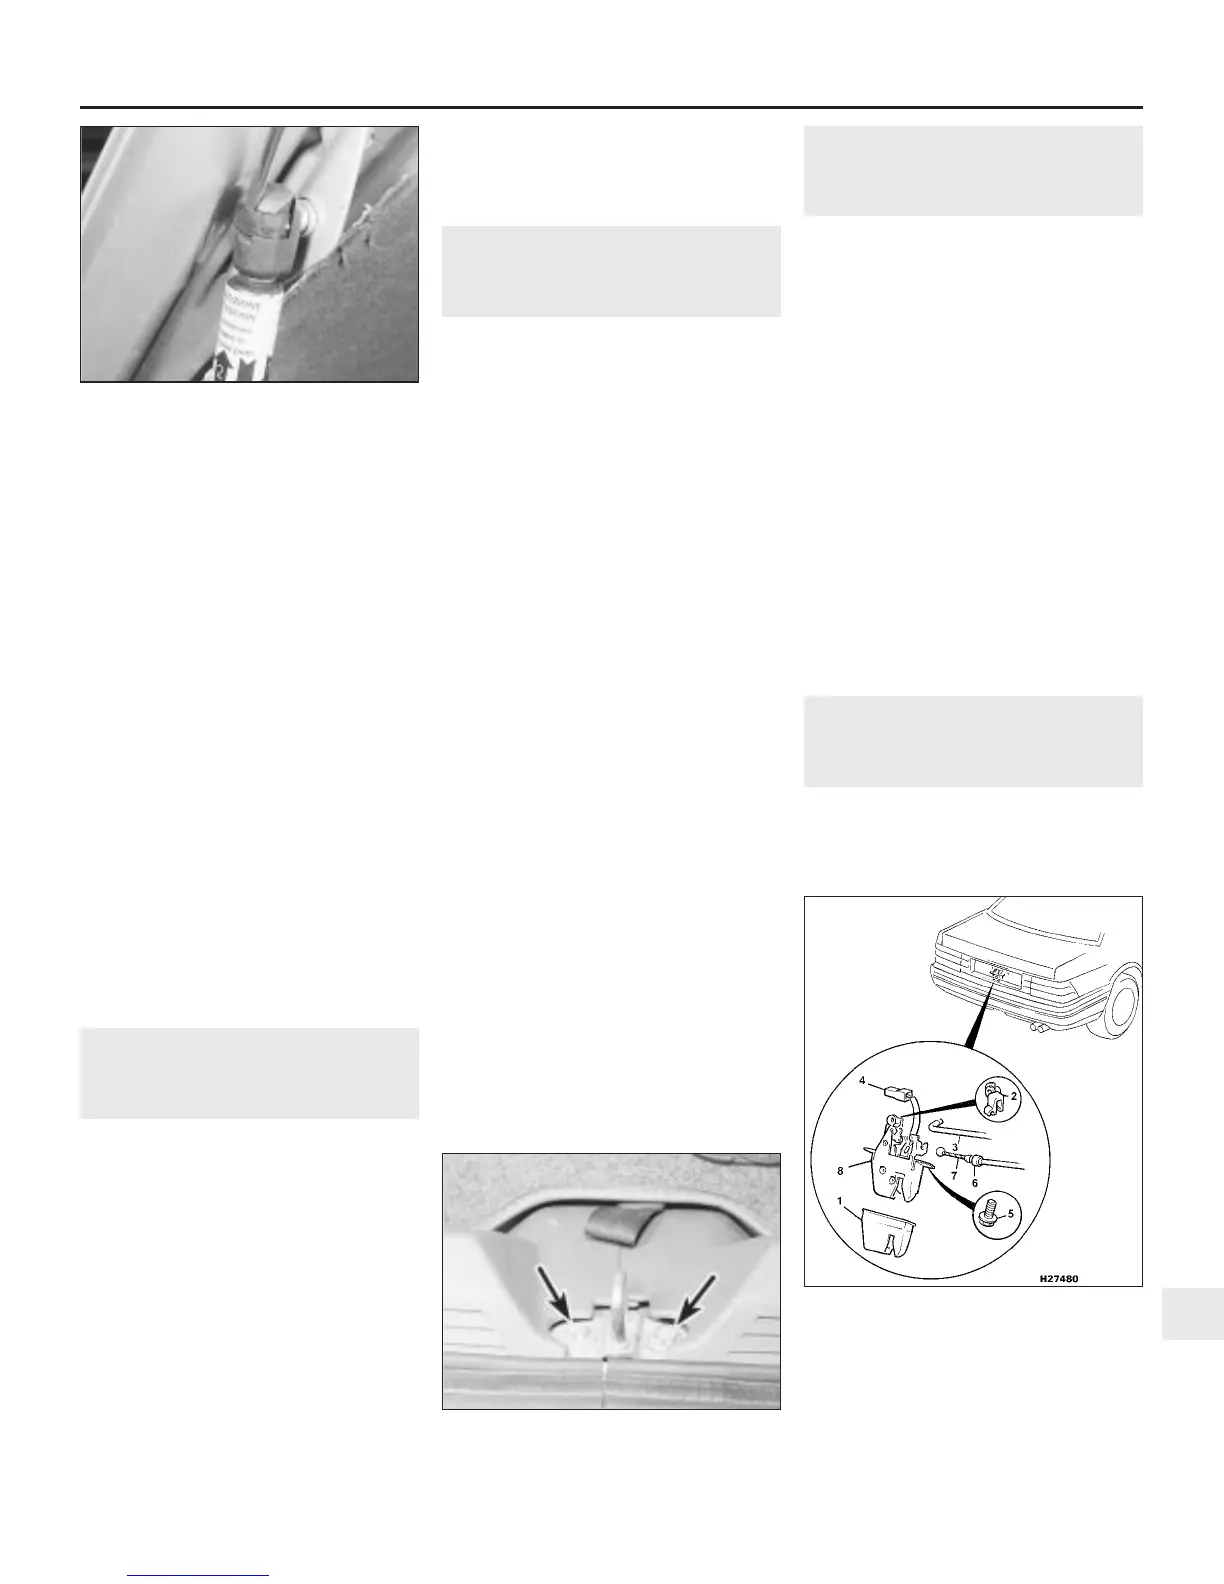
7 Using a small screwdriver, prise out the
clips securing the support struts to the pegs
on the bonnet (see illustration). Release both
struts from their pegs.
8 Undo the retaining bolts and carefully lift
away the bonnet.
Refitting
9 Refitting is a reversal of removal; adjust the
bonnet on the hinges to its original position,
then check the alignment as follows.
Adjustment
10 Close the bonnet and check the alignment
with the adjacent body panels. The bonnet
can be moved forward and backward by
adjusting its position at each hinge. If the
bonnet is too low with respect to the adjacent
wing, fit small shims between the hinge and
bonnet.
11 Check the bonnet closure and ease of
opening. If the striker pins do not engage
smoothly with the lock plates, slacken the
striker plate retaining bolts and reposition the
plates. If necessary, slacken the locknut and
adjust the striker pin height by turning the
slotted end with a screwdriver.
7 Bonnet lock and release
cable - removal and refitting
1
Removal
1 From inside the car, undo the bolts and
withdraw the release lever from the right-hand
side of the footwell.
2 Disengage the cables from the lever.
3 Working in the engine compartment, undo
the bolts securing the relevant bonnet lock to
the front body panel.
4 Withdraw the lock from under the body
panel and disengage the release cable.
5 Release the cable from the retaining clips
and ties in the engine compartment, and from
the bulkhead grommet.
6 Feed the cable through into the
engine compartment and remove it from the
car.
Refitting
7 Refitting is a reversal of removal. Adjust the
bonnet lock as described in Section 6, if
necessary.
8 Boot lid - removal, refitting
and adjustment
1
Removal
1 Open the boot lid and remove the plastic
cover over the lock.
2 Release the retaining clip and disconnect
the link rod from the lock lever.
3 Disconnect the wiring at the connector
adjacent to the lock.
4 Undo the two bolts and withdraw the lock
from the boot lid.
5 Withdraw the lock release cable outer
sheath from the lock bracket, and disconnect
the inner cable from the lock lever.
6 Withdraw the grommet from the cable entry
point above the boot lid hinge, and release the
cable from the hinge cable clips and ties.
Withdraw the release cable and wiring.
7 With an assistant supporting the boot lid,
undo the four hinge bolts and lift the boot lid
away.
Refitting
8 Refitting is a reversal of removal. Engage
the centre groove of the lock release cable
sheath into the lock bracket slot initially, but
use an alternative groove if the release lever
action is unsatisfactory.
Adjustment
9 With the boot lid closed, check the
relationship of the lid with the adjacent panels.
If necessary, the boot can be repositioned by
altering the position of the hinges at their
body attachment. To do this, remove the rear
seats as described in Section 43, and remove
the parcel shelf. Slacken the hinge nuts and
reposition the hinges as required. Tighten the
nuts, then close the boot lid and check the
operation of the lock. If necessary, slacken
the striker plate bolts, reposition the striker
plate and tighten the bolts (see illustration).
10 Refit the parcel shelf and rear seats on
completion.
9 Boot lock -
removal and refitting
1
Removal
1 On later models, remove the boot
lid/tailgate lock solenoid as described in
Section 18.
2 Remove the plastic cover over the lock (see
illustration).
3 Where applicable, release the retaining clip
and disconnect the link rod from the lock lever.
4 Disconnect the wiring at the connector
adjacent to the lock.
5 Undo the two bolts and withdraw the lock
from the boot lid.
6 Withdraw the lock release cable outer
sheath from the lock bracket, disconnect the
inner cable from the lock lever, and remove
the lock.
Refitting
7 Refitting is a reversal of removal. Engage
the centre groove of the lock release cable
sheath into the lock bracket slot initially, but
use an alternative groove if the release lever
action is unsatisfactory.
10 Boot lid private lock -
removal and refitting
1
Pre-1992 model year
Removal
1 Remove the number plate from the boot lid.
2 From inside the boot lid, undo the screws
Bodywork and fittings 11•5
6.7 Prise out the support strut retaining
clips
9.2 Boot lock attachments - early models
shown, later models similar
1 Plastic cover
2 Link rod retaining
clip
3 Link rod
4 Wiring connector
5 Lock retaining
bolts
6 Release cable
outer sheath
7 Inner cable
8 Boot lock
8.9 Boot lid striker plate retaining bolts
(arrowed)
11
1380 Rover 800 Series Remake


 To Next Page
 Loading...
