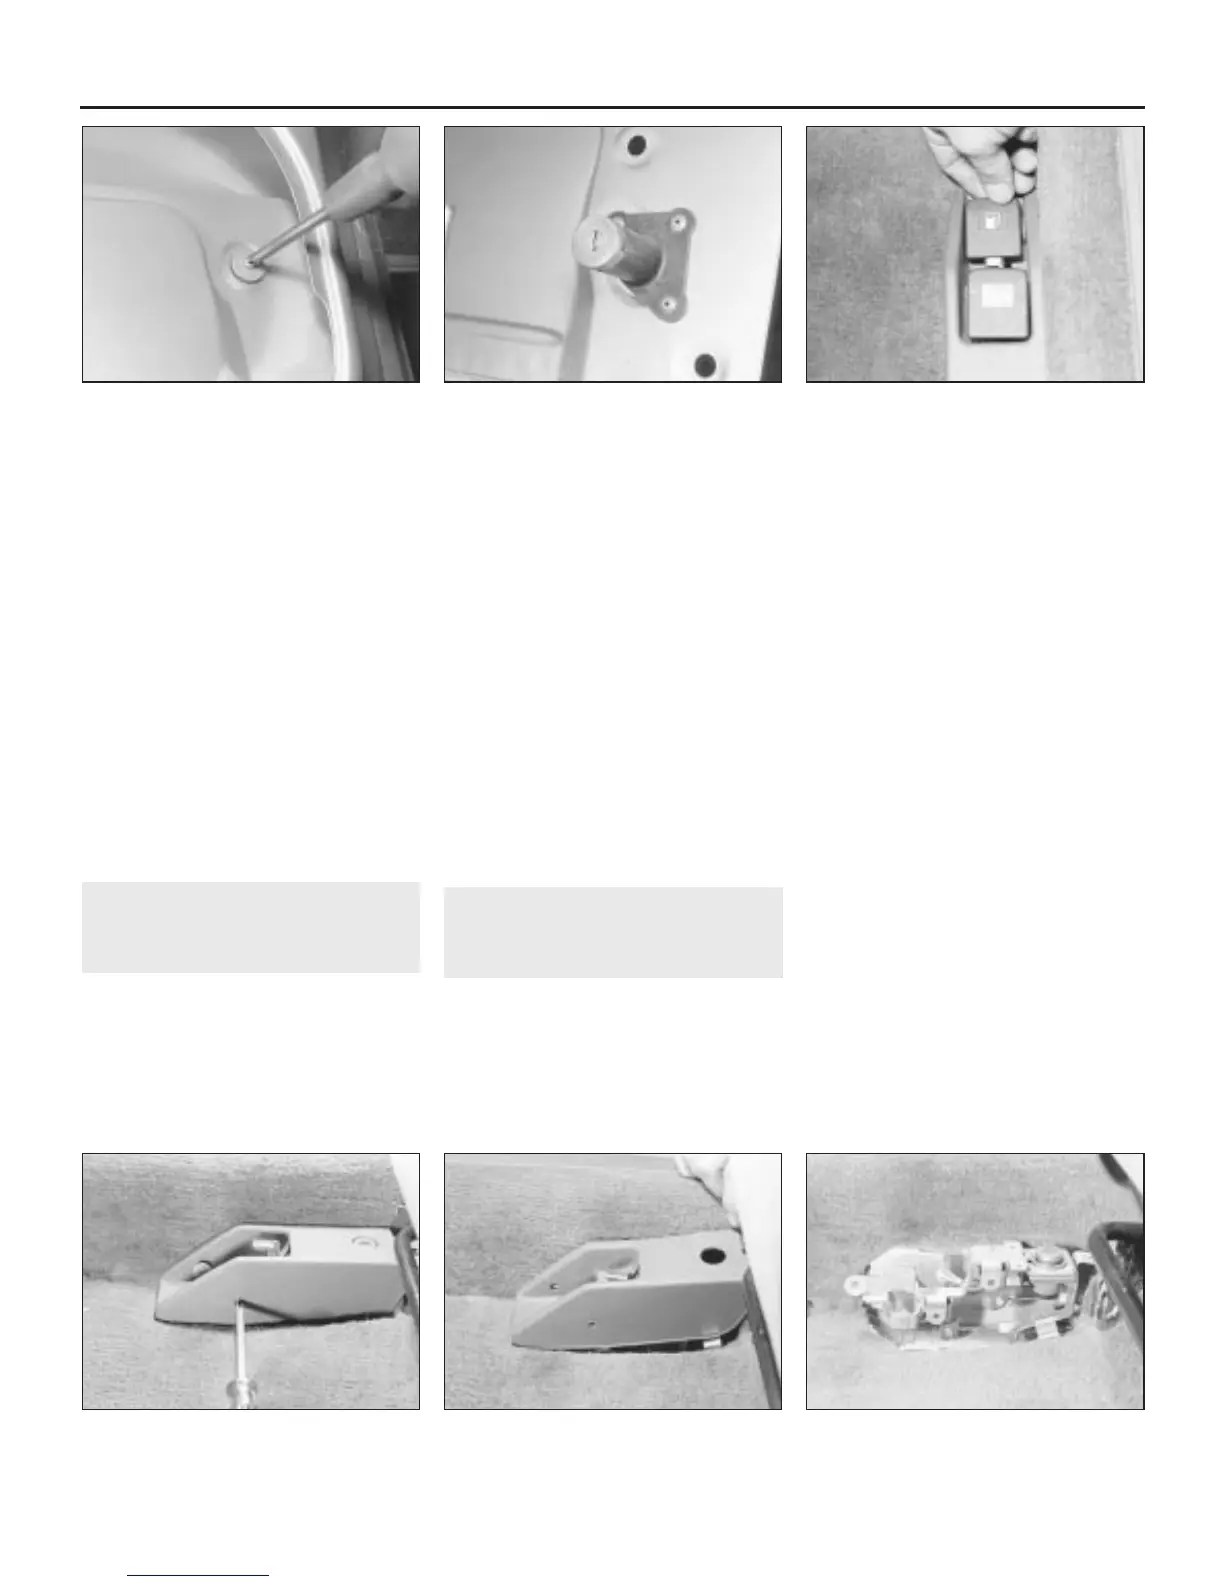
and remove the centre lens and reflector
assembly (see illustration).
3 Extract the retaining circlip from the private
lock lever, and withdraw the link rod.
4 Drill out the three retaining rivets, and
remove the private lock from the boot lid (see
illustration).
Refitting
5 Refitting is a reversal of removal.
1992 model year onwards
Removal
6 Remove the boot lock as described in
Section 9.
7 Disconnect the private lock wiring
multiplug.
8 Extract the retaining clip and withdraw the
private lock from the boot lid.
Refitting
9 Refitting is a reversal of removal.
11 Boot lid/tailgate and fuel
filler flap release control -
removal and refitting
1
Removal
1 Withdraw the knobs from the release levers
inside the car (see illustration).
2 Undo the two screws securing the release
control cover - one on the side face, and one
under a flap at the rear (see illustration).
3 Withdraw the cover retaining stud on the
inner face, then lift the cover off the release
control (see illustrations).
4 Undo the screws securing the front sill
tread plate, lift off the tread plate, and pull
back the carpet around the release control.
5 Undo the three screws and withdraw the
release control.
6 Disconnect the inner cable end(s) and outer
cable sheath(s) and, if applicable, the wiring
connectors. Remove the control from the car.
Refitting
7 Refitting is a reversal of removal. Note that
on models with twin cables, the boot/tailgate
release cable with the single groove in the
outer cable sheath is fitted to the upper
location, and the fuel filler flap release with the
three grooves in the outer cable sheath is
fitted to the lower location. Engage the centre
groove with the bracket when fitting the filler
flap cable, and check the release operation. If
unsatisfactory, use an alternate groove.
12 Boot lid/tailgate release
cable - removal and refitting
1
Removal
1 Remove the boot lid/tailgate and fuel filler
flap release control as described in Sec-
tion 11.
2 Undo the screws securing the rear sill tread
plate, lift off the tread plate and move aside
the carpet around the sill.
3 Remove the rear seat as described in
Section 42.
4 On Saloon models, open the boot lid and
remove the plastic cover over the lock. On
Fastback models, open the tailgate, release
the screw studs and remove the tailgate inner
trim panel.
5 Release the retaining clip and disconnect
the link rod from the lock lever.
6 Disconnect the wiring at the connector
adjacent to the lock.
7 Undo the two bolts and withdraw the lock
from the boot lid/tailgate.
8 Withdraw the lock release cable outer
sheath from the lock bracket, and disconnect
the inner cable from the lock lever.
9 Withdraw the grommet from the cable entry
point and release the cable from the cable
clips and ties.
10 Withdraw the release cable from the boot
lid/tailgate.
11 Tie a drawstring to the release control end
of the cable, and pull the cable into the
luggage compartment. Untie the drawstring
and remove the release cable from the car.
Refitting
12 Tie the drawstring to the new cable, and
pull it through into the car interior.
13 Refit the cable to the release lever and
lock, then reassemble the components using
a reversal of removal. When refitting the cable
to the lock, engage the centre groove of the
cable sheath into the lock bracket slot initially,
but use an alternative groove if the release
lever action is unsatisfactory.
11•6 Bodywork and fittings
11.3b . . . for access to the release control
assembly
11.3a Withdraw the cover . . .11.2 Undo the release lever control cover
retaining screws
11.1 Withdraw the boot lid/tailgate and
fuel filler flap release lever knobs
10.4 Boot lid private lock retaining rivets10.2 Undo the centre lens and reflector
retaining screw
1380 Rover 800 Series Remake


 To Next Page
 Loading...
