8 Undo the four nuts securing the light cluster
to the rear wing, and withdraw the unit from
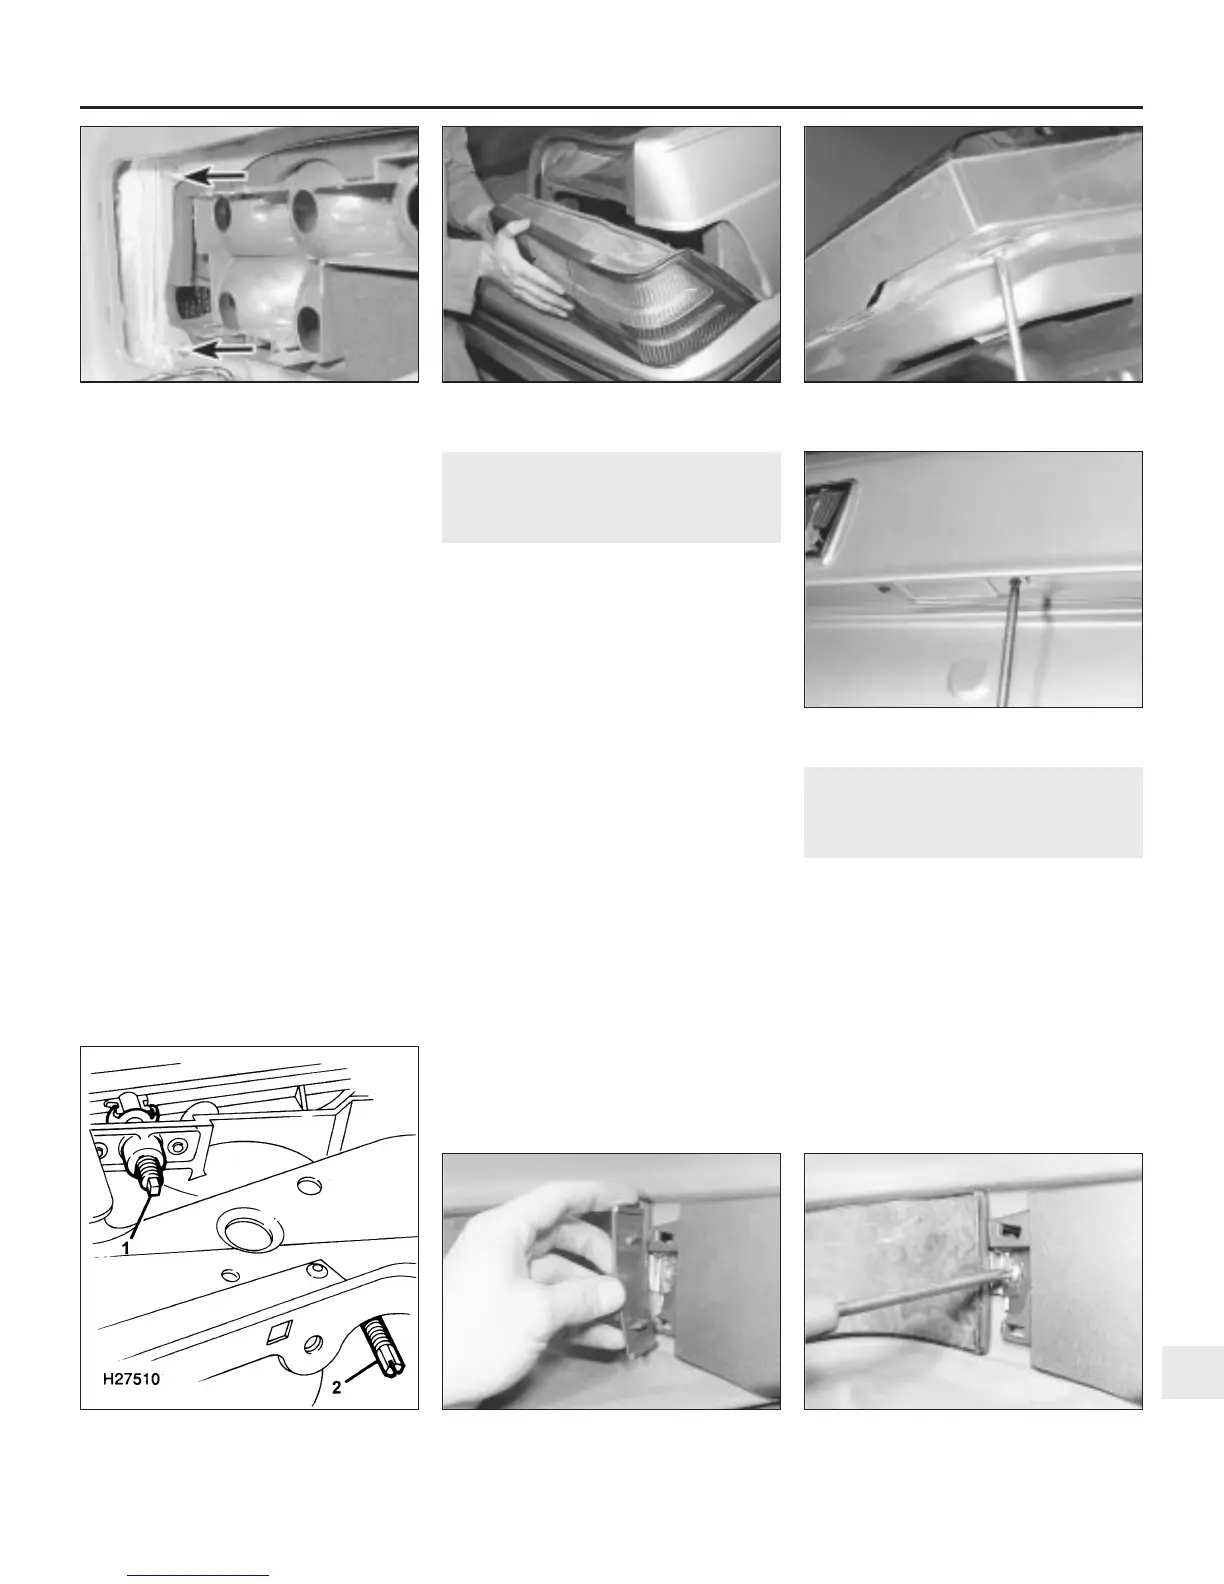
the car (see illustrations).
9 Refitting is a reversal of removal.
Boot lid/tailgate light cluster
10 Remove the bulbholder from the light unit
as described in Section 5.
11 Undo the nuts securing the light cluster to
the boot lid/tailgate and withdraw the unit
from the car.
12 Refitting is a reversal of removal.
Number plate light unit
Pre-1992 model year
13 On Fastback models, remove the trim
panel on the inside of the tailgate.
14 Undo the six retaining screws and remove
the rear lens reflector and number plate
assembly (see illustration).
15 Undo the two screws securing each
number plate light unit and withdraw the
unit(s) (see illustration).
16 Turn the bulbholder anti-clockwise to
remove the bulb, then remove the light unit
from the car.,
17 Refitting is a reversal of removal.
1992 model year onwards
18 Refer to Section 5.
8 Headlight beam alignment -
checking and adjustment
3
1 Accurate adjustment of the headlight beam
is only possible using optical beam
setting equipment and this work should
therefore be carried out by a Rover
dealer or service station with the necessary
facilities.
2 Temporary adjustment can be made
when the headlight unit has been
removed and refitted, or to compensate for
normal adjustment whenever a heavy
load is being carried. Turn the adjustment
screws at the rear of the headlight
unit to make the adjustment (see
illustration).
3 Before making any adjustments to the
headlight settings, it is important that the tyre
pressures are correct and that the vehicle is
standing on level ground. Bounce the front of
the vehicle a few times to settle the
suspension. Ideally somebody of normal size
should sit in the driver’s seat during the
adjustment and the vehicle should have a full
tank of fuel.
4 Whenever temporary adjustments are
made, the settings must be reset as
soon as possible once the vehicle is in normal
use.
9 Instrument panel -
removal and refitting
1
Removal
1 Disconnect the battery negative (earth) lead
(refer to Chapter 5, Section 1).
2 Undo the three lower screws and the single
upper screw, or three lower screws only on
later models, and remove the upper and lower
steering column shrouds.
3 Carefully prise out the rear of the cover
plate at the extreme left-hand side of the cowl
and push the plate forward to release the front
clips. Undo the screw behind the plate, now
exposed (see illustrations).
Body electrical system 12•9
7.14 Remove the rear lens reflector and
number plate assembly
7.8b Removing the rear light cluster
assembly
7.8a Rear light cluster side retaining nuts
(arrowed)
9.3b . . . and undo the screw behind9.3a Prise out the instrument cowl cover
plate . . .
8.2 Headlight beam horizontal adjustment
screw (1) and vertical adjustment screw (2)
7.15 Undo the two screws securing each
number plate light unit
12
1380 Rover 800 Series Remake


 To Next Page
 Loading...
