45 Push and turn the bulb anti-clockwise to
remove it from the holder.
46 Fit the new bulb, lens and retaining
screws.
6 Bulbs (interior lights) -
renewal
1
Interior courtesy light
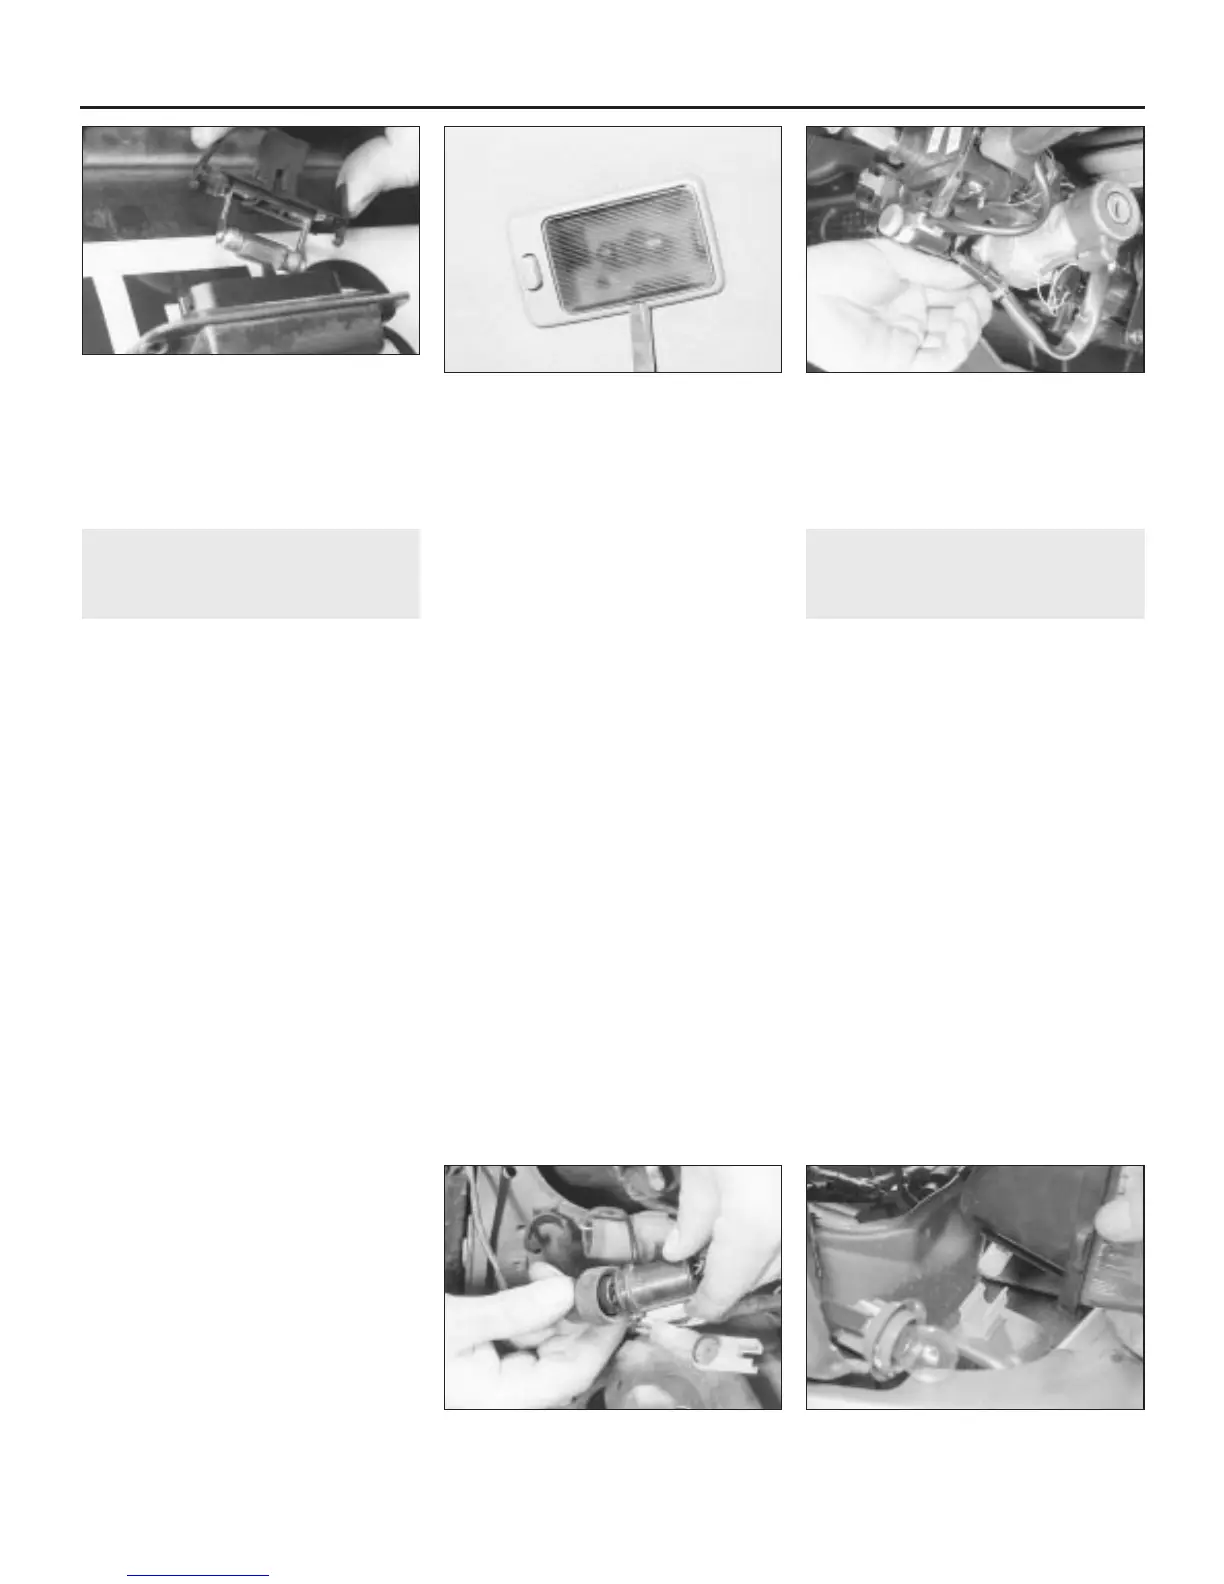
1 Carefully prise the lens from the light body
using a thin blade (see illustration).
2 Remove the festoon-type bulb from the
contacts.
3 Fit the new bulb and push the lens into
place.
Map reading and courtesy light
4 To renew the courtesy light bulb, carefully
prise the light lens from its housing using a
small screwdriver.
5 Remove the festoon-type bulb from the
contacts.
6 Fit the new bulb and push the lens into place.
7 To renew the map reading light bulb, remove
the courtesy light lens as just described, and
undo the two light unit retaining screws.
8 Withdraw the light unit and remove the
push-fit or bayonet-fit bulb.
9 Fit the new bulb and refit the light unit.
Vanity mirror light
10 Move the light switch to the down
position.
11 Carefully prise off the mirror surround from
the light unit taking care that the mirror does
not drop out as the surround is removed.
12 Lift the mirror out and remove the festoon
bulb(s) from the holder(s).
13 Fit the new bulb(s), locate the mirror in
position and refit the surround. Ensure that
the switch mechanism is aligned as the
surround is fitted.
Footwell and glovebox lights
14 From within the glovebox or under the
footwell as applicable, carefully prise the light
from its location using a small screwdriver.
15 Release the festoon-type bulb from its
contacts.
16 Fit the new bulb and push the light back
into position.
Luggage compartment light
17 Using a small screwdriver, carefully prise
the right-hand end of the light from its location
under the rear parcel shelf on Saloon models,
or on the rear side panels on Fastback models.
18 Withdraw the light unit, turn the bulb anti-
clockwise and remove it from the light unit.
19 Fit the new bulb and push the light back
into position.
Instrument panel illumination
and warning lights
20 Refer to Section 10.
Switch illumination
Facia switches and heater/air
conditioner control switches
21 Remove the instrument cowl as described
in Section 9.
22 With the wiring multiplugs disconnected,
remove the relevant bulb, which is a push-fit
in the multiplug holder.
23 Fit a new bulb, then refit the instrument
cowl as described in Section 9.
Hazard warning switch
24 Lift off the switch lens on the steering
column upper shroud, and remove the push-
fit bulb.
25 Fit a new bulb, and press the lens into place.
Steering column switches (early
models)
26 Undo the three lower screws and the
single upper screw, and remove the upper
and lower steering column shrouds.
27 Withdraw the bulbholder from the rear of
the fibre optic diffuser unit then remove the
bulb from the holder (see illustration).
28 Fit a new bulb, push the bulbholder into
place and refit the steering column shrouds.
7 Exterior light units -
removal and refitting
1
Note: Ensure that all exterior lights are
switched off before disconnecting the wiring
connectors to any exterior light bulbs.
Headlight lens unit
1 On pre-1992 model year vehicles, remove
the radiator grille as described in Chapter 11.
2 Remove the front direction indicator light
assembly as described in Section 5.
3 Disconnect the wiring multiplug at the rear
of the headlight dipped beam bulb, and
separate the main beam wiring at the
connector (see illustration).
4 Undo the two bolts securing the headlight
lens unit to the front body panel. On later
models, undo the additional screw on the side
of the unit accessible through the direction
indicator light aperture.
5 Release the unit from the lower lugs and
remove it from the car (see illustration).
6 Refitting is a reversal of removal.
Rear light cluster assembly
Rear wing light cluster
7 Remove the bulb panel from the light unit
as described in Section 5.
12•8 Body electrical system
7.5 Release the lens unit from the lower
lugs
7.3 Separate the headlight main beam
wiring at the connector
6.27 Withdraw the bulbholder from the
fibre optic diffuser unit
6.1 Prise off the courtesy light lens
5.41 . . . squeeze the two plastic tags
together and release the bulbholder from
the light unit
1380 Rover 800 Series Remake


 To Next Page
 Loading...
