two leads at the amplifier unit (see
illustration).
4 Disconnect the two amplifier leads at the
connections to the rear screen demisting
element.
5 Disconnect the aerial co-axial lead at the
amplifier.
6 Undo the two screws and remove the
amplifier from under the parcel shelf.
Refitting
7 Refitting is a reversal of removal.
Fastback models
Removal
8 Disconnect the battery negative (earth) lead
(refer to Chapter 5, Section 1).
9 Remove the trim panel from inside the
tailgate.
10 Disconnect the leads at the amplifier unit
located behind the stiffener panel in the
tailgate.
11 Disconnect the leads at the connector to
the rear screen demisting element.
12 Disconnect the aerial co-axial lead at the
amplifier.
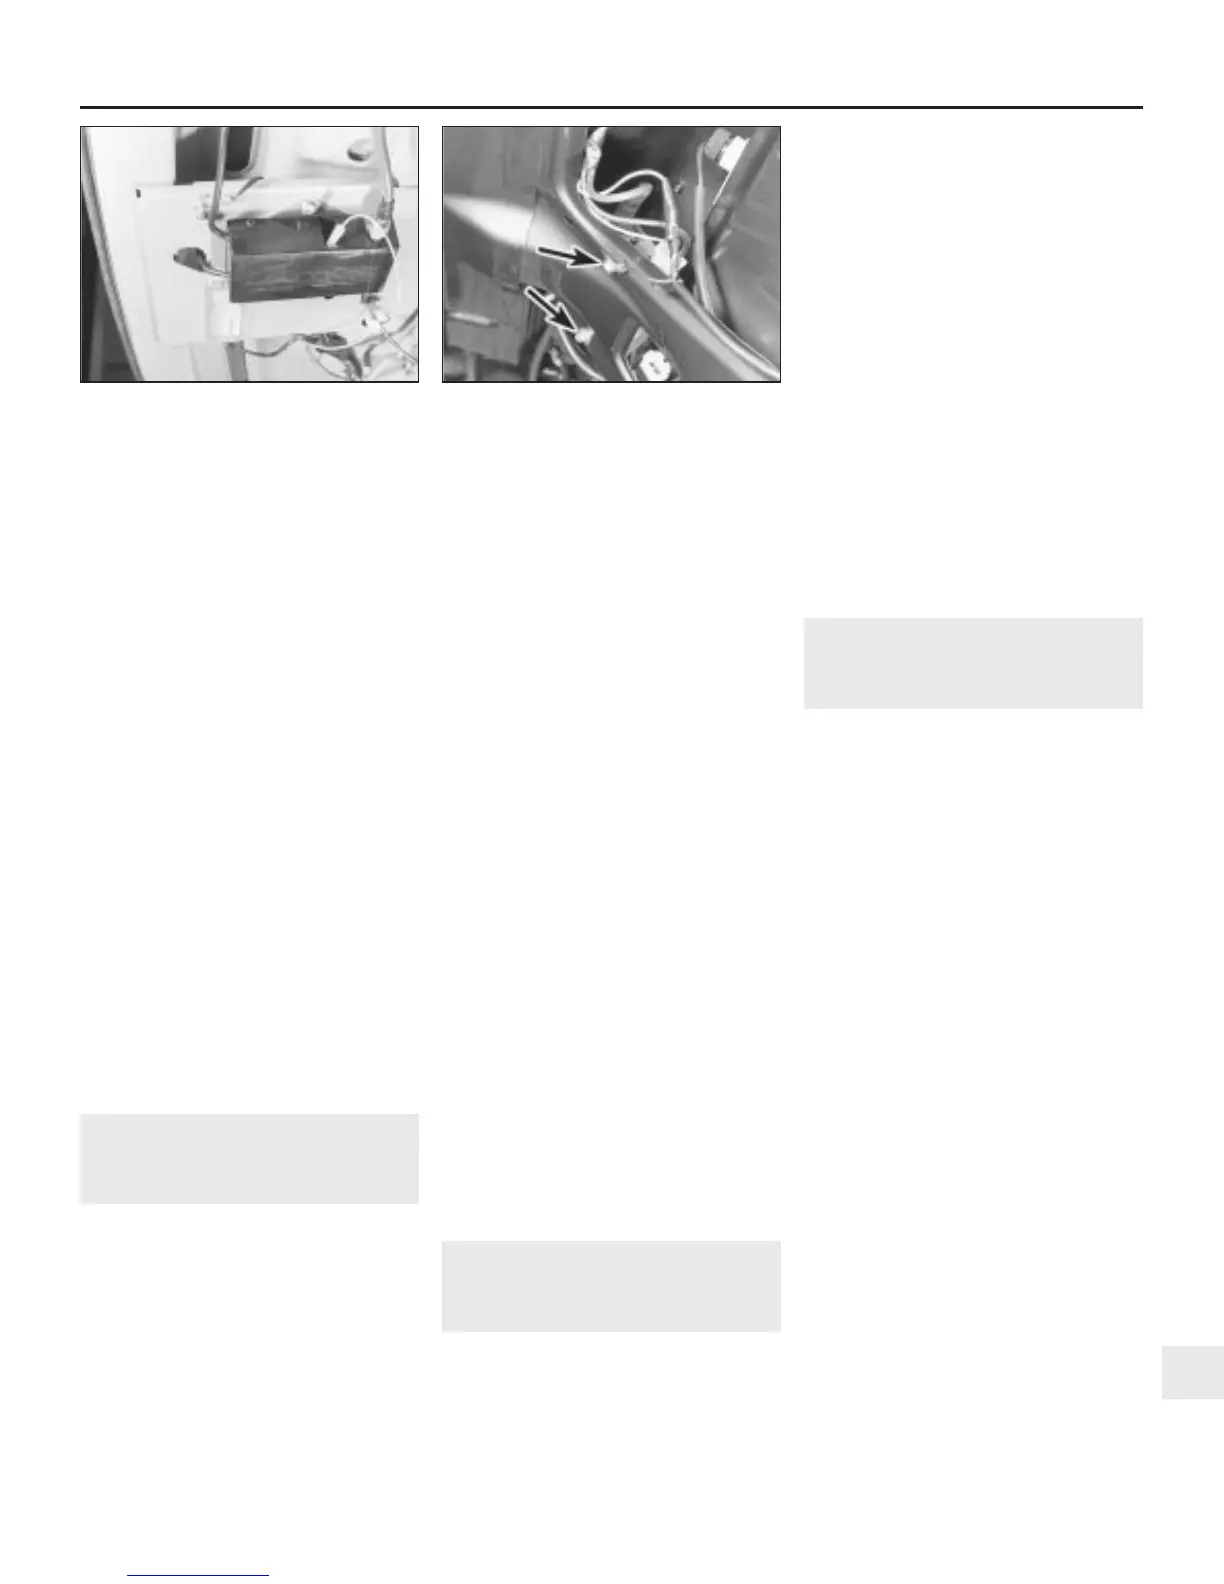
13 Undo the two bolts and remove the
amplifier from the tailgate (see illustration).
Note that one bolt also secures the wiring
earth cable.
Refitting
14 Refitting is a reversal of removal.
23 Power amplifier -
removal and refitting
1
Facia-mounted amplifier - early
models
Removal
1 Disconnect the battery negative (earth) lead
(refer to Chapter 5, Section 1).
2 Release the turnbuckles and remove the
trim panel over the fusebox, beneath the
steering column.
3 Remove the radio cassette player as
described in Section 19.
4 Disconnect the four multiplugs connecting
the speaker leads from the power amplifier to
the wiring harness. Record the colour codes
of each lead to ensure correct connection on
reassembly.
5 Release the retaining stud and remove the
small centre console trim panel from the
footwell on the driver’s side.
6 Working through the trim panel aperture,
disconnect the power amplifier wiring
multiplug.
7 Undo the nut and two screws securing the
power amplifier mounting bracket under the
facia.
8 Withdraw the amplifier, release the wiring
harness, and remove the unit from under the
facia.
Refitting
9 Refitting is a reversal of removal.
Luggage compartment-mounted
amplifier - later models
Removal
10 Disconnect the battery negative (earth)
lead (refer to Chapter 5, Section 1).
11 Remove the trim panel from the right-
hand side of the luggage compartment.
12 Disconnect the rear speaker leads at the
speakers or at the wiring connectors, and
pass the disconnected leads through to the
amplifier.
13 Disconnect the two multiplugs and the
DIN socket connector at the amplifier.
14 Undo the two amplifier mounting bracket
screws, and remove the unit from the luggage
compartment.
Refitting
15 Refitting is a reversal of removal.
24 Anti-theft system -
general information
Later models are fitted with an anti-theft
system as an additional security measure. The
system is armed automatically whenever the
vehicle is locked (by key or infra-red handset);
the system cannot be armed by pressing the
internal door lock buttons.
In the event of the vehicle being broken
into, the alarm will be activated. It will also
sound if the ignition key is inserted into the
ignition switch whilst the alarm is armed, and
additionally, when the system is being armed
and a door is not fully closed. Note that the
bonnet must also be fully closed to enable the
system to be armed.
On later models, an additional ultrasonic
space protection feature is incorporated into
the system. This uses two sensors mounted
at the top of the left-hand door pillars to
detect movement inside the vehicle (such as
entry being gained through a broken window).
In the event of such movement being
detected, the alarm will be activated. This
feature can be disabled if required (for
example, if the car is to be briefly locked with
animals inside).
The anti-theft alarm system is controlled by
the ignition/starter circuit, the door courtesy
light switches, the boot/tailgate light switches
and the central control unit (CCU).
25 Anti-theft system
components -
removal and refitting
1
Note: The following procedures apply to
those components dedicated to the anti-theft
alarm system. Removal and refitting
procedures for the central control unit (CCU)
and the door/boot/tailgate light switches will
be found in Sections 11 and 4 respectively. At
the time of writing no information was
available relating to the ultrasonic space
detection sensor.
Alarm siren
Removal
1 Remove the wiper arms as described in
Section 15.
3 Carefully prise up the screw caps over the
windscreen finisher retaining screws at the
base of the windscreen (see illustration
overleaf).
4 Undo the screws on the finisher front face
and on the extreme edges, then remove the
finisher from the car.
5 Using pointed-nose pliers, release the
rubber sealing strip retaining clips. Be
prepared for some of these clips to break
during removal.
6 Lift off the centre grille and the right-hand
plenum moulding.
7 Release the wiring harness from the
support bracket and disconnect the wiring
multiplug.
8 Undo the two retaining screws and remove
the siren from the plenum chamber.
Refitting
9 Refitting is a reversal of removal. Adjust the
wiper arm park position as described in
Section 15, when refitting the arms.
Body electrical system 12•17
22.13 Aerial amplifier unit retaining bolts
(arrowed) on Fastback models
22.3 Aerial amplifier unit located under the
rear parcel shelf on early Saloon models
12
1380 Rover 800 Series Remake


 To Next Page
 Loading...
