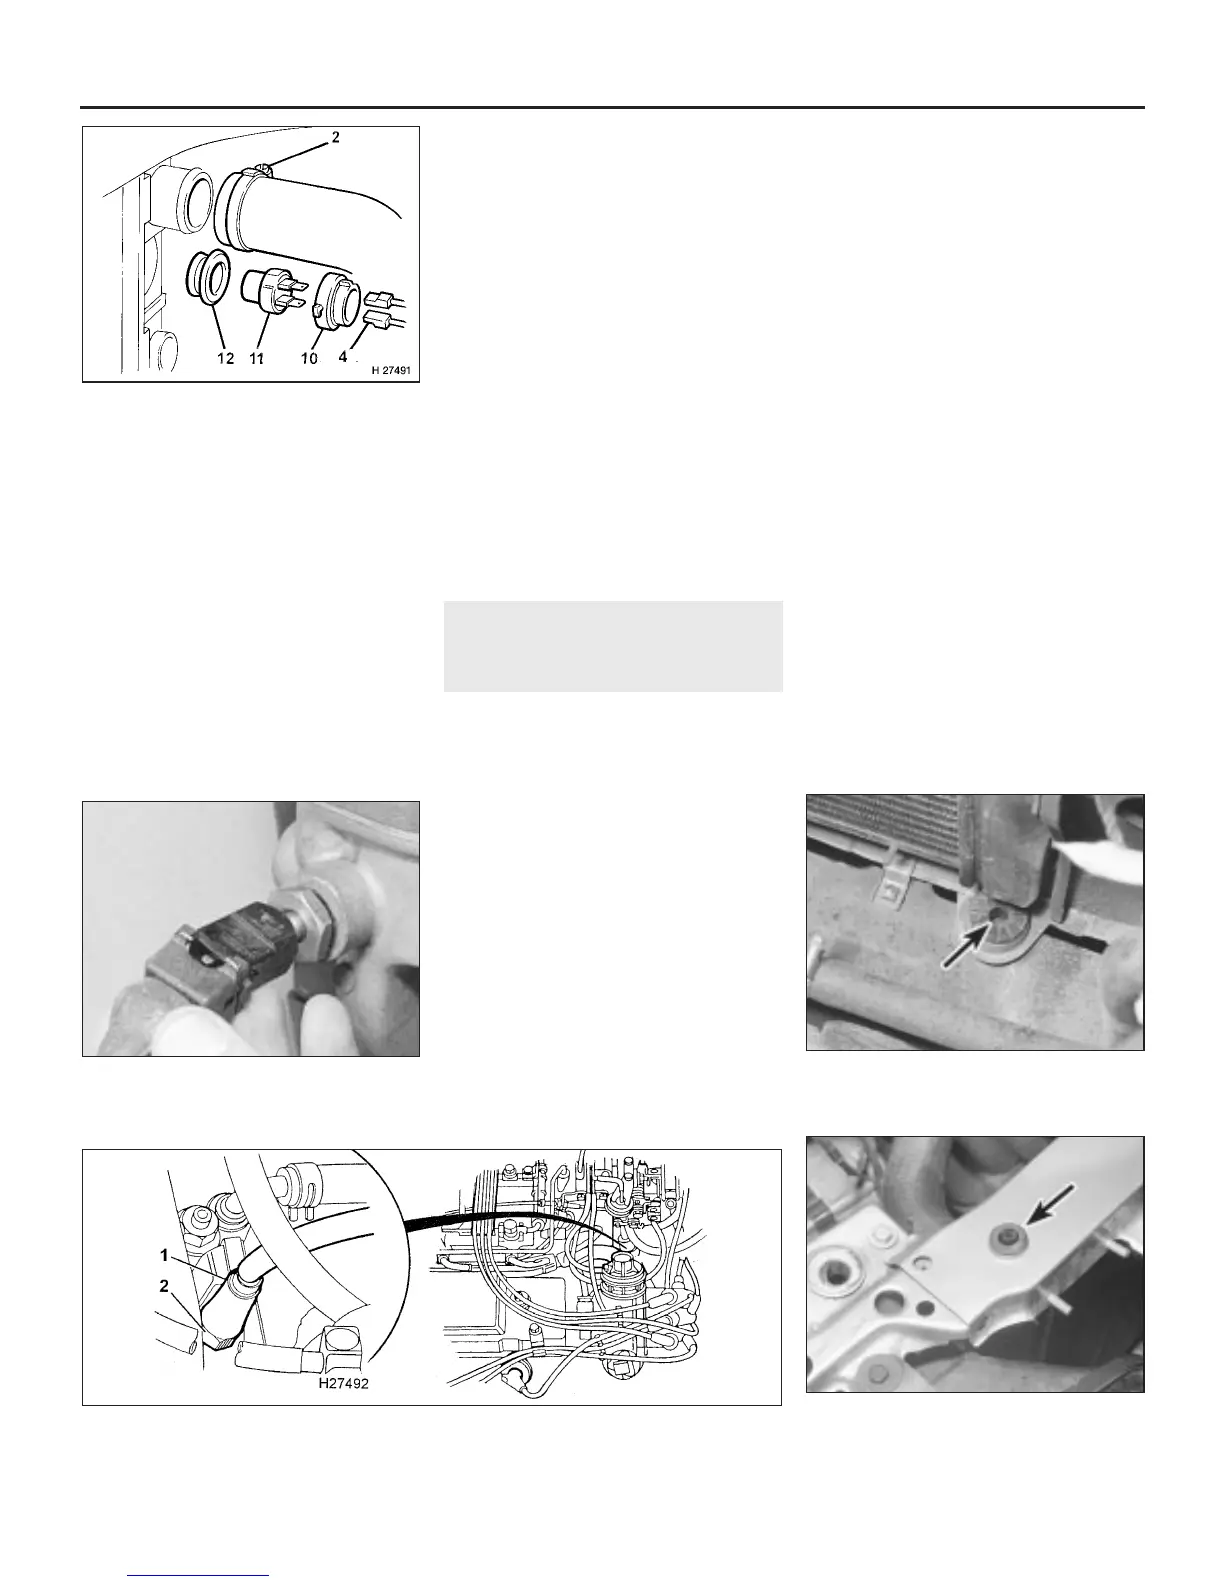
fitting, and withdraw the switch and seal from
the radiator (see illustration).
Refitting
3 Refitting is a reversal of removal, but renew
the seal if the old one has deteriorated. Top
up the cooling system as described in
Chapter 1.
Coolant temperature sensors
Removal
4 The coolant temperature sensors contain
an element, the resistance of which alters
according to coolant temperature. The units
control the operation of the temperature
gauge, and are also used by the fuel and
ignition system control units to determine
engine temperature. Depending on the engine
management system fitted, either a single
sensor performs both functions, or a separate
sensor is used for each.
5 On 4-cylinder engines either a single
sensor, or two sensors are located on the
thermostat housing. On V6 engines a single
sensor is located in a coolant passage on top
of the engine, just below the distributor.
6 Partially drain the cooling system
(approximately 2.5 litres) as described in
Chapter 1.
7 Disconnect the wiring multiplug, then
unscrew the relevant sensor from its location
(see illustrations).
Refitting
8 Refitting is a reversal of removal, but refill
the cooling system as described in Chap-
ter 1.
7 Radiator (4-cylinder engines)
- removal, inspection and
refitting
1
Note: Refer to the warnings given in Section 1
of this Chapter before starting work.
Radiator - normally aspirated
engines
Removal
1 Drain the cooling system as described in
Chapter 1. Leave the bottom radiator hose
disconnected.
2 Slacken the retaining clip and disconnect
the radiator top hose.
3 Disconnect the cooling fan motor
multiplug(s) at the wiring connector(s).
4 Disconnect the wires at the thermostatic
switch(s) just below the top hose outlet.
5 On pre-1992 model year vehicles, remove
the radiator grille as described in Chapter 11,
Section 19.
6 Undo the two bolts each side securing the
centre platform to the body side members
(see illustration 5.6).
7 Undo the nut and retaining bolt securing
the bonnet safety catch to the centre platform
(see illustration 5.7).
8 Lift the centre platform upwards, turn it
over, and cut off the cable ties securing the
bonnet release cable to the platform
underside. Remove the platform from the
car.
9 Lift the radiator upwards, and carefully
remove it from the car.
10 With the radiator removed, it can be
inspected for leaks and damage. If it needs
repair, have a radiator specialist or dealer
service department perform the work, as
special techniques are required. Clear the
matrix of flies and small leaves with a soft
brush, or by hosing.
11 Reverse-flush the radiator, as described
in Chapter 1. Renew the top and bottom
hoses and clips if they are damaged or have
deteriorated.
Refitting
12 Refitting the radiator is a reversal of
removal, but ensure that the lower mounting
lugs engage in the rubber grommets, and the
centre platform grommets locate over the
radiator upper lugs (see illustrations). Re-
secure the bonnet release cable to the centre
platform, using new cable ties. On
completion, fill the cooling system as
described in Chapter 1.
3•6 Cooling, heating and air conditioning systems
7.12b . . . and the centre platform
grommets (arrowed) locate over the
radiator upper lugs
7.12a Ensure that the radiator lower lugs
(arrowed) engage with the rubber
grommets . . .
6.7b Coolant temperature sensor location on V6 engines
1 Wiring multiplug 2 Temperature sensor
6.7a Disconnecting the coolant
temperature sensor multiplug on the
4-cylinder engine
2 Top hose
retaining clip
4 Wiring
connectors
10 Switch retaining
ring
11 Switch
12 Seal
6.2 Cooling fan thermostatic switch
components
1380 Rover 800 Series Remake


 To Next Page
 Loading...
