Do you have a question about the Rowenta DW23 and is the answer not in the manual?
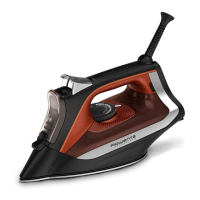
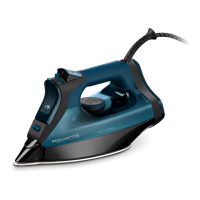
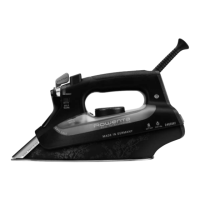
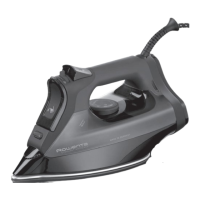
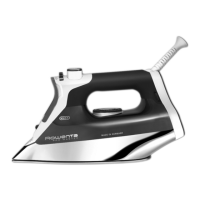
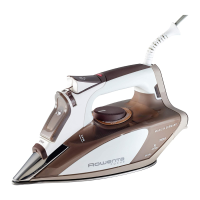
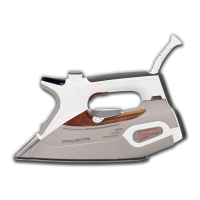
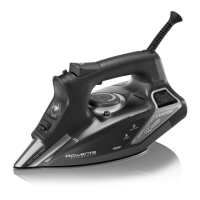
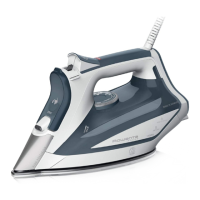
Identifies and describes the main parts of the iron.
Covers safe operation, disconnection, cord use, and electrical hazards.
Emphasizes supervision and keeping the iron away from children.
Alerts users to burn risks from hot surfaces and steam.
Addresses extension cords, stable surfaces, unattended use, and condition checks.
Specifies tap water and exceptions for hard water.
Lists water types that should not be used.
Instructions for disposing of the appliance for recycling.
Covers removing covers, setting levers, and opening inlets.
Step-by-step guide to filling the water reservoir.
Instructions on stopping at MAX level and closing the filling door.
Details on unwinding the cord and plugging in the iron.
Guide to setting the temperature control dial.
Explains the function of pilot and auto-off lights during heating.
Indicates when the iron is ready and steam can be activated.
Details the timeframes for automatic shut-off based on iron position.
Explains the indicator light behavior when Auto Off is active.
How to restart the iron after auto-off.
Describes the light status when the iron reheats.
Provides guidance for selecting temperature based on fabric type.
Instructions for setting the steam lever for dry ironing.
Instructions for activating the spray function.
Guide to setting the thermostat for steam shots.
How to press the burst of steam button for a specific duration.
Guide to setting the thermostat for vertical steam.
How to hold the iron vertically and activate steam.
Specifies the recommended distance from the garment.
Warning against steaming people or oneself.
Instructions on where to place the iron when plugged in or not.
Advises to let the iron cool down for 1 hour after unplugging.
How to wipe the soleplate with a damp cloth or sponge.
Advises against detergent and abrasive cleaners, recommends a kit.
Warning not to pour water onto the iron.
Steps to unplug and set the steam lever for storage.
Reiteration to let the iron cool down before storing.
Instructions to empty the water tank before storing.
How to wrap the cord without stressing it.
How to use the cord reel button.
Warning against storing the iron in a horizontal position.
Suggests cleaning the anti-calc valve every 2 weeks.
Steps to prepare the iron, including setting controls and emptying the tank.
Instructions for soaking the valve in lemon juice or vinegar.
How to rinse the valve under running water.
Instructions on how to reinsert the valve and a warning about its importance.
Recommends performing self-cleaning every 2 weeks.
How to set the steam lever and fill the tank for self-cleaning.
Instructions on plugging in the iron to start the process.
Guide to setting the thermostat for self-cleaning.
Explains the pilot light behavior during the heating phase.
Indicates when the iron is ready after heating.
Final step to unplug the iron.
Position the iron over a sink for the self-cleaning process.
How to remove the anti-calc valve with the thermostat set to MAX.
Gently shaking the iron over the sink for one minute.
Steps to correctly replace the anti-calc valve.
Heat the iron for 2 minutes to dry the soleplate.
Unplug the iron after the drying phase.
Let the iron cool for 1 hour after unplugging.
Addresses water drips and suggests waiting for heat or checking steam control.
Explains causes like additives or incorrect water and suggests self-cleaning.
Relates to limescale buildup and suggests self-cleaning.
Advises cleaning the soleplate and selecting appropriate temperature.
Covers empty tank, dry use, and incorrect steam control settings.
Warns against ironing over metal or zippers.
Discusses steam control setting and overfilling the tank.
Identifies insufficient water as a cause and suggests filling the tank.
Provides contact information for warranty services in different countries.
| Soleplate Type | Stainless Steel |
|---|---|
| Auto Shut-off | Yes |
| Self-cleaning | Yes |
| Anti-drip System | Yes |
| Anti-calc System | Yes |
| Weight | 1.2 kg |