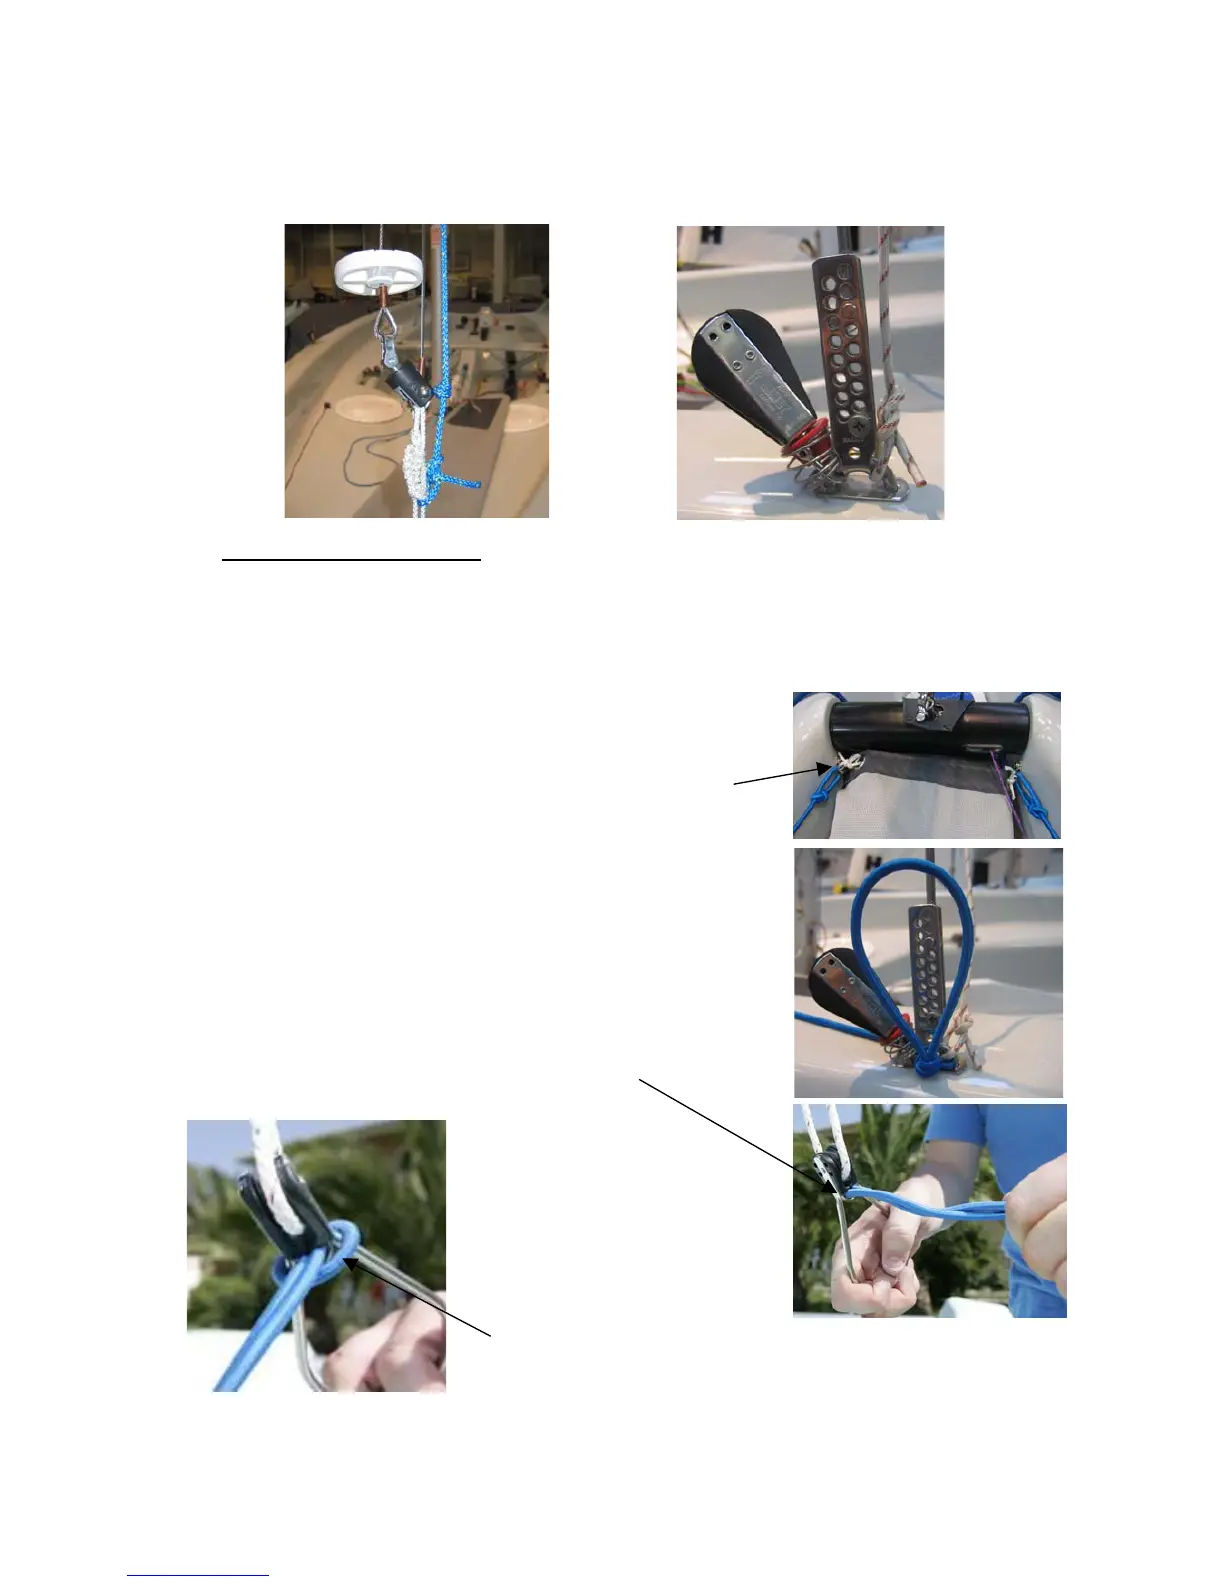
10. Temporarily fasten the jib and gennaker halyard to the forestay and and
the main halyard to the port shroud anchor point.
(This simply ensures these elements do not inpinge upon other activities and
are in the best positions for ease of rigging.)
igg
13
cord over the metal
R ing The Trape
e note: The Laser 2000 Trap
ard)
Attach the trapeze wires in the high
(Previously covered by “Riggi
Ensure the trapeze wires hang
ze
(Pleas eze kit is op
tand
1. est T st.
ng And Raisin
2. down the
the mast behind the spreaders.
tic to the respective port & starboard gennaker
sock “P” clip attachments behind the jib tack bar.
4.
towards the respective shroud anchor points.
5. pective shroud
anchor points from the inside-out then tie a loop in
6.
cords by feeding the elastic loop through the
7. Loop the elastic shock
trapeze ring and pull tight.
tional and is not supplied as
terminal positions on the ma
g The Mast” item 3)
aft face of
s
3. Tie the separate pieces of trapeze shock-cord
elas
Lead the shock-cord elastics down either gunwale
Feed each elastic through the res
each as shown.
Attach the trapeze rings to hull mounted shock
ring
at the bottom of the pulley.