8. Tip - Best practise is to tie two double half hitch
line.
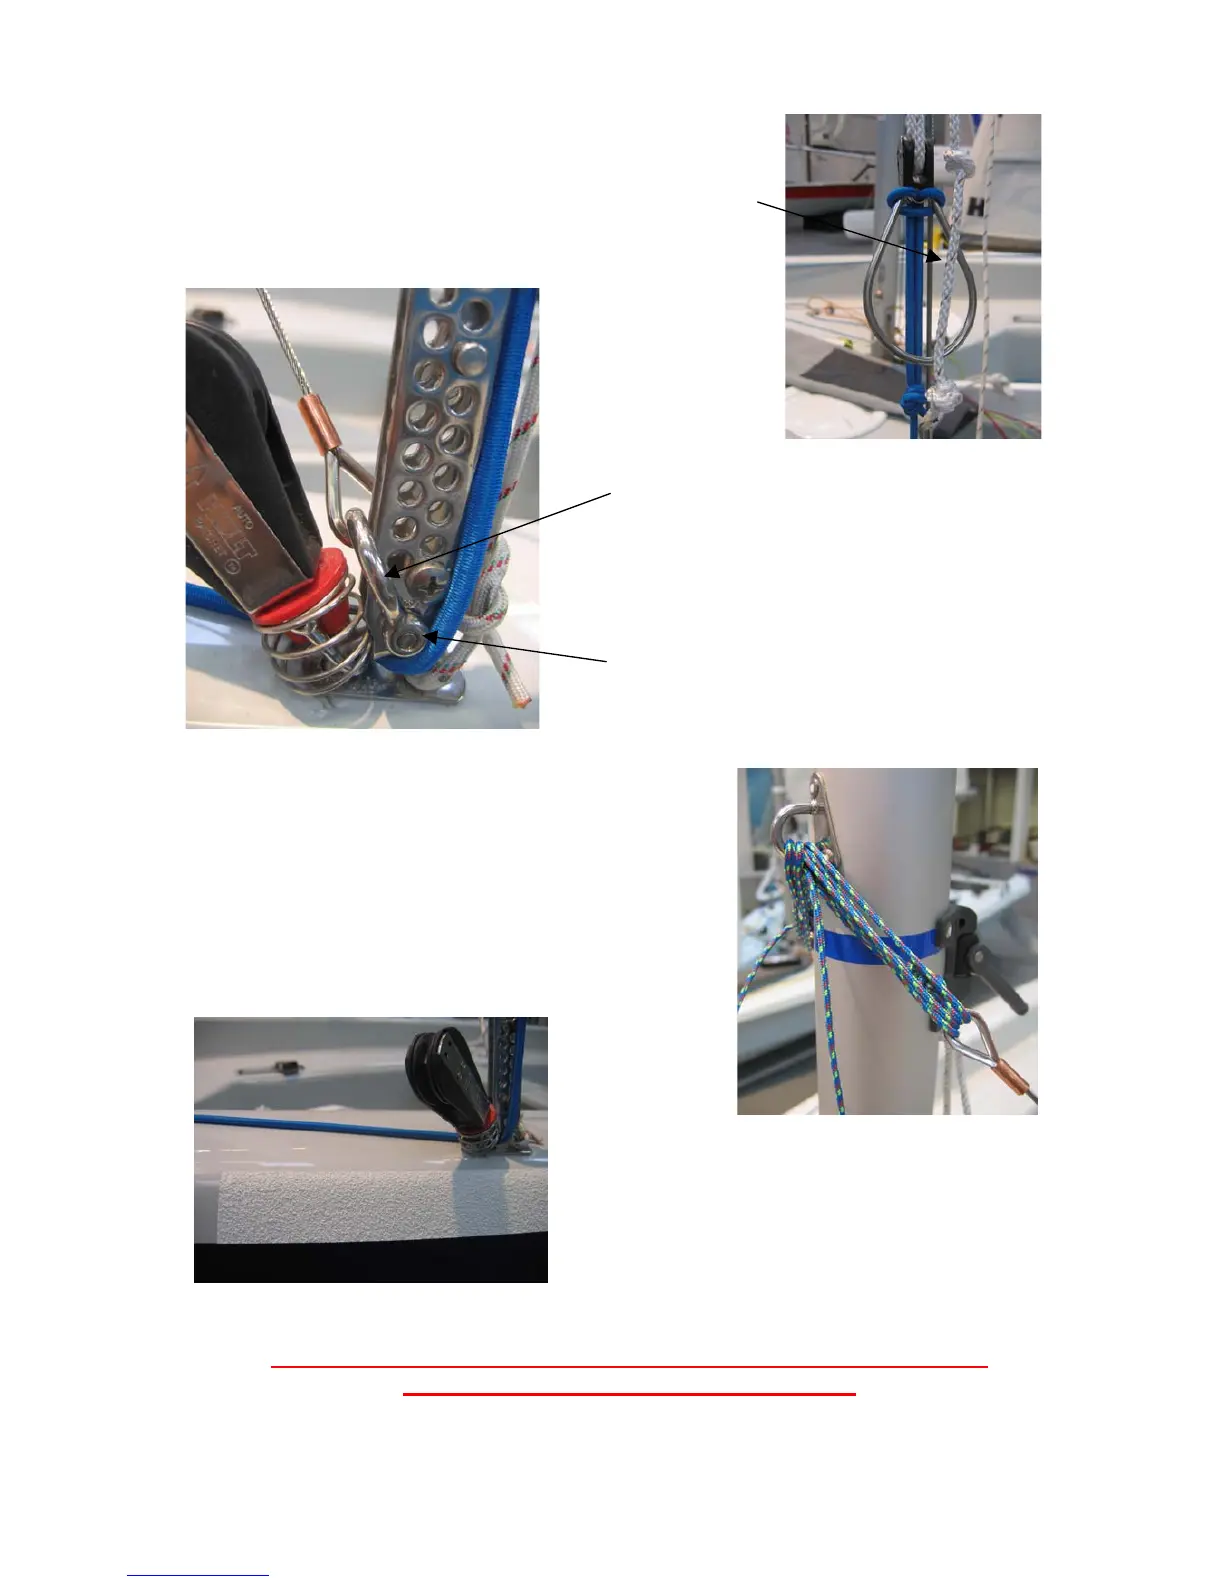
9. Attach the lower shrouds to
central hole of t
adjusters with the
forward
lower shrouds are part
kit and are
10. To avoid ob
m
nd o
face of the
tuned
off until the jib is hoised and rig ten
applied, at which point they should be
adjusted until both wires are equal, JUST in
.
e
shroud anc
uds are supplied to support the mast and
s ap
THE TRAPEZE SHOULD NEVER BE USED WITHOUT PRIOR
stopper knots a hand width apart in the adjuster
the lowest
he shroud vernier
shackle facing
as shown. (Please note: The
of the trapeze
not supplied as standard)
struction, ensure the
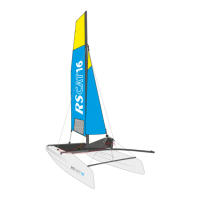
11. Loosely attach the other e
to the eye on the front
above the gooseneck.
12. The lower shrouds cannot be
shackle pins are fitted from the inside-
out, the more favourable longer ter
solution would be to discard the
shackle pins in favour of the pan head
machine screws also supplied.
f the lowers
mast just
and tied
sion is
tension but not pulling the mast aft and tied
13. Grip tap
the gunwa
should be applied parallel to
le edge commencing
approximately 200mm in front of the
hor points extending aft.
PLEASE NOTE: The lower shro
protect it from the load
FITMENT OF T
plied through use of the trapeze –
OWER SHROUDS.
HE L
14