INSTRUCTIONS
RUBI TS/TS.UTS-PLUS/TS.L
PLUS
6-7.
at.
-i0.
11.
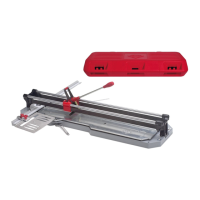
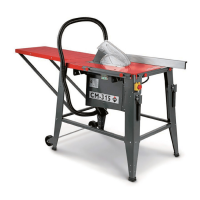
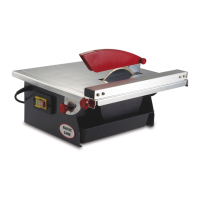
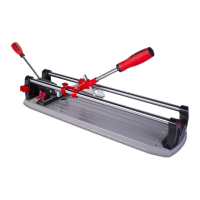
The RUBITSGUTTER/TS-PLUSwithbuilt-inseparatorisatopquality,highperformancetoolwhichwill
undoubtedlyprovideyouwiththebest
finishes for
your
work at the lowest cost, with
great
ease and in record time. Therefore, read
closely the specifications of the model
yoy
have
acquired.
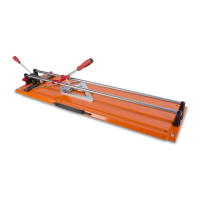
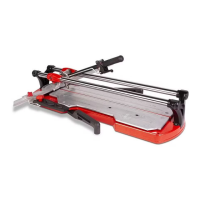
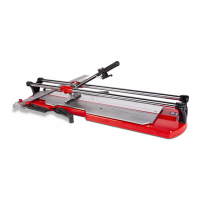
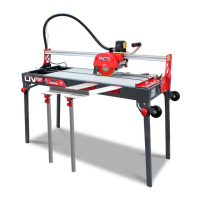
2. ModelsTS-30/40/50/50-L/60.
Models TS- 50/50-L/60/70
PLUS, incorporating the N-PLUS
Separatorwith improved
power (750K9)that
allows
you
to
cut
the hardest
ceramic
with
greaterfacility.
The separator incorporates
pin
bearings, a tempered microfusion leverdolly and a high-lesistance steelrammerhandle.
Supplied with thefollowing tools:
Models TS-30i40/50/50-L/60 & models TS-50/50-L/60/70-PLUS.
'
1 06 Rodel
y
1 O10 mm Rodel.
There
are
vaflous
ways of usrng lhe
side suppoft slop
for
stably
positioning
the
piece
to
be
grooved
in
the desired way
and
with the de-
sired
repeatab'lily.
A
further
accessory
whrch may
be
acquired
js
an
extensron ol the square
for
precislon
repetitive
cuts
in large
sized ceramic
pieges.
When mounlrng the
cutlrng
wheel
and the accessories
(punch
and
miter)
in lhe toolholder, make sure that the f lat
portion
of the item is in the
position
shorvn
(facrng
the user), so that when the sleeve
rs
screwed up,
it
will correctly hol.d the wheel.
Place the
ceramic
prece
lo be cut on lhe ba6e and
hard
up against the top
portion
or numbered square
(for
greater
accuracy, use
the
side
supporl stop).
Starting
from
lhe
end closesl
to the
user,
score the
glazed
srde once only.
Once'the
piece
has
been scored,
press
the separator
lever force{ully forward.
To make
diagonal culs, score
the
ceramic
paece
where
you
want to
cut
it,
place
the
piece
in the
separalor
in
such as way that the lower tip
corncides with the cutting line and
press
the lever.
12-13-14.When
you
wanl to
cut
very narrow
pieces,
e.9.2 cms, score al 2 and at 4 cms
and
then first
break at
4
cms and then break off the
2 cms
slrip.
_15.
To
make a curved cut, first mark the
piece
with a
jig
il
necessary.
16.
Then
score along the mark, wilh a reversed tile below to allow rotation while scoring.
17. Break away.
18.
To
make a rightangled cul in a lile. Use the side slop, score the rightangle to be
cul
with the
wheel on
the
glazed
side.
19.
Beplace
the
wheel
wilh the standard tip
(widia
tip).Turn the tile
over and cut
3-4 mm
deep
grooves
in the
bisque.
20.
Whrle still working
on
the reverse
side,
cut a
diagonal
groove
lrom
tip to tip,
right
through to the
glaze.
21.
Do
not
use
the separalor, but tap lightly on the
glazed
side until the two triangles
break away.
22.
To make
a squa.e or
r€clangular
hole. Mark
the desired cut on the
glaze
with the cutting wheel,
23.
On lhe
ieverse
sde. cut 2-3
mm
cleep
grooves
with the standard
punch
(widia
tipped).
24.
While
strll workrng
fiom
the
.eveGe
srde. cul a
turlher
two
grooves
diagonally within the square, right through to the
glaze.
25.
Tap lightly
on lhe
glezed
sde untrl
the
four
lnangles break away.
26-27.
To make
round
or complex
form holes
rn
glazed
trles. Use the
RUBI
Drill which may be fitted to
all
TS Cutters.
Place the tile with lhe reverse
srde
up{.ards and
mounl
lhe dnll
in
the cuner
guide
ways. Perforate lhe
piece
by simply
rotating
the handle, wi-
lhout
drilling
right
through to the
glaze.
Then turn lhe trle
oyer and tap
the
glazed
side
lightly
to break the cut circular
portion
away.
28-29. To make a 45o bevel
on
glazed
liles.
Ahgn
the trp ol the
punch
with the
edge ol
the tile to
be bevelled.
Starl cutting away at the upper
end of
the lile with
conlrnuous strokes
lrom
bottom to top and continue until 1 mm of tile is left
unmitered.
30.
There is
an
Adaptorfor
mounting the
Drill
in
the
RUBIT5-60
Cutter.
31. WIDIA DRILL BITS. May be mounted in the RUBI
Drills.
Made
with 2Z 35, 45, 55, 65,70 and 85 mm
diameters.
32-33.
To
separale very
hard,
thick materials, lhere are the TX,TM
and
RUBI
MAXI SEPARATOR ranges.
34. When accumulated dust
prevents
goocl
sliding, clean and
grease
the indicated
parts
wilh lubricating
oil.
lt is, however,
suff
icient
to keep the
guide
ways clean,
since
the
sliders are
f itted with
self-lubricating bearings. For
grealer
prolection
of the cutting tool, there is an internal re-
taining mechanism in
lhe
tool-holder
preventing
the sleeve from falling.This
mechanism is easily readiusted with
a screwdriver.
35.
To carry oul
periodic
cleaning and
greasing
of
the marked
points
(lever
shaft
and cam),
remove the
plastic
shield from the separator.
36.
For
carriage and slorage
purposes,
it is
desirable to keep the machrne in the
carrying case supplied, with the
guide
ways
clean and well
greaseo.
GERMANS BOADA, S.A. reservesthe rightto make
anytechnicalmodificationwithout
prior.
Withoutthe
previous
authorisation of GERMANS BOADAS.A., the
partialortotalreproduction
of
this
manual,
in anyformator by any means orprocess, is strictly
prohibited,
whethersuch reproduction be mechanical,
photographicorelectronic.
 Loading...