# resource motor 6 none
# resource pinio 2 B05
# set pinio_cong = 129,129,1,1
# set pinio_box = 0,41,255,255
# save
PWM Remote Control
Here we take Flight Controller Speedy Bee-F7 for an example
Assign the channels to the switch of the controller
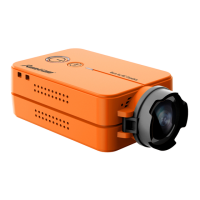
Please choose your Model on the
controller, then access to the MIXER
inteace and assign the channel to
the switches. Here we take
Radiomaster TX12 as an example,
assigning the channels CH5, CH6
and CH7 to SE, SB and SC position
respectively.
Test
Power on RunCam 6 and the Flight Controller
Solder the wires of TypeC control cable to
the pads on Speedy Bee F7 V3, with
Power wire to 5V pad, GND wire to GND
pad, PWM wire to M6 pad.
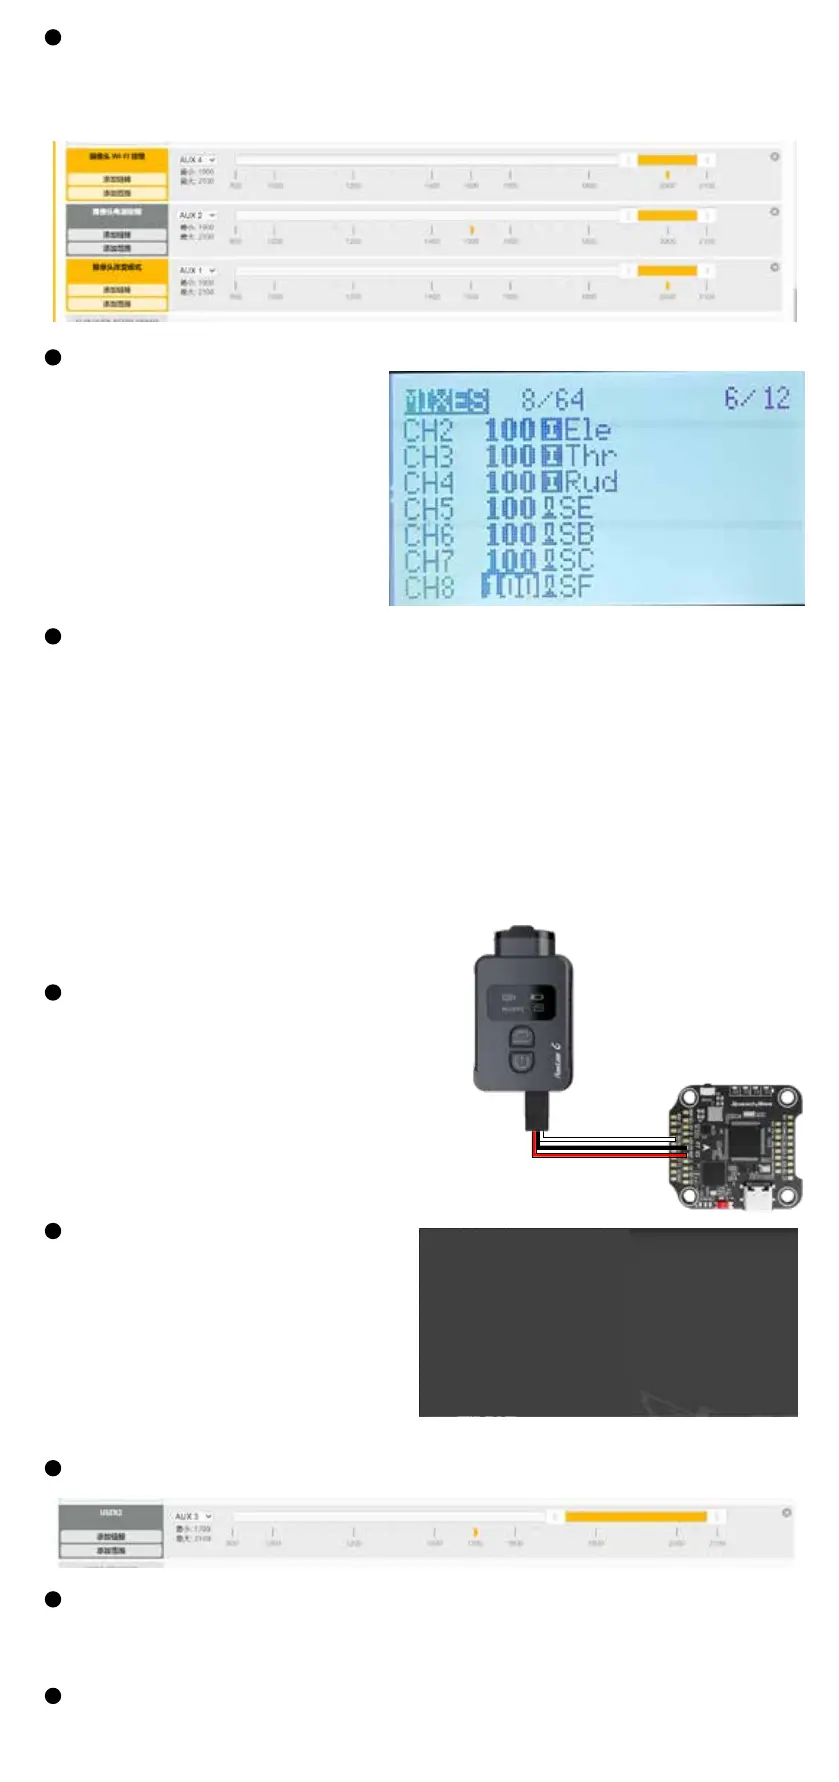
Congure at Modes
Find the Modes tab at the BetaFlight, and there are three options for
camera. Congure each for the functions of camera (select AUX by
yourself), and the range is 1900-2100.For example:
· Set the SE to the bottom, the camera stas/stops recording
· Set the SB to the bottom, the camera turns on/o WiFi.
· Set the SC to the bottom, the camera switches among the two modes:
video and OSD setting mode; At OSD mode, you can use SA position to
select, and use SB to enter a sub-menu or conrm the setting.
Congure M6 at CLI mode
·Connect the ight controller to
BetaFlight and enter the CLI
inteace
·Type in resource to proceed,
and type the command as below
Assign the channels to PWM
Assign the channels to a switch of the controller
Test
Please choose your Model on the controller, then access to the MIXER
interface and assign the channel to a switch.Here takes Radiomaster
TX12 as an example, assigning CH7 to SF position.
Set the SF to the bottom, toggle the switch once, camera starts/stops
recording; toggles the switch three times, camera will switch to
photo mode.