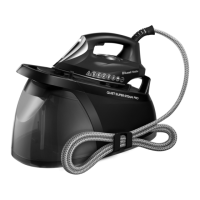
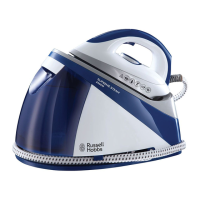
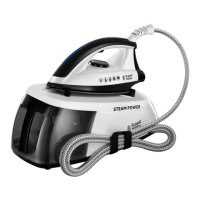
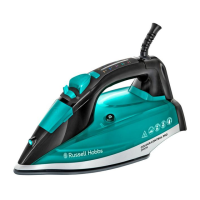
4
BEFORE USING FOR THE FIRST TIME
• Remove labels, stickers and packaging from the iron and soleplate.
• Don’t worry if the iron smokes a bit at rst, it’ll stop as the element cures.
• Iron an old piece of cotton fabric, to clean the soleplate.
FILLING
You may use the iron with tap-water, but if you live in a hard water area, you should use distilled
water (not chemically descaled or softened water). If you buy distilled water, check that it’s
suitable for use in irons.
1. Hold the iron with the front raised.
2. Open the water inlet cover.
3. Pour slowly, to let the air in the reservoir escape, otherwise you’ll cause an air lock and the
water will overow.
4. Don’t ll past max, or water will escape during use.
5. Wipe up any spillage.
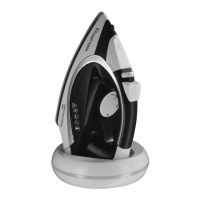
HEATING YOUR IRON
Your iron is heated by placing it onto the stand. The smart status light will show you when you
need to reheat your iron and when it is ready to use. The smart status light operates as follows:
Smart Status Light Remarks
Steady red Your iron is heating up
Flashing green Your iron is ready to use
Flashing red
Your iron needs reheating but you can carry on ironing for a little
longer
Flashing red, 3 beeps Your iron must be reheated as soon as possible
Slowly pulsing red Auto shut-o activated
Important Note:
Between ironing tasks always put the iron back onto the stand. This ensures the most ecient
heating and gives you the best performance from your iron.
1. Put the iron onto the stand and plug the stand into the power socket (switch the socket on,
if it’s switchable). The smart status light will light up red and your iron will start to heat up.
2. When the smart status light ashes green your iron is ready to use.
USING
The temperature of your iron is safe to use on all ironable fabrics and garments.
Dry ironing
If you’re going to be dry ironing for 20 minutes or more, empty the reservoir rst to avoid
spontaneous bursts of steam.
1. Set the steam control to n .
2. When the smart status light ashes green your iron is ready to use.
Steam ironing
1. Set the steam control to the setting you want, n = no steam, h= high steam.
2. When the smart status light stops ashing and stays green your iron is ready to use.
 Loading...