4
25. For added safety, electrical appliances should be connected to a power outlet that is protected by a
residual current device (RCD), also often referred to as a ‘Safety Switch’. Your switchboard may already
incorporate an RCD. If unsure, call an electrician for verification and fitting if necessary.
This appliance is intended to be used in household and similar applications such as:
• staff kitchen areas in shops, offices and other working environments;
• by clients in hotels, motels and other residential type environments;
• bed and breakfast type environments;
• farm houses.
CAUTION: Benchtops, such as, but not limited to, engineered stone, marble, granite and acrylic
may not be tolerant of localised temperature rises. Therefore, any appliance that radiates heat
should be placed on a heat resistant pad or chopping board to prevent the heat from affecting
the benchtop.
SAVE THESE INSTRUCTIONS
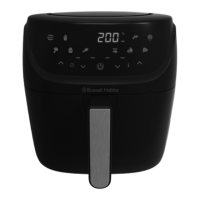
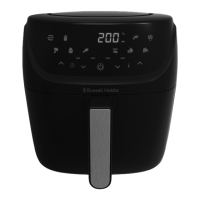
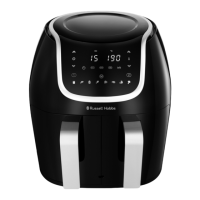
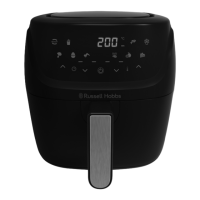
PARTS
1. Touch controls and display
2. Body
3. Crisping plate
4. Basket
5. Handle
BEFORE USING FOR THE FIRST TIME
• Handwash the removable parts, rinse, and dry.
• When using your air fryer for the first time, you may notice smoke or a slight odour for the first few
minutes of cooking. This is normal. Ensure the room is well ventilated.
PREPARATION
• Sit the appliance on a stable, level, heat-resistant surface.
• Leave a space of at least 50mm all-round the appliance.
• Have oven gloves (or a tea towel) on hand, use heat resistant plastic tongs and a heat-resistant mat or
dinner plate to rest the basket on.
• Note: Do not use metal tongs as it may scratch the coating. We recommend using only heat resistant
plastic or silicon coated tongs.
• Your air fryer may be shipped with the handle detached from the basket. If required, remove the
basket and attach the handle by sliding it downwards into the opening until it clicks into place. Make
sure that the handle is locked into place before use. Once fitted, the handle cannot be removed.
To remove the basket from the body
1. Hold the top of the body.
2. Grip the basket handle with the other hand.
3. Slide the basket out of the body.
4. Rest the basket on a heat-resistant mat.
To adjust the crisping plate:
The crisping plate can be adjusted to a high or low position to allow food to be positioned closer to or
further from the element during cooking.
1. There are supports inside the basket (Fig. A).
2. For the low position, place the crisping plate on the bottom of the basket (Fig. B).
3. For the high position, place the crisping plate on the supports inside the basket (Fig. C).
 Loading...