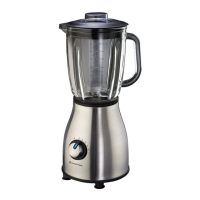
OPERATING INSTRUCTIONS
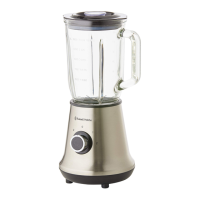
Assembly of the Glass Jug
1.
Put the sealing ring (4) on the inner edge of the blade unit(5).
2.
Put the blade unit (5) with sealing ring into the blade assembly base(6).
3.
Mount the glass jug (3) onto the blade assembly base. Turn the blade assembly base
in a clockwise direction until it is correctly tightened in place. Be careful not to turn it
too much as it may strip the thread inside the jug baseunit.
4.
Mount the fully assembly glass jug onto the motor/ baseunit.
5.
After putting the ingredients in the jug, put the lid (2) onto the jug by pressingdown.
6.
Insert the measuring cup (1) into the opening of the lid, and turn it in a clockwise
direction until it is locked inplace.
Inserting the Glass Jug
1.
Position the motor unit on a dry, firm, level surface, close to a power socket and out of
reach ofchildren.
2.
Make sure that the blender is switched off (Switched to the „0‟setting).
3.
Place the fully assembled glass jug (9) onto the motor(7).
Use
1.
Place the ingredients that you wish to process into the glassjug.
2.
Put the lid on the glass jug and close securely. Place the measuring cup into the hole in
the lid and turn clockwise to lock. It is not a good idea to run the blender without the
measuring cup in place, especially if only solid ingredients are used. They may be
ejected through the hole once they hit theblades.
3.
Switch on the motor:
Speedsetting Use
Low(1-3) for light usage withliquids
High(4-5) for more solid consistency – for mixing liquids and solid foodstuffs
P for ice crushing & short, powerfulbursts
Caution: Don‟t remove the lid from the jug while the blender is ON.
 Loading...