Step 1 - Cleaning (continued)
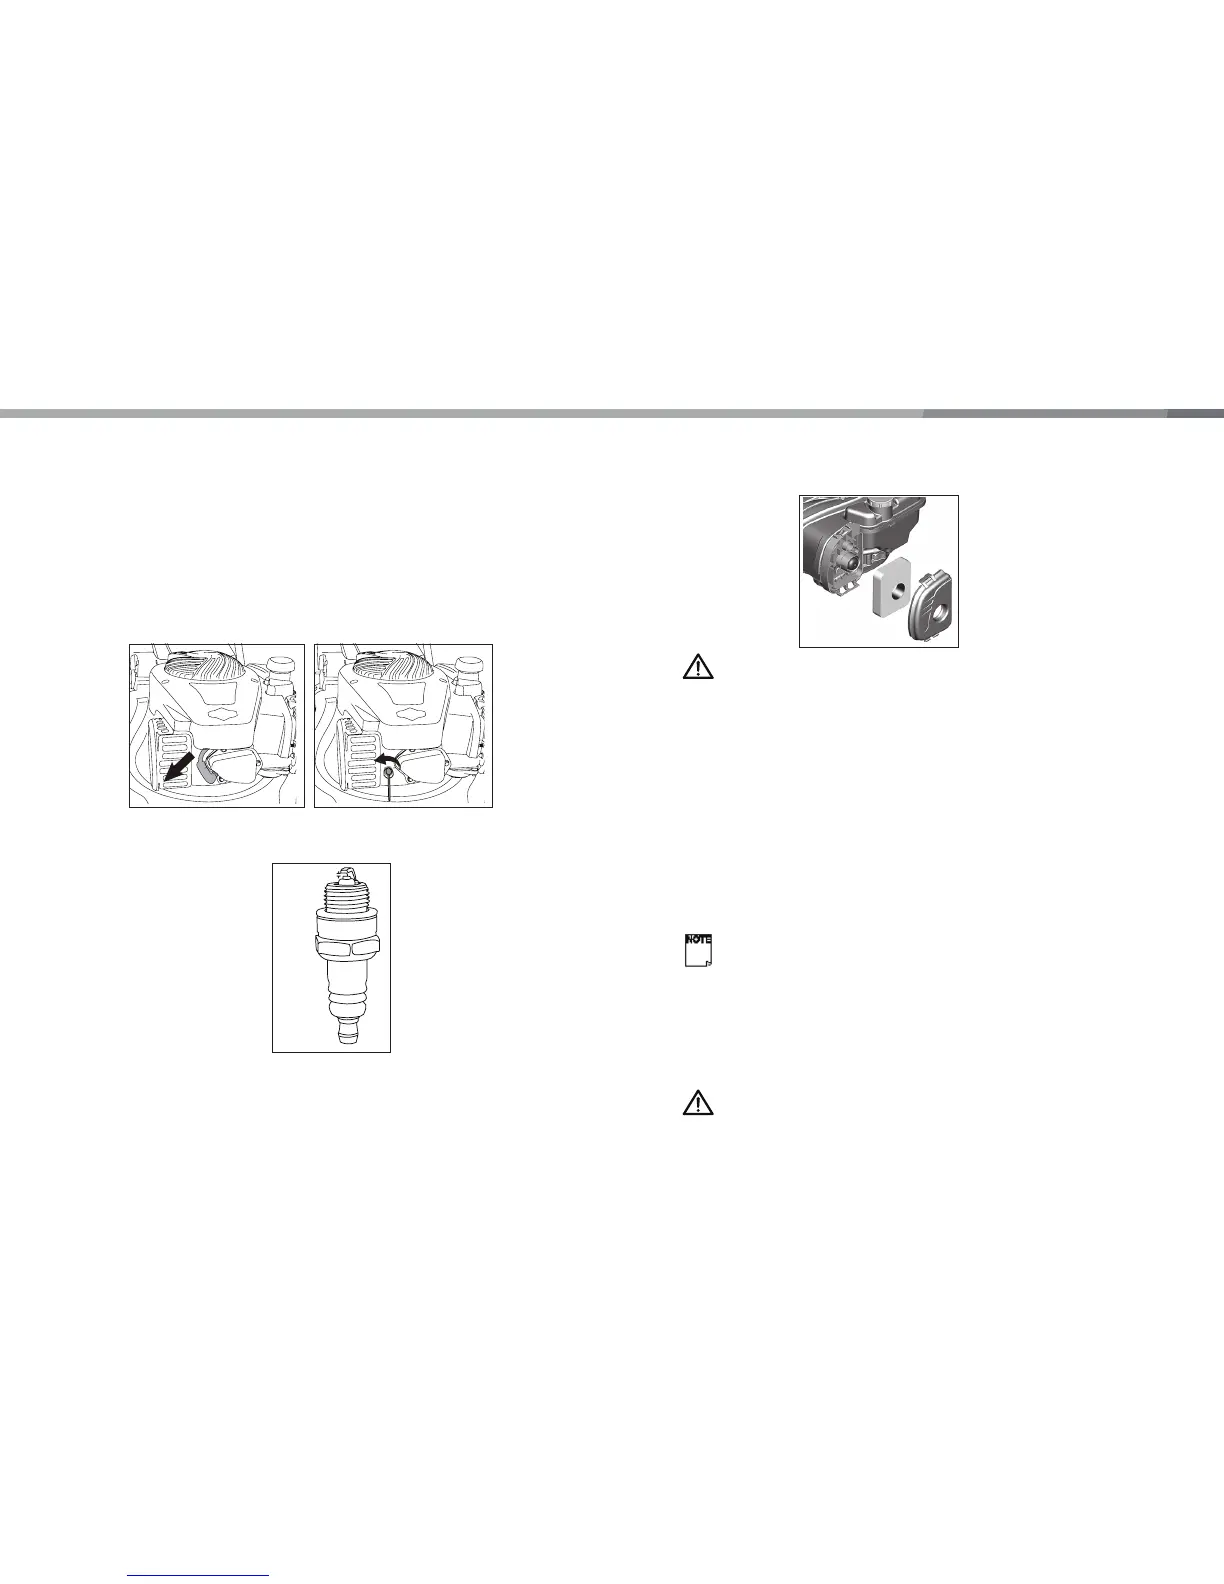
Step 2 - Cleaning or Replacing Spark Plug
MAINTENANCEMAINTENANCE
17 18
1a The lawn mower should be thoroughly cleaned after every use, especially the
underneath and the blade mount.
To do so, tip the lawn mower onto its left side (the opposite side to the oil filling socket).
Dirt and
grass is easiest to remove immediately after you have finished mowing the grass.
1b Check that the grass chute is free of any residual grass. Remove any such residue.
2a Once the engine has cooled, pull off the spark plug boot with a twist. Remove the
spark plug using the socket spanner supplied.
2b Clean the plug with a wire brush.
2c Using a feeler gauge set the gap to 0.51mm.
2d Install the spark plug carefully by hand, to avoid cross-threading.
2e After the spark plug is seated, tighten with the spanner to compress the washer.
Helpline: 01904727504
Email: support@coreservice.co.uk
Website: www.coreservice.co.uk
Helpline: 01904727504
Email: support@coreservice.co.uk
Website: www.coreservice.co.uk
Step 3 - Cleaning or Replacing Air Filter
Step 4 - Changing the Oil
Step 5 – Blades
For safety reasons you should only ever have your blade sharpened, balanced and
mounted by an authorized service workshop. For optimum results it is recommended that
the blade should be inspected once a year.
WARNING! Never run the engine without the air filter element installed.
3a Unclip the air filter cover and remove the sponge filter element.
To avoid objects falling into the air tank, replace the air filter cover. Wash the filter
element in warm soap water, rinse and allow drying naturally.
3b After cleaning, it needs to be moistened with oil then squeezed dry. The oil film in the
foam can prevent debris and dust from entering the engine.
Tilt the lawnmower towards the oil filler, have a container ready to catch the oil and
remove the dipstick. Once the oil has been emptied, replace the dipstick and wipe clean
any spillages.
Refill with 600ml SAE30 oil or equivalent ie SAE5W/30, SAE10W/30). When the dipstick
is rested on the filler pipe (i.e. not screwed in place), the oil level must be between the
min and max marks on the dipstick.
See “Filling with Engine Oil’’. Do not overfill.
Start the engine and allow it run briefly.
Stop the engine, wait one minute and check the oil level. Top up if necessary.
NOTE! For engine maintenance, see more details in Operating Manual.
NOTE! See more in Engine Manual.
2b
2a
0.43~0.58 2c
 Loading...