M
moorebrianJul 30, 2025
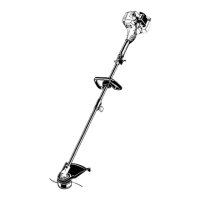
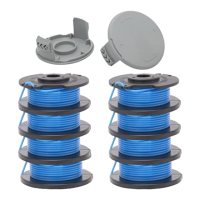
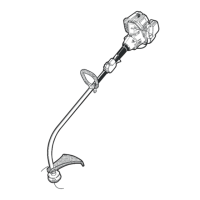
What to do if the cutting head on my Ryobi 150r Trimmer will not advance line?
- JJuan WintersJul 30, 2025
If the cutting head on your Ryobi Trimmer won't advance the line, several issues could be the cause: * The cutting head might be bound with grass. If so, stop the unit and clean the cutting attachment. * The cutting head could be out of line, requiring you to refill it with new line. * The inner reel might be bound up; try replacing it. * The cutting head might be dirty. Clean the inner reel and outer spool. * The line could be welded. Disassemble, remove the welded section, and rewind the line. * The line might be twisted from when it was refilled. Disassemble and rewind the line. * Not enough line might be exposed. Push the Bump Knob and pull out line until 4 in. (102 mm.) of line is outside of the cutting attachment.