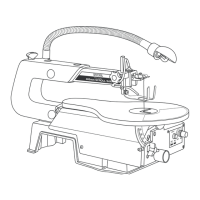
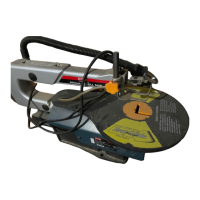
BASIC SCROLL SAW OPERATIONS
BLADES
Your new scroll saw accepts 127mm pin type blades. Your
saw is also equipped with blade adaptors that allow you to
use a variety of 127mm plain end blades.
WARNING:
To prevent personal injury
always disconnect the power cord from
power source before changing blades or
making adjustments.
!
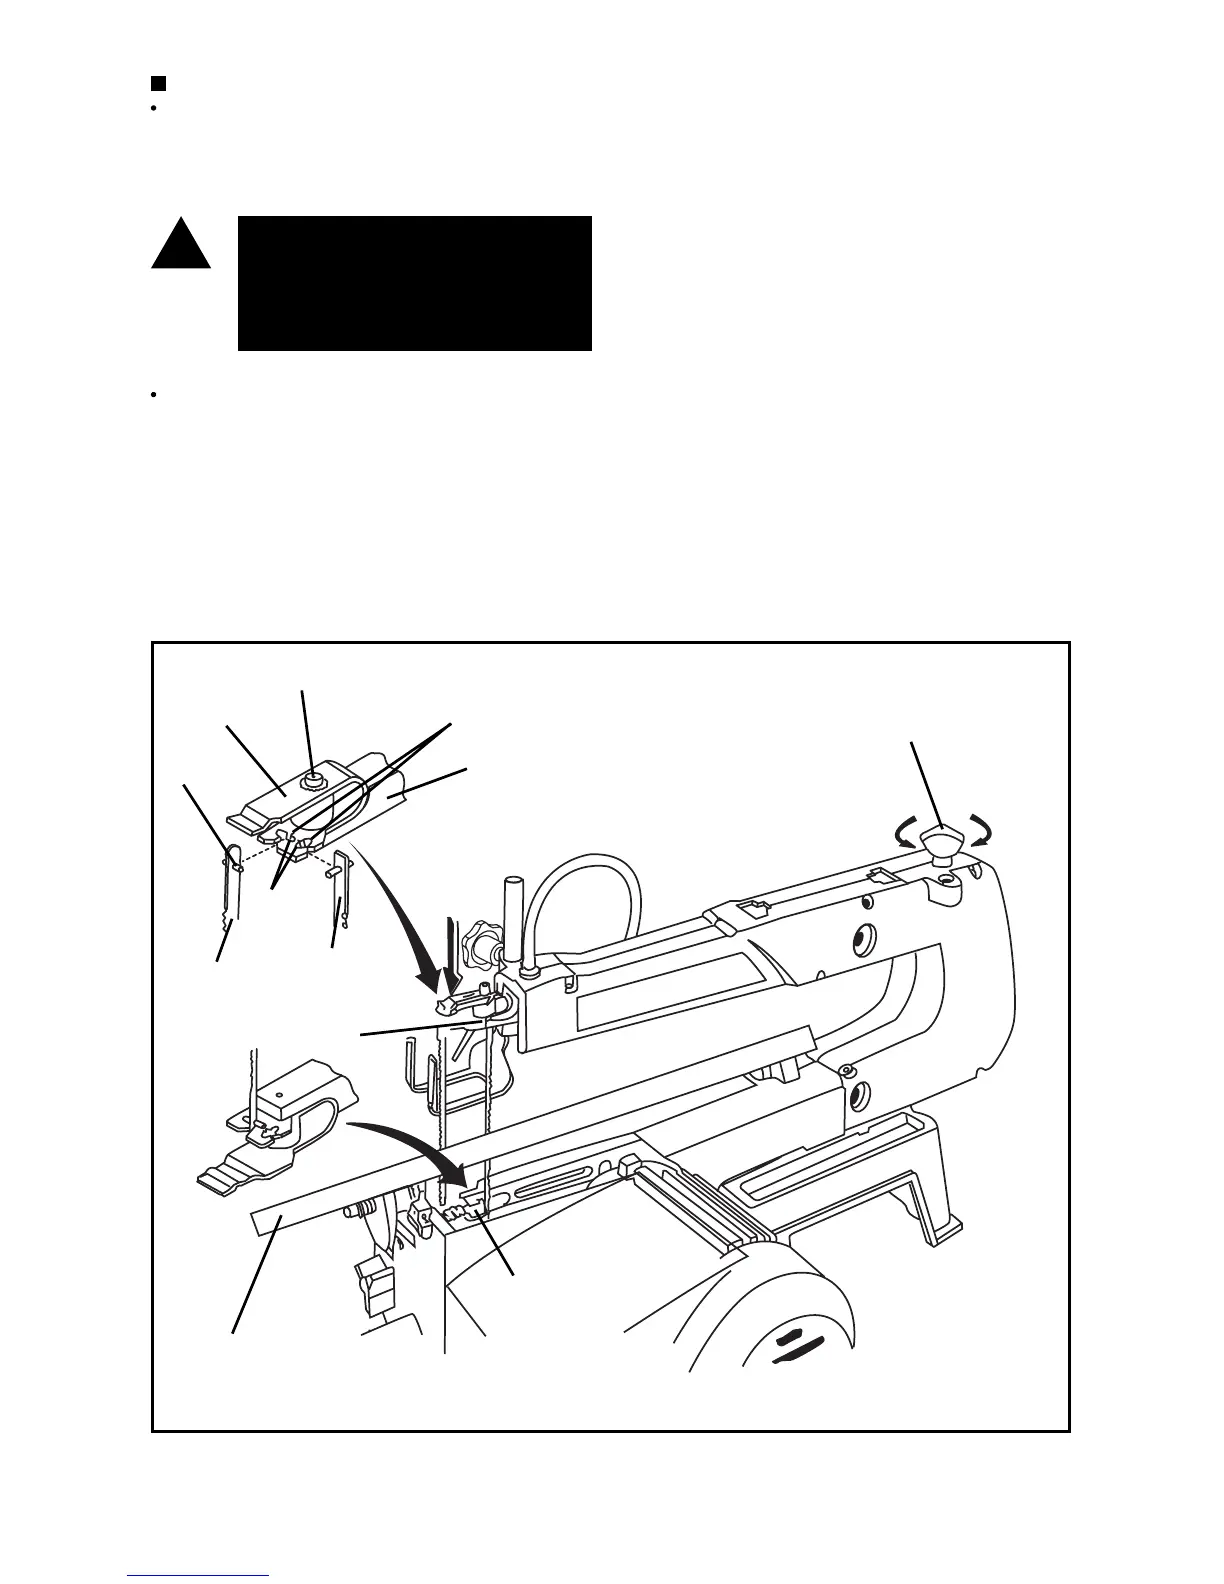
REMOVING AND INSTALLINGPIN TYPE BLADES
1. Rotate the blade tension knob anti-clockwise to release
blade tension.
2. Remove table insert and remove blade from the inner
upper and lower blade holders by pulling forward on blade
and then lifting the blade through the access hole in the
table. Slight downward pressure against the upper holder
may be helpful when removing blade from upper holder.
3. Look at the blade holders closely and notice the blade
slots and pin recesses in the blade hold-ers. The blade
holders are made so you can position the blade for cutting
from the front or from one side of the saw as shown. Cut-
ting from the side of the saw will be necessary when your
work piece exceeds 405mm in length. It allows your scroll
saw to cut like a band saw. For 0˚ horizontal cutting only.
4. In order to cut, and avoid uncontrollable lifting of the
workpiece, the teeth of the blade used on the scroll saw
should always point downwards when installed.
5. Install the blade while inserting one end of the blade
through the access hole in the table and hook the blade pin
in the pin recess in the lower blade holder. Slide the top
blade pin into the pin recess of the inner upper blade holder.
You may need to press down lightly on the upper blade
holder to install the blade.
6. Carefully tighten the blade by rotating the blade tension
knob clockwise just until you feel the slack in the blade
removed. Double check to see that the pins are properly
located in the blade holder. Then turn the blade tension
knob ONE full turn clockwise. This amount of blade pres-
sure should do well for most cutting operations and blades.
Cap Screw
Adaptor Guard
Blade
Pin
Blade
Positioned for
front cutting
Pin
Recesses
Blade Slots
Arm
Blade
Positioned for
side cutting
Upper Inner
Blade Holder
Table Tilted for
picture clarity
Lower Inner
Blade Holder
SLIGHT
PRESSURE
HERE
Blade
Tension Knob
LOOSEN
TIGHTEN
Page 6
 Loading...