3
(not included)
(not included)
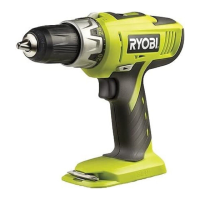
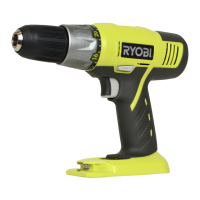
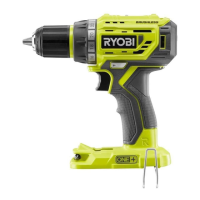
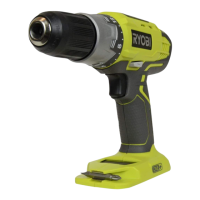
LCDI1402
Do not allow familiarity with products to make
you careless. Remember that a careless fraction
of a second is sufficient to inflict serious injury.
Always wear safety goggles or safety glasses
with side shields when operating products.
Failure to do so could result in objects being
thrown into your eyes, resulting in possible
serious injury.
Do not use any attachments or accessories
not recommended by the manufacturer of this
product. The use of attachments or accessories
not recommended can result in serious personal
injury.
You may use this product for the purposes listed below:
Drilling in all types of wood products (lumber,
plywood, panelling, composition board, and hard
board)
Drilling in ceramics, plastics, fiberglass, and laminates
Drilling in metals
Driving screws
Hammer drilling in brick, or other masonry
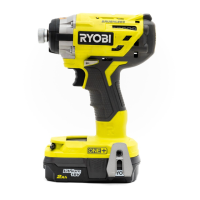
This product will accept RYOBI 14.4 V lithium-ion battery
packs and RYOBI 14.4 V nickel-cadmium battery packs.
RYOBI 14.4 V lithium-ion batteries are designed with
features that protect the lithium-ion cells and maximise
battery life. Under some operating conditions, these
built-in features may cause the battery and the tool it is
powering to act differently from nickel-cadmium batteries.
During some applications, the battery electronics may
signal the battery to shut down, and cause the tool to
stop running. To reset the battery and tool, release the
trigger and resume normal operation.
To prevent further shut down of the battery, avoid
forcing the tool.
If releasing the trigger does not reset the battery and
tool, the battery pack is depleted. If depleted, the battery
pack will begin charging when placed on the lithium-ion
charger.
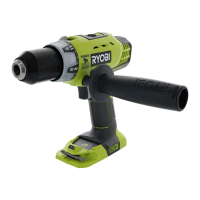
See Figure 2.
Lock the trigger switch by placing the rotation selector
in the center position.
Place the battery pack on the tool.
Make sure the latches on each side of the battery
pack snap into place and the battery pack is secured
on the tool before beginning operation.
Always remove battery pack from your tool when
you are assembling parts, making adjustments,
cleaning, or when not in use. Removing battery
pack will prevent accidental starting that could
cause serious personal injury.
See Figure 2.
Lock the trigger switch by placing the rotation selector
in the center position.
Depress the latches on the side of battery pack.
Remove the battery pack from the tool.
Battery tools are always in operating condition.
Therefore, the switch should always be locked
when not in use or carrying at your side.