7
GETTING STARTED GETTING STARTED
1 2
6
7
4
8 9
3
5
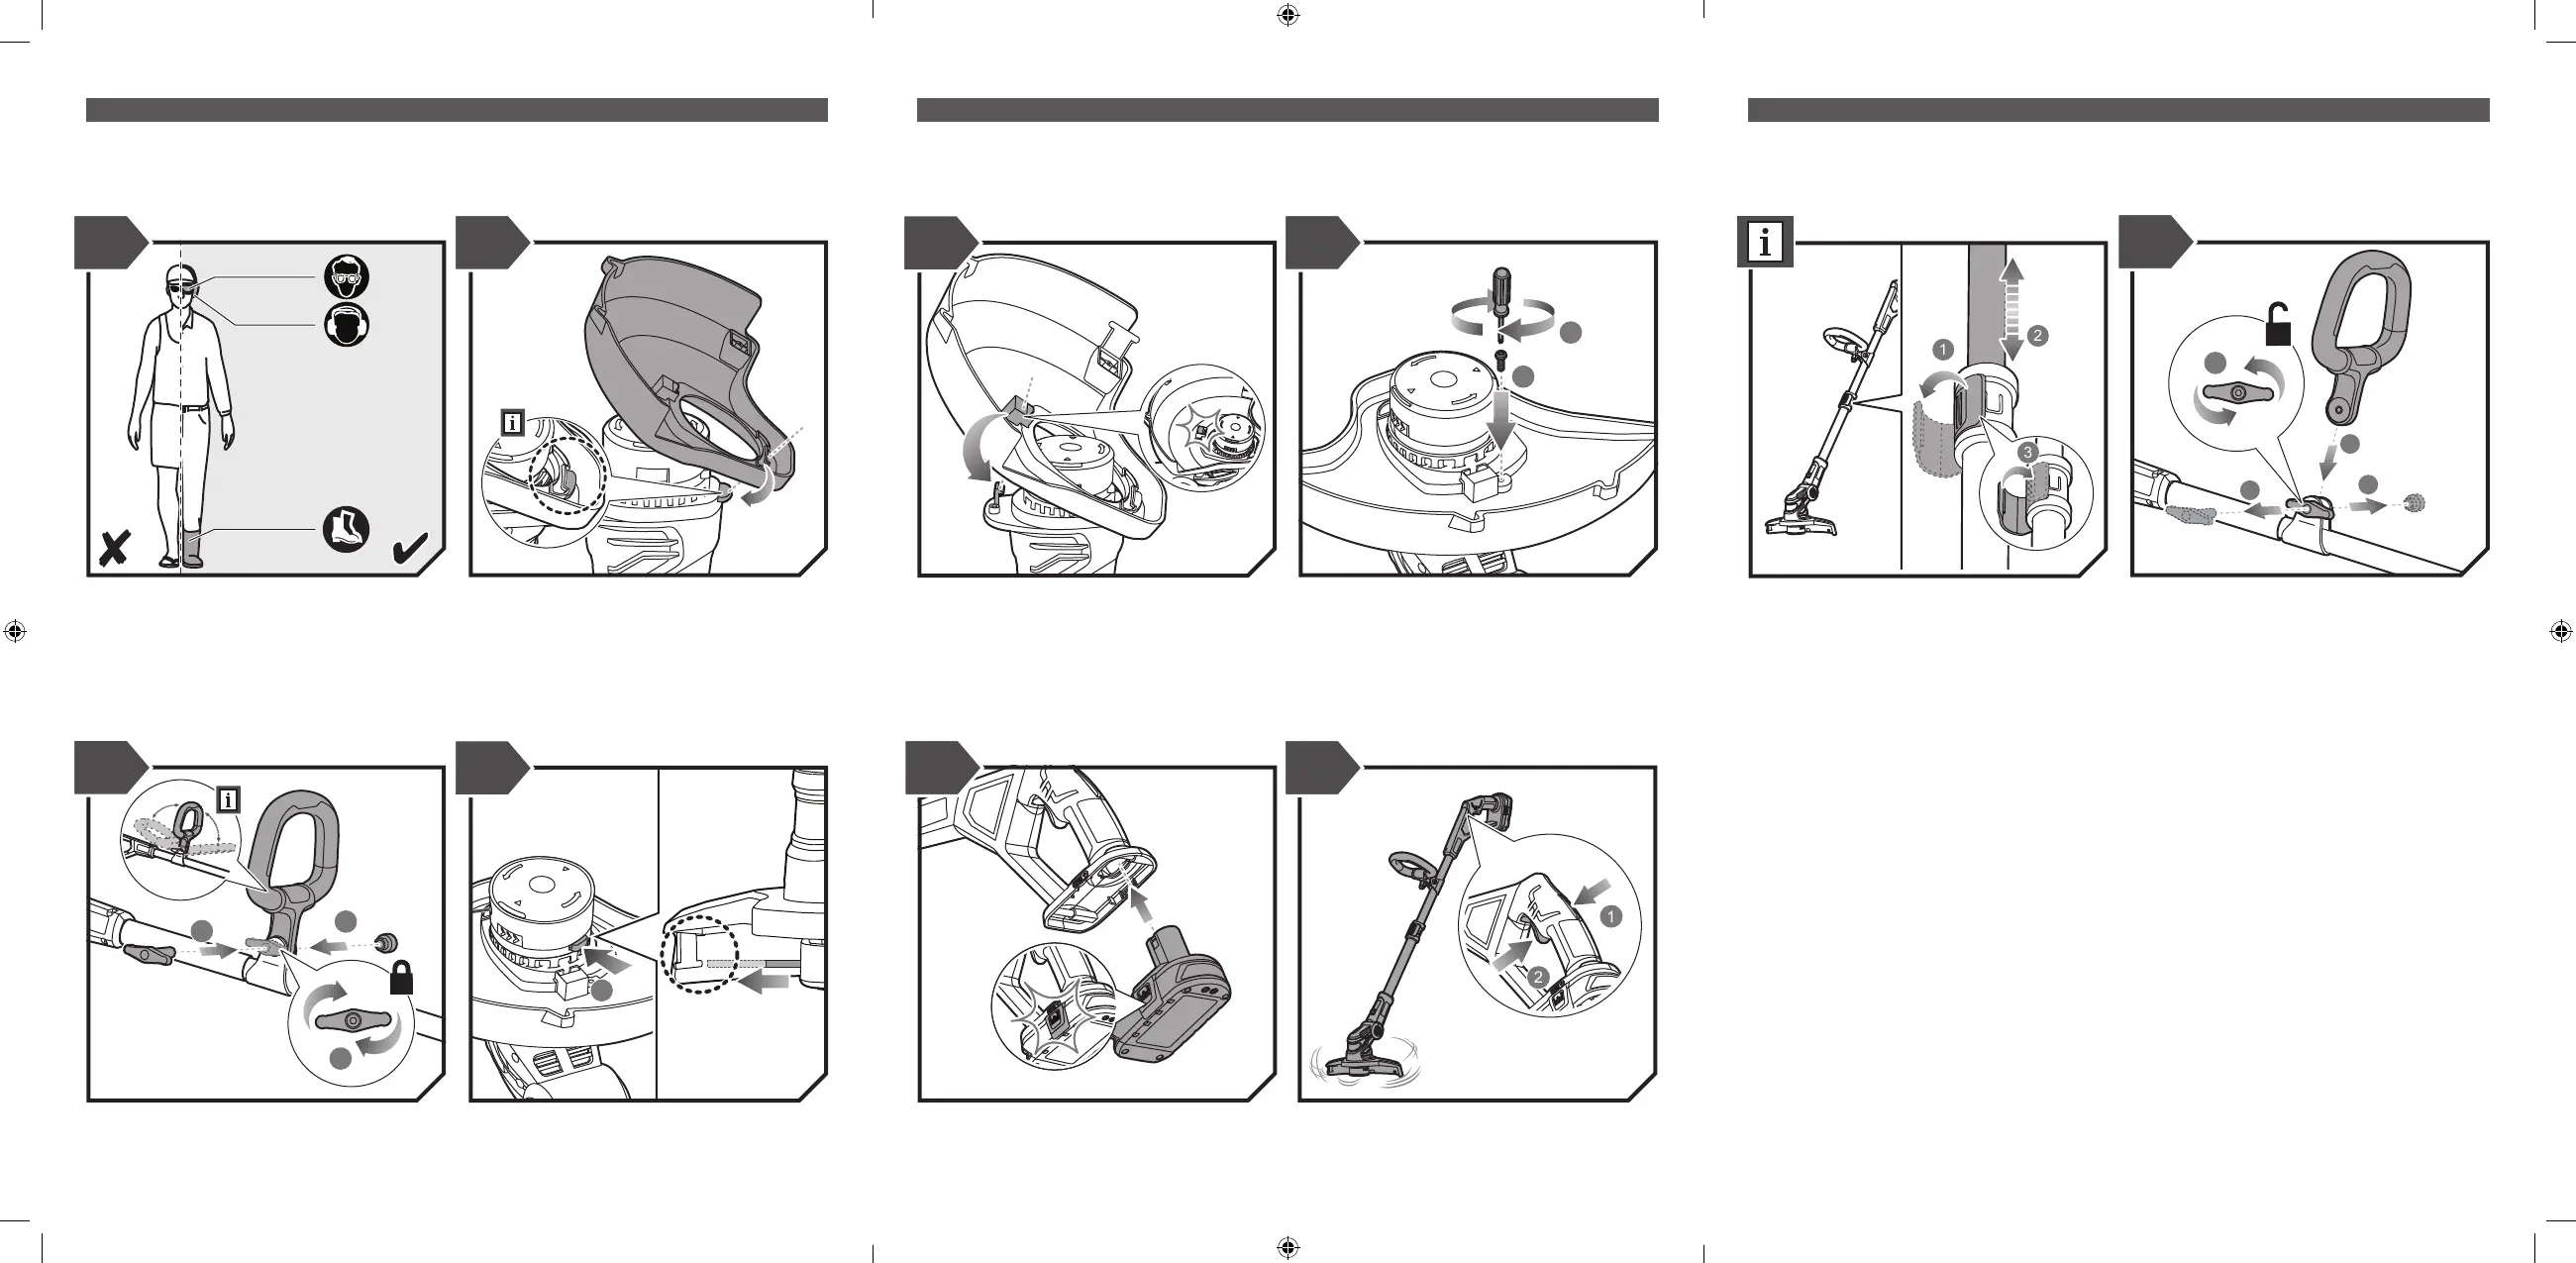
Always wear safety goggles or safety glasses with side shields
when operating the product. Wear non-slip, heavy-duty protective
gloves. Wear non-skid, protective footwear that will protect your
feet and improve your footing on slippery surfaces.
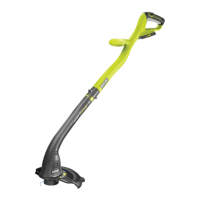
Attach the front part of the safety guard to the trimmer head. Attach the back part of the safety guard to the trimmer head until
the latch clicks into place.
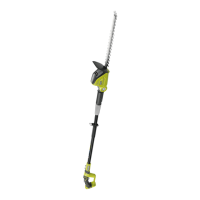
Screw on the safety guard to the trimmer head. NOTE: Unclasp the telescoping latch. Adjust the shaft to the
preferred length. Snap the telescoping latch back into place.
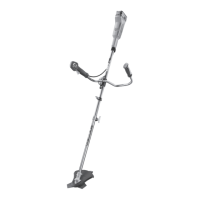
Loosen and remove the handle adjustment knob. Install the front
handle.
Attach the handle adjustment knob. Tighten the knob to secure
the handle in place.
NOTE: The angle of the front handle can be adjusted to 180°.
Push the button on the cutting head. Pull the cutting line to
advance the line length.
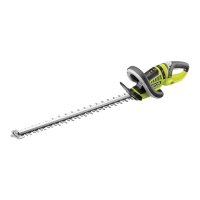
Insert the battery pack until the latches click into place. Push the lock-out safety trigger and squeeze the operating trigger
to operate the product.