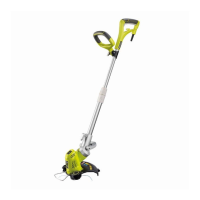
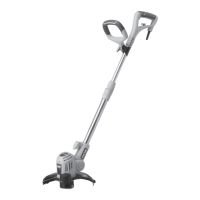
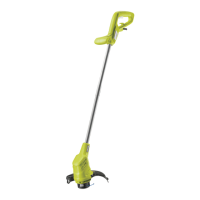
7
English (Original Instructions)
Trim grass and weeds in a left-to-right motion with the
line parallel to the ground.
TO ADVANCE THE CUTTING LINE
Follow these steps to advance the cutting line.
Start the trimmer.
Tap the bump knob lightly on the ground while the
motor is running. The line will only advance with the
engine at full throttle. Do not hold the bump knob on
the ground.
Note: The blade on the safety guard will cut the line to
the proper length.
Note: To help prevent line tangle, tap only once to
lengthen the line. If additional line is required, wait a
few seconds before retapping the bump knob. Do not
allow the line to wear too short. Keep the cutting line at
full length. MAINTENANCE
MAINTENANCE
WARNING
When servicing, use only identical replacement parts.
Use of any other parts may create a hazard or cause
product damage.
WARNING
Always wear safety goggles or safety glasses with side
shields during tool operation. If operation is dusty, also
wear a dust mask.
WARNING
Before inspecting, cleaning, or servicing the machine,
shut off engine, wait for all moving parts to stop, and
disconnect spark plug lead and move it away from
spark plug. Failure to follow these instructions can
result in serious personal injury or property damage.
WARNING
Neglected or poorly conducted maintenance may
create additional hazards. Do not attempt to repair or
maintain this product if you are not qualied to do so.
If in doubt, return to a service centre for professional
assistance.
GENERAL MAINTENANCE
Avoid using solvents when cleaning plastic parts. Most
plastics are susceptible to damage from various types of
commercial solvents and may be damaged by their use.
Use clean cloths to remove dirt, dust, lubricant, grease.
WARNING
Do not at any time let brake uids, petrol, petroleum-
based products, penetrating lubricants, etc., come
in contact with plastic parts. Chemicals can damage,
weaken or destroy plastic which may result in serious
personal injury.
You can often make adjustments and repairs described in
this manual. For other repairs, have the trimmer serviced
by an authorised service dealer.
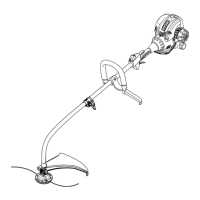
CLEANING THE AIR FILTER (FIG. 9)
A dirty air lter will cause starting difculty, loss of
performance, and shorten the life span of the engine.
Check the air lter monthly. For best performance, replace
the air lter at least once a year.
Loosen the air filter cover (item 21) by turning the knob
(item 22) counterclockwise.
Remove the air filter (item 20).
Clean the foam filter element with warm soapy water.
Rinse and let dry.
NOTE: If the foam lter element is damaged, it should be
replaced.
Apply a light coat of engine oil to the foam filter
element, then squeeze it out.
Reinstall the air filter.
NOTE: Make sure the lter is seated properly inside the
cover. Installing the lter incorrectly will allow dirt to enter
the engine, causing rapid engine wear.
Reinstall the cover and tighten knob to secure.
WARNING
Make sure the trimmer head stops rotating when you
release the trigger. Contact with a rotating trimmer head
could cause personal injury.
CHECKING THE FUEL CAP
WARNING
A leaking fuel cap is a re hazard and must be replaced
immediately.
The fuel cap contains a non-serviceable lter and
check valve. A clogged fuel lter causes poor engine
performance. If performance improves when the fuel cap
is loosened, the check valve may be faulty or the lter may
be clogged. Replace the fuel cap if necessary.

 Loading...