3
SaeboMAS mini Product Manual
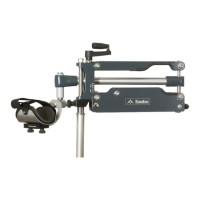
During the installation, please keep the SaeboMAS
mini in a closed position (i.e., horizontal bar secured/
clipped to the frame) until the setup is complete (see
Figure 1). Once you are nished installing the device,
open the SaeboMAS mini (i.e., unclip the horizontal
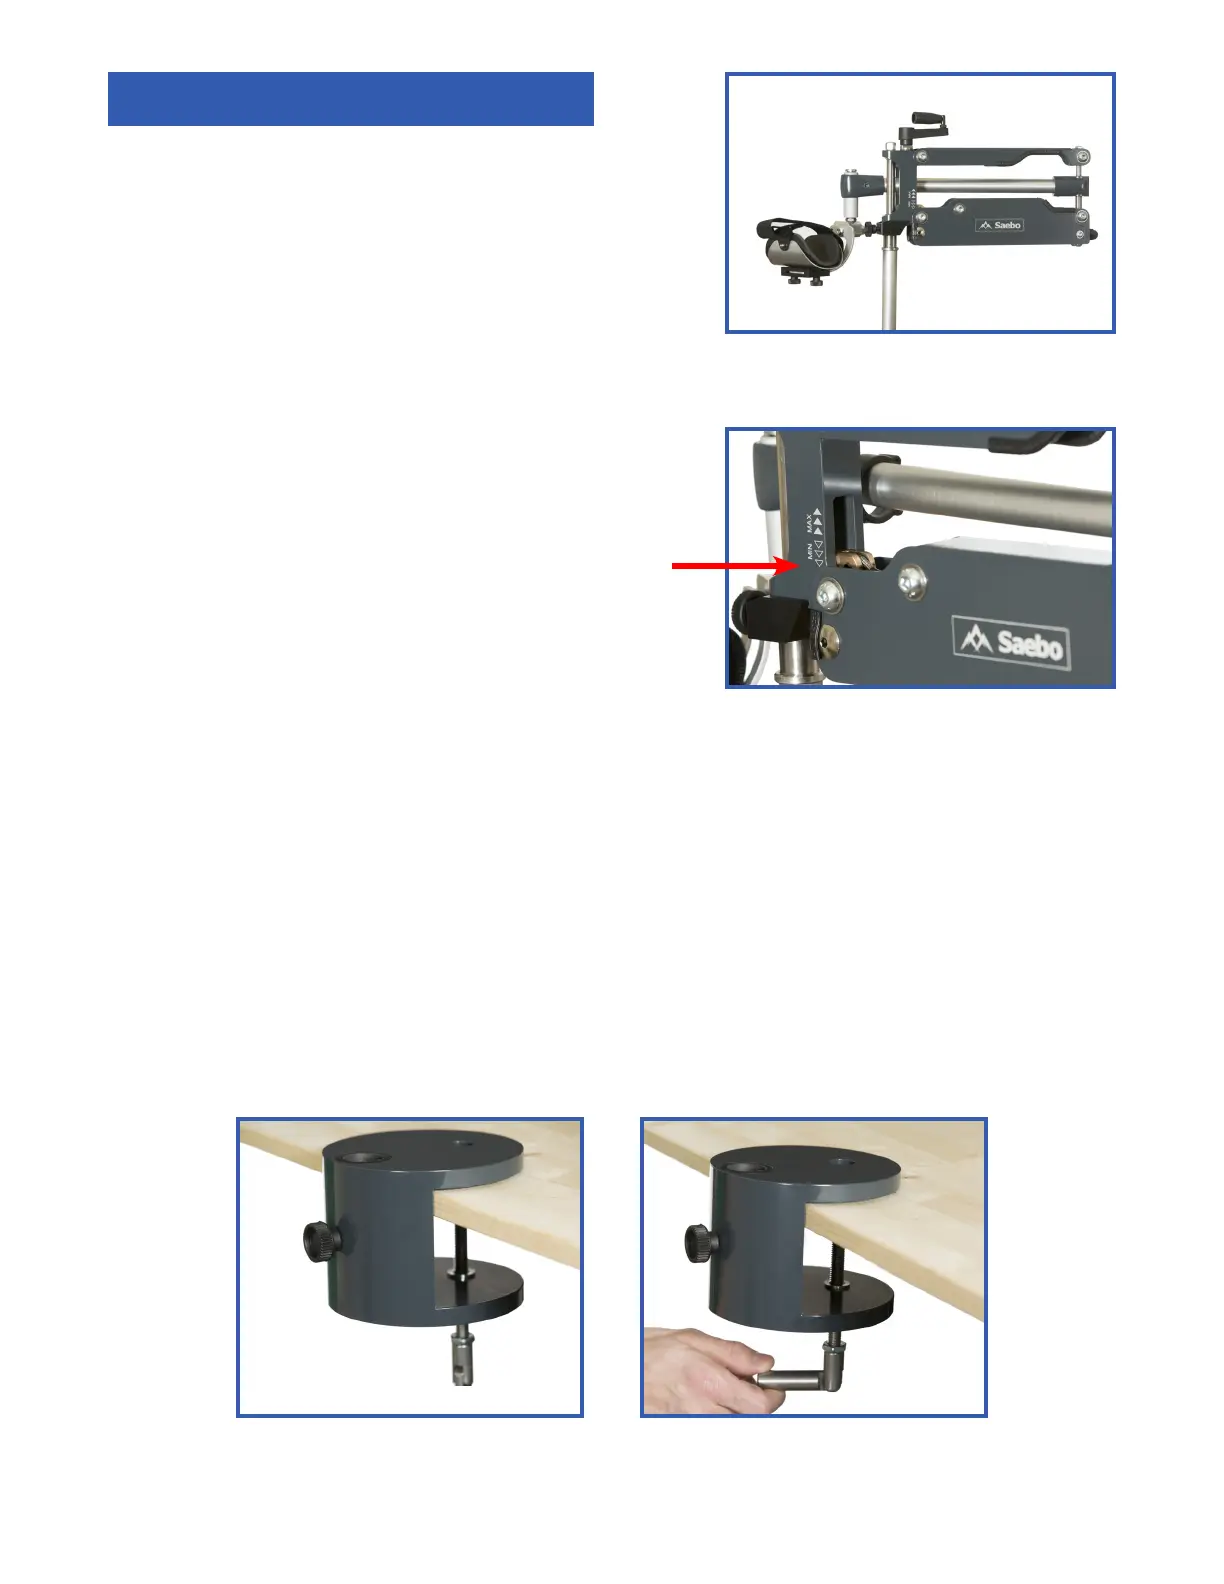
bar from the frame) to begin treatment. When you are
not using the device, lower the Tension Indication Knob
completely until you feel a stop (knob parallel with
bottom arrow) (see Figure 2).
Important: To decrease the risk of bodily injury,
make sure the tension is lowered completely
before opening/closing the SaeboMAS mini
(see Figure 2).
SaeboMAS mini Installation
Figure 1
Figure 2
Figure 3
Figure 4
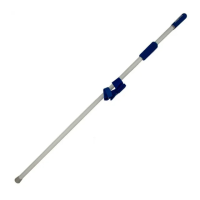
A. Attach the Table Mount
1. The Table Mount should be positioned on the involved
side approximately 2 feet away from the user.
2. The Table Mount should be secured to a sturdy heavy surface. Ideally, the mounting surface
should be 2-3 inches (5 - 7.5cm) thick. If you are applying the Table Mount to a counter top, be
sure to have a sufcient surface area to properly secure the mount to the counter.
3. Place the Table Mount in the correct position (see Figure 3).
4. Tightly rotate the Handle until the mount is secured (see Figure 4).