Quick Reference Guide
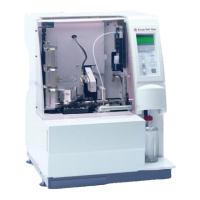
Tissue-Tek® Glas™ g2
QRG | Glas g2 | 2010 | V-5 page 5 | 11
Coverslipping Operation
Cover slipping slides
Pre-operational checks
1. Turn on POWER.
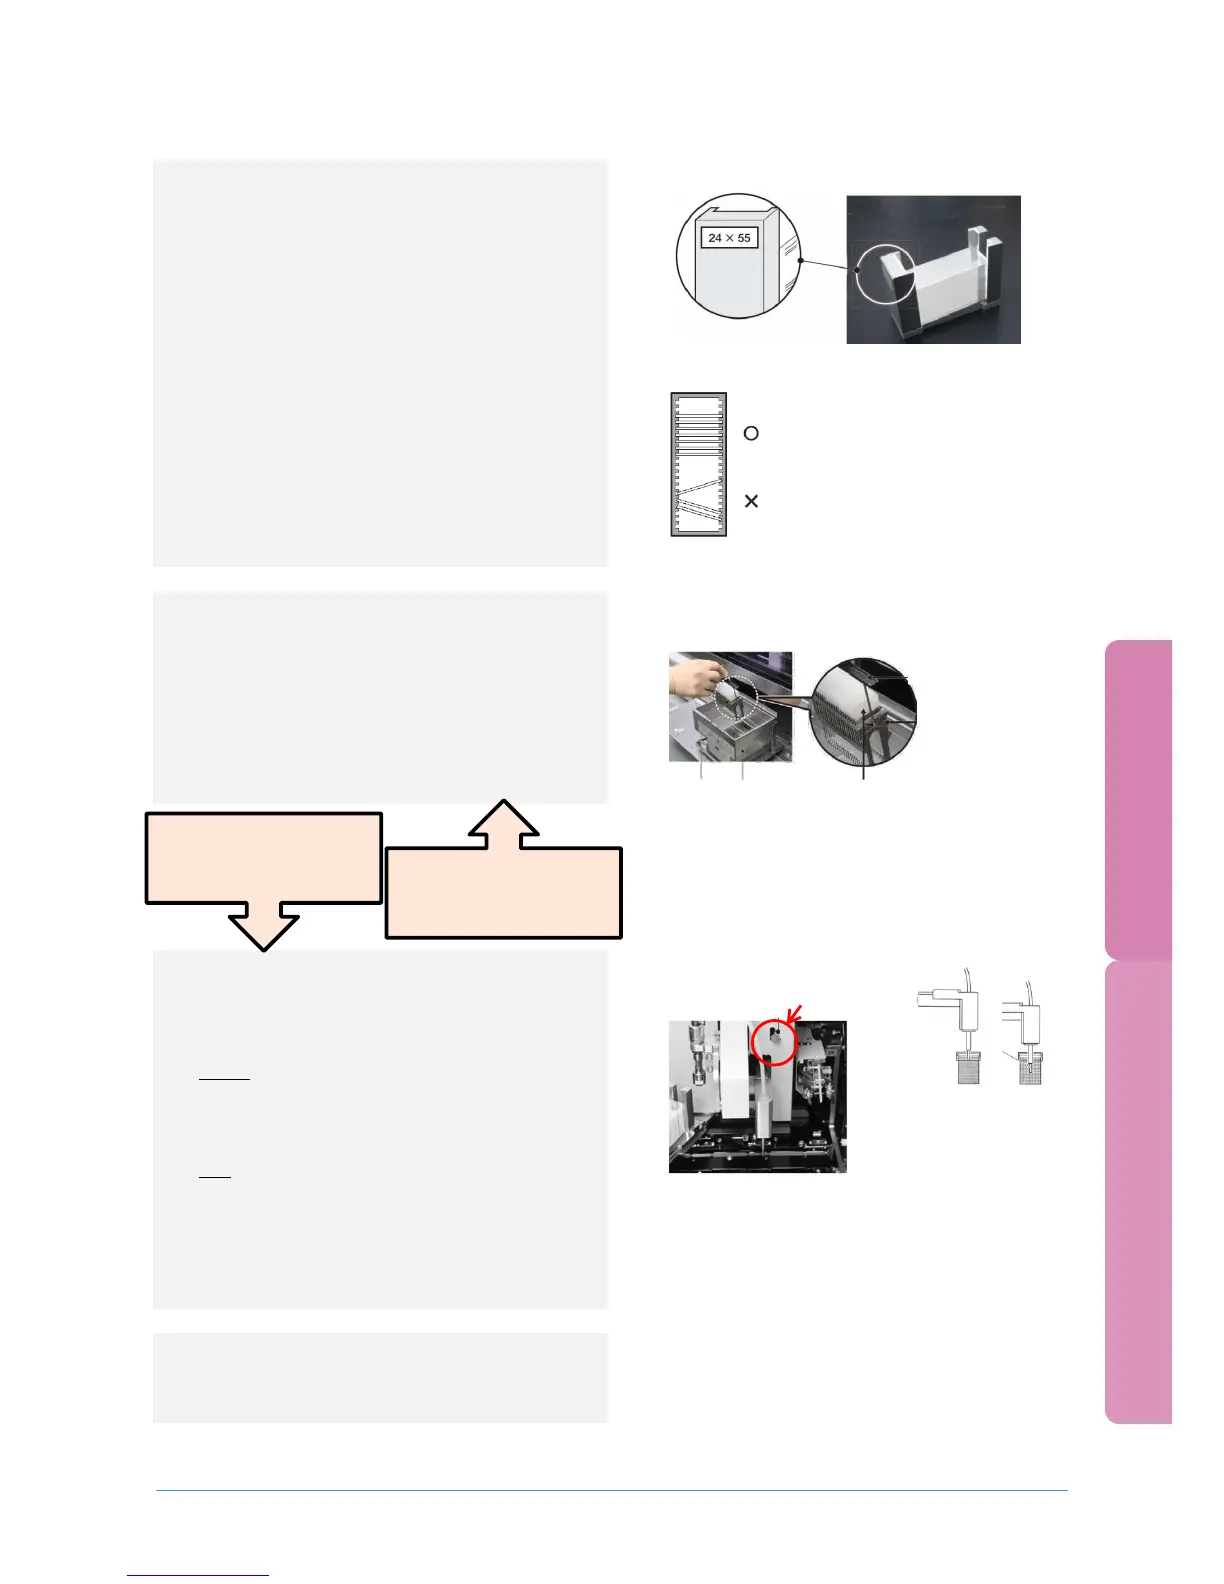
2. Remove the loading station lid.
3. Check the solvent volume level in anti-drying
bottle and dispensing pump reservoir.
4. Clean any possibly spilled mounting medium.
5. Place receiving racks in the unloading area.
6. Confirm there is no basket in the carousel.
7. Put coverglass holders in place and fill with
coverglasses, or refill the coverglass holder
with the correct coverglasses.
8. Check if CG size on screen matches CG in
holder.
9. Check the volume level of mounting medium.
Start of operation
1. Check coverglass size, coverslipping speed and
volume of mounting medium.
2. Select coverslipping program.
3. Press and hold [prime] key for 3 seconds.
4. Pull out the loading station and set baskets.
Close loading station door and [start]
coverslipping.
End of Operation
1. Remove empty receiving racks.
2. Remove empty baskets.
3. Place dispensing nozzle in the anti-drying bottle
above the xylene, to keep the nozzle in a
xylene vapor (normal state). Only if the
instrument is not used for an extended period
of time (one week or more) the nozzle is placed
into the xylene by tilting the lever at the rear of
the nozzle. If coverslipping is resumed after the
nozzle has been soaked in xylene, press the
PRIME key to discharge mounting medium
that has been mixed with xylene from the
nozzle.
Power off
1. Turn off power and place the lid on the loading
station.
Insert slides in parallel
Set by making sure
the “UP SIDE” marks are
If coverslipping is to be
continued, return to the
standby screen and add
 Loading...