13
Installation Procedure
English
7 Adjust the unit to the appropriate position, taking into
account the installation area for the front panel.
ŷ Place the pattern sheet on the indoor unit.
ŷ Adjust the space between the ceiling and the
indoor unit by using a dimension gauge.
ŷ Fix the indoor unit securely after adjusting the
level of the unit by using a leveller.
ŷ Remove the pattern sheet, connect the other
cables. and install the front panel.
1way Cassette (Standard)
15 mm
CeilingCeiling
15 mm
Gauge of dimensions
<Side view>
1way Cassette (Wind-Free)
10 mm
CeilingCeiling
10 mm
Gauge of dimensions
<Side view>
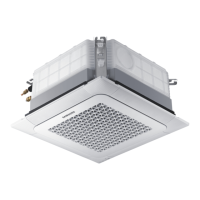
4 way Cassette
Indoor unit
Ceiling
Gauge of dimensions
17 mm
20 mm
Step 5 Purging inert gas from the
indoor unit
The indoor unit comes with nitrogen gas (inert gas)
charged at the factory. Therefore, all inert gas must be
purged before connecting the assembly piping.
Unscrew the pinch pipe at the end of each refrigerant
pipe.
1 way Cassette
4 way Cassette
Liquid side
Gas side
Insulator
NOTE
ŷ To prevent dirt or foreign objects from getting into
the pipes during installation, do not remove the pinch
pipe completely until you are ready to connect the
piping.

 Loading...


