Do you have a question about the Samsung AQ*09VFU Series and is the answer not in the manual?
| Power Supply | 220-240V, 50Hz |
|---|---|
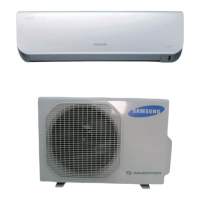
| Type | Split System |
| Cooling Capacity | 9000 BTU/h |
| Heating Capacity | 9000 BTU/h |
| Refrigerant | R410A |
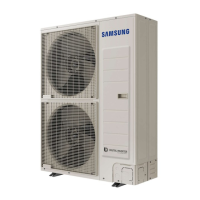
| Outdoor Unit Weight | 28 kg |
| Series | AQ*09VFU Series |
| Noise Level (Outdoor) | 48 dB |
| Outdoor Unit Dimensions (WxHxD) | 700 x 500 x 275 mm |
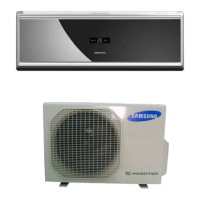
| Indoor Unit Weight | 8.5 kg |
Essential safety guidelines for operating and installing the air conditioner.
Specifies the optimal temperature and humidity ranges for efficient air conditioner operation.
Explains built-in protections that activate during internal faults or specific operating conditions.
Details the function of each button on the remote control for operating the air conditioner.
Describes the various indicators and symbols shown on the remote controller's display screen.
Informs when to replace batteries and the required battery type for the remote controller.
Provides instructions on how to store the remote controller when not in use for an extended period.
Guides on how to adjust the airflow direction, both vertically and horizontally, for user comfort.
Instructions on how to schedule the air conditioner to turn on automatically at a desired time.
Instructions on how to schedule the air conditioner to turn off automatically at a desired time.
Provides instructions on how to clean the indoor unit's surfaces and heat exchanger.
Guides on cleaning the outdoor unit's heat exchanger to maintain cooling performance.
Outlines a schedule for regular checks and maintenance tasks for both indoor and outdoor units.
Crucial safety precautions to follow during the installation process to ensure equipment safety.
Important general information and warnings for installers regarding the manual and product compliance.
Guidelines for ensuring proper power supply, grounding, and circuit breaker installation for safety.
Recommendations for selecting an optimal location for the indoor unit, considering airflow and accessibility.
Specifies the required clearances around a single outdoor unit for proper airflow and operation.
Details the space requirements for installing multiple outdoor units in proximity to each other.
Lists the accessories provided with the indoor unit, such as installation plates and remote controllers.
Lists the accessories supplied with the outdoor unit, like cables and drain plugs.
Details the specifications for power supply and assembly cables required for connecting the indoor and outdoor units.
Guides on electrical work, including wiring regulations and terminal block connections for the unit.
Provides instructions for installing and connecting the indoor unit's drain hose to ensure proper condensation drainage.
Procedure for leak testing the system with nitrogen before opening valves to detect initial refrigerant leaks.
Method for leak testing the system with R410A refrigerant after opening valves, using a leak detector.
Instructions for pump-down, a procedure to collect system refrigerant before disconnection for maintenance or disposal.
A checklist of essential checks to perform after installation to ensure correct operation.
Step-by-step guide to perform a trial run and verify the air conditioner's cooling and heating functions.