brn,
AW1
4gCB/A'rrl
89CB/AW1 5EGB7/AW1 8ECB7/AW25ECB7
Installation(cont.)
ffi
LTop
support channel
seal
strip
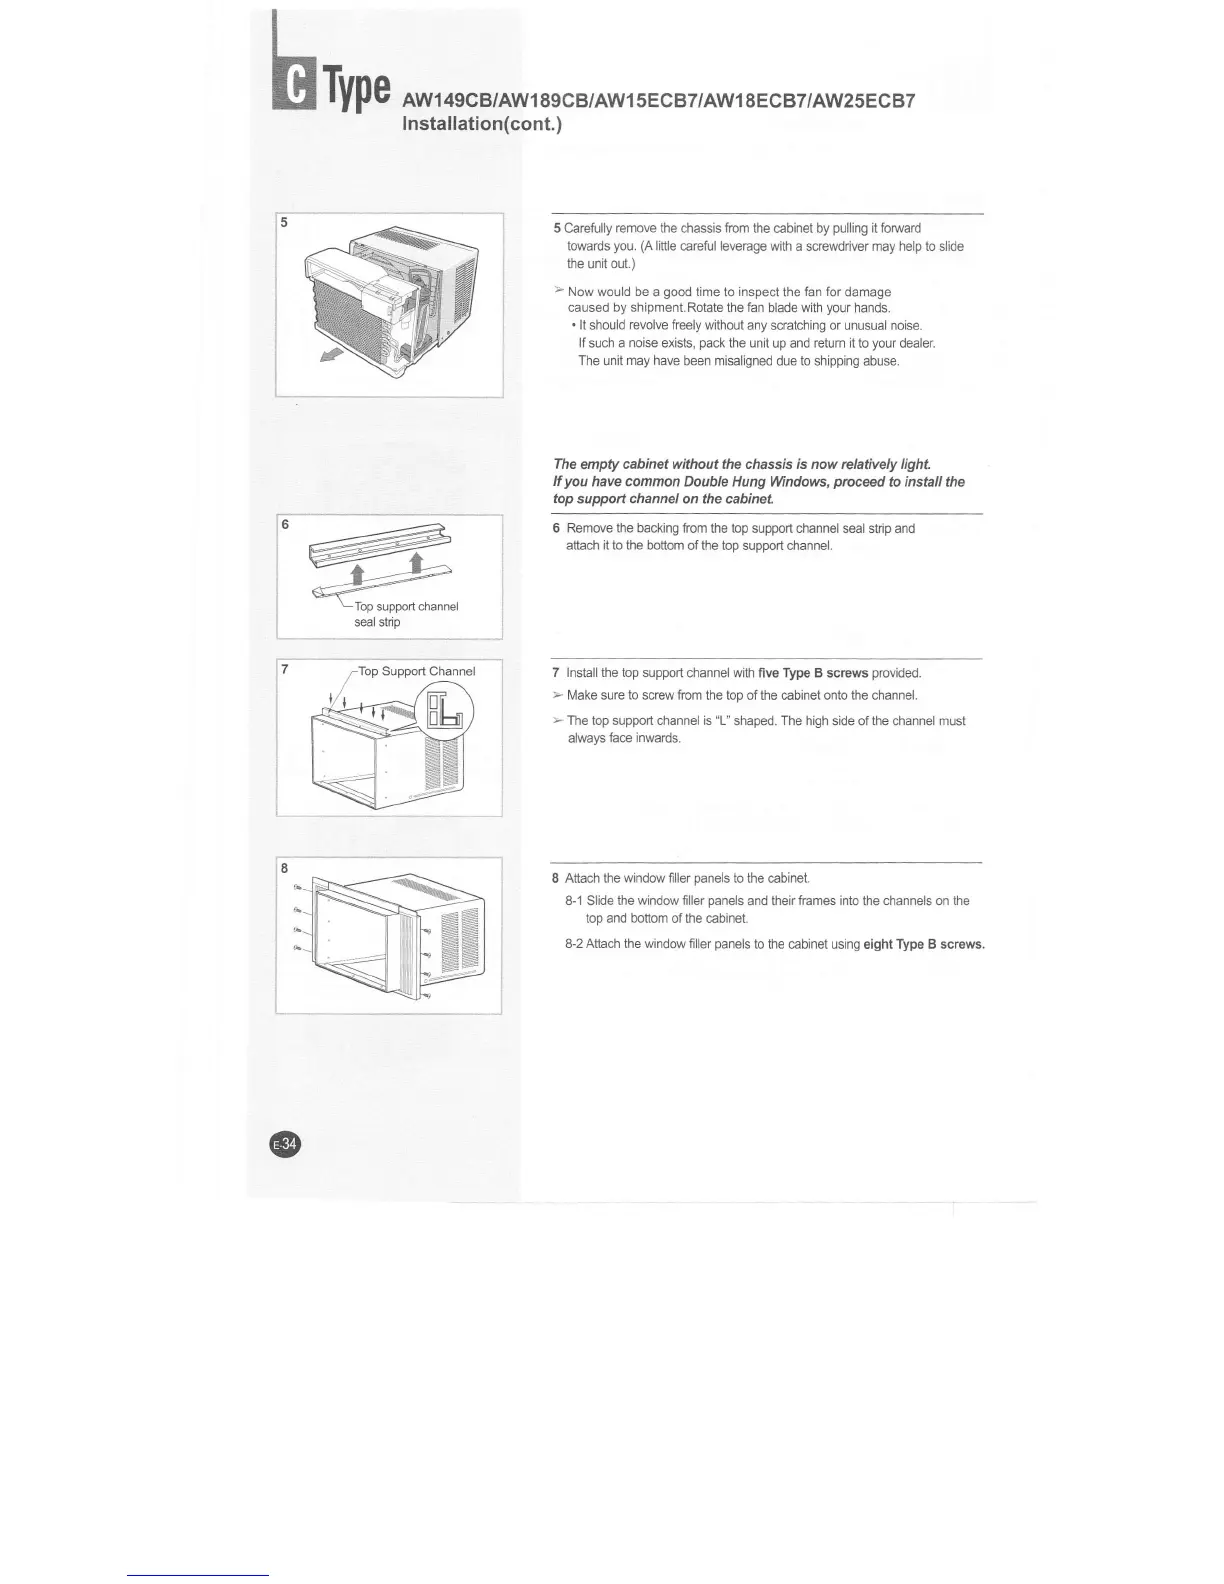
5 Carefully
remove the
chassis fiom the cabinet by
pulling
it foMard
to[,ards
you.
(A
litte careful leverage
with a screwdriver may help to slide
he unit out.)
>
Now
would be a
good
time to inspect the fan for damage
caused by shipment.Rotate
the fun blade with
your
hands.
.
lt should
revolve
freely without any
scratching or unusual
noise.
lf such a noise exists,
pack
the unit
up and relum it to
your
dealer.
The unit may have
been misaligned due to shipping abuse.
The
empty
cabinetwithoutthe chassis rls nowretatively light
lf
you
have common
Double
Hung
Wndows,
Wceed
to
insfa,ll
the
top
support
channel
on the
cabinet
6 Remove the backing
fiom the top support channel
seal sfip and
attach
it
to the bottom of the top support channel.
7 Install the top
support channel with five Type B
soews
provided.
>
Make sure to screw fom the top of the cabinet onto
the
channel.
>
The top support channel is
"L"
shaped. The high side of the channel musl
alwavs
fuce inwards.
I Attach the
window
filler oanels to the cabinet.
&1 Slide
the windoirr filler
oanels and their
frames
into the channels on he
top and bottom of the cabinet
8-2 Attach the window
filler
panels
to the cabinet using elght Type B screws.
 Loading...