- 15 -
3-4 Replacement of Door Assembly
Parts Explaination Photo Explaination
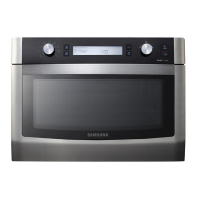
Removal
of Door
Assembly
Separate Assy door by xing jig into the
hinge as shown in the qure
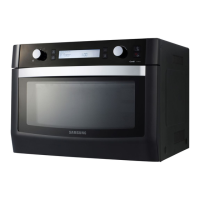
Removal of
Door “C”
Insert at screwdriver into the gap be-
tween Door “E” and Door “C” to remove
Door “C”. Be careful when handling Door
“C” because it is fragile.
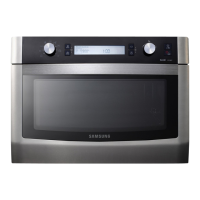
Removal of
Door “E”
SCREW
Door "E"
Door "E"
Ass'y Door SubAss'y Door Sub
Following the procedure as shown in the
gure, insert and bend a thin metal plate
between Door “E” and Door “A” until you
hear the ‘tick’ sound.
1. Insertion depth of the thin metal plate
should be 0.5mm or less.
Removal of
Key Door &
Spring
Key Door and Spring
Key Door and Spring
Remove screws securing Door “E” and
ass’y Door Sub to separate.
 Loading...