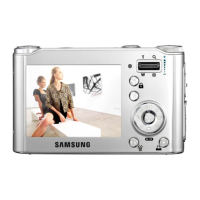
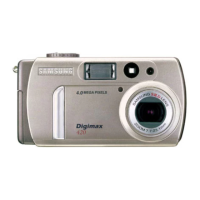
Do you have a question about the Samsung DIGIMAX 301 and is the answer not in the manual?
Explains symbols used in the manual for safety and warnings.
Diagram and labels for the front and top parts of the camera.
Explanation of the camera's mode dial and its settings.
Information on powering the camera using batteries or AC adapter.
Instructions for connecting and using the AC power adapter.
Step-by-step guide for inserting camera batteries.
Guidelines for proper care and maintenance of memory cards.
Detailed steps for capturing still photographs.
Procedure for recording audio memos with the camera.
How to use the shutter button for capturing images.
Guide to selecting and using different flash modes.
Adjusting exposure levels for optimal picture results.
Using the macro focus mode for close-up photography.
Using multi-metering for balanced exposure assessment.
Procedure to manually set white balance for specific lighting.
How to view still images stored on the camera.
Instructions for playing back recorded video clips.
Steps to delete individual images while in play mode.
Locking images to prevent accidental deletion or unlocking them.
Erasing all unprotected images from the memory card.
Settings for file management, including naming conventions.
Selecting the video output signal type (NTSC or PAL).
Configuring the automatic power-off timer for battery saving.
Instructions for formatting the memory card using a computer.
How to adjust the camera's date setting.
Guide for connecting the camera to an external display device.
Restoring all camera settings to their default values.
Instructions for cleaning and maintaining the camera's components.
Steps for connecting the camera to a computer for data transfer.
Procedure for transferring images from the camera to the PC.
Key information and precautions when using the camera as a disk drive.
Troubleshooting steps for when the camera does not switch on.
| Type | Compact |
|---|---|
| Max resolution | 2048 x 1536 |
| Effective pixels | 3 megapixels |
| Sensor size | 1/2.7" |
| Sensor Type | CCD |
| Optical zoom | 3x |
| Digital Zoom | 2x |
| ISO | Auto, 100, 200, 400 |
| LCD Screen Size | 1.5" |
| Battery Type | 2x AA |
| Storage types | SD/MMC |
| Focal length (equiv.) | 38 - 114 mm |
| Max aperture | F2.8-F4.8 |

