Do you have a question about the Samsung DIGIMAX 300 and is the answer not in the manual?
Explains warning icons used in the manual for safety and correct usage.
Provides regulatory information regarding FCC compliance for the device.
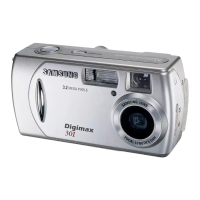
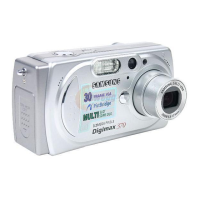
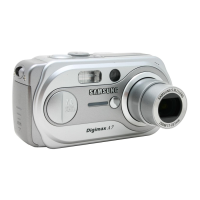
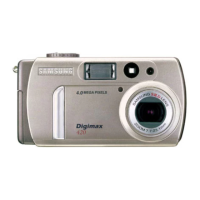
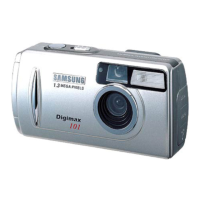
Identifies external parts of the camera from the front, top, and bottom.
Provides regulatory information regarding FCC compliance for the device.
Identifies external parts of the camera from the front, top, and bottom.
Identifies external parts and controls of the camera from the back.
Explains the function and meaning of the camera's status LED.
Details the camera status LED states and corresponding conditions.
Step-by-step guide on inserting batteries into the camera.
Explains the battery level indicators on the LCD monitor.
Information on using the optional rechargeable Digimax battery pack.
Instructions on how to attach the camera strap for safety.
Provides guidance on using the SD memory card.
Guidelines for proper care and maintenance of the memory card.
Advice on protecting data and preventing corruption on the memory card.
Step-by-step guide to capturing still images with the camera.
Instructions on how to record movie clips using the camera.
Explains the function of the power switch for turning the camera on/off.
Describes the use of the shutter button for capturing images.
Explains how the LCD button changes display modes in recording.
Details how to access and use the camera's menu system.
Explains the function of the SET/RIGHT button for confirmation and zoom.
Guide on how to use the digital zoom feature for magnification.
Explains the function of the THUMBNAIL/LEFT button.
Details the use of the SELF-TIMER/UP button for self-timer and menu navigation.
Explains the FLASH/DOWN button for flash modes and menu navigation.
Guide to selecting different flash modes available on the camera.
Details the various flash modes, their indicators, and definitions.
Step-by-step guide to viewing still images stored on the camera.
Instructions on how to play back recorded movie clips.
Explains how the LCD button changes image information display in Play mode.
Details how to access the Play mode menu using the MENU button.
Explains how to use the THUMBNAIL/LEFT button for thumbnail display and image selection.
Guide on how to view multiple images simultaneously in thumbnail format.
Explains the ZOOM/SET/RIGHT button for image enlargement and confirmation.
Step-by-step guide on how to zoom in and view enlarged images.
Details the UP button's functions for menu navigation and image selection.
Details the DOWN button's functions for menu navigation and image selection.
Guide on how to delete individual unprotected images from the camera.
Instructions for permanently deleting all unprotected images from the memory.
Guide on how to format the internal memory or SD memory card.
Instructions on how to set up and play a continuous image slideshow.
Explains how to protect images from accidental deletion (LOCK) or release them (UNLOCK).
Allows embedding print quantity information for DPOF printing.
Allows enabling or disabling the camera's beep sounds.
Configures the automatic power-off timer to conserve battery.
Enables or disables the date imprint feature on still images.
Selects the format for the date imprint on images (YYYY/MM/DD, etc.).
Allows setting the current date and time for accurate recording.
Sets the review time for the last captured image.
Selects the display language for the camera's menus and messages.
Resets all camera settings to their default values.
Step-by-step instructions for connecting the camera to a computer via USB.
Refer to specific pages for disconnecting the camera based on Windows version.
Guide on transferring images from the camera to a PC for editing and printing.
Explains the functions of the navigation bar buttons within MGI PhotoSuite III SE.
Instructions on how to acquire images from the computer or digital camera.
Guide on how to acquire images by selecting them from an album.
Details photo editing functions like Rotate & Crop, Touchup, Special Effects, and Stitching.
Explains features for creating collages, photo layouts, cards, calendars, and business items.
Guide on organizing photos and media files into albums.
Step-by-step instructions for creating a new photo album within the software.
Instructions on how to add images from the computer to a created album.
Explains options for saving, emailing, or viewing images as a slideshow.
Guide on printing images and print multiples from the software.
Troubleshooting common USB connection problems and their solutions.
How to check computer USB interface support and OS version compatibility.
Advice on using USB hubs and potential compatibility issues.
Troubleshooting advice for multiple USB devices connected simultaneously.
| Type | Compact digital camera |
|---|---|
| Optical Zoom | 3x |
| Effective Pixels | 3.2 megapixels |
| Storage Media | CompactFlash Card |
| Sensor Type | CCD |
| Battery Type | 2x AA batteries |
| Image Sensor | 1/2.7" CCD |
| LCD Screen Size | 1.5" |